

This challenging quilt block builds on the technique you used in last month’s block and adds one additional fabric.
There are many, many different ways to make the Flying Geese units used in this block. This monthly pattern will show you how to use the Quilt in a Day Flying Geese ruler # CC2007 as well as the traditional method. If you prefer a particular method, cut for that one, NOT the one shown here. To learn more about these methods, download the e-book “Strolling Geese” from PhoebeMoon.com.
Here is a quick tutorial:
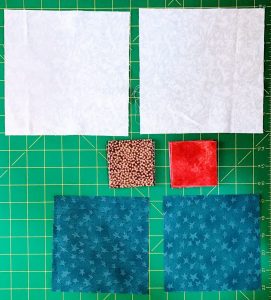
This is the fabric you will need to cut for the flying geese used in this month’s block. There are other cuts you will need to make for future months.
Read over the instructions on page 12 in the introduction before you begin sewing.
Making a Flying Goose block using the Quilt-in-a-day Ruler
The Quilt-in-a-Day ruler uses two squares, a large one that makes the sky corners and a smaller one that makes the center goose.
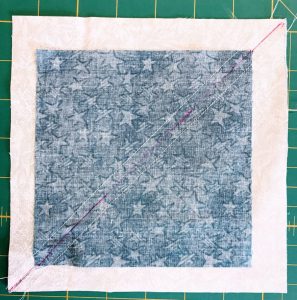
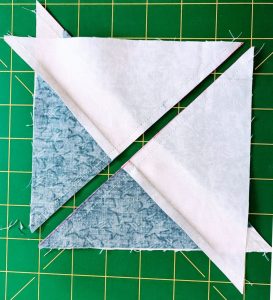
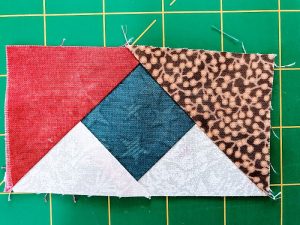
Place the goose color block right sides together in the middle of the background block. Draw a diagonal line on the back of that fabric packet. Sew a scant 1/4″ seam from both sides of that line. Cut on the line.

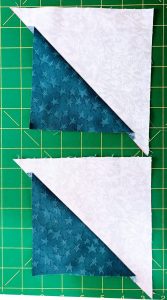
Press the two halves open from the front. It will look like a very strange half-square triangle unit.
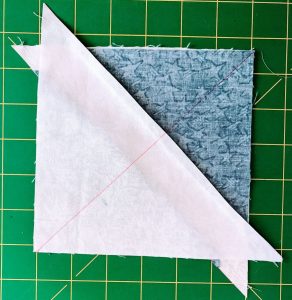
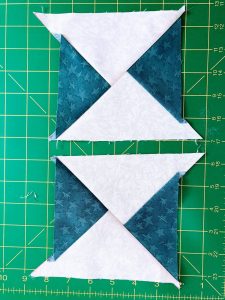
Put the two units together so that the two edges meet. The seams should not meet in the middle. Look for the Batman Ears on two sides. Draw a diagonal line bisecting the seam as shown below.
Sew a scant 1/4″ seam on both sides of the center line. Cut the unit apart.
and press. Looks pretty silly, doesn’t it?
Place the Quilt in a day ruler on the block, matching the lines on the ruler with the angles of the block. If you have a rotating mat, you will find it very helpful here.
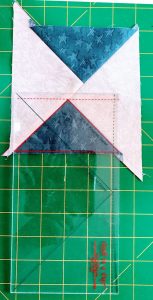
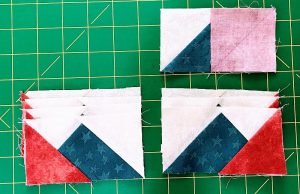
Ta-da! Each set of fabric makes (4) Flying Geese blocks, and they are all perfectly sized.
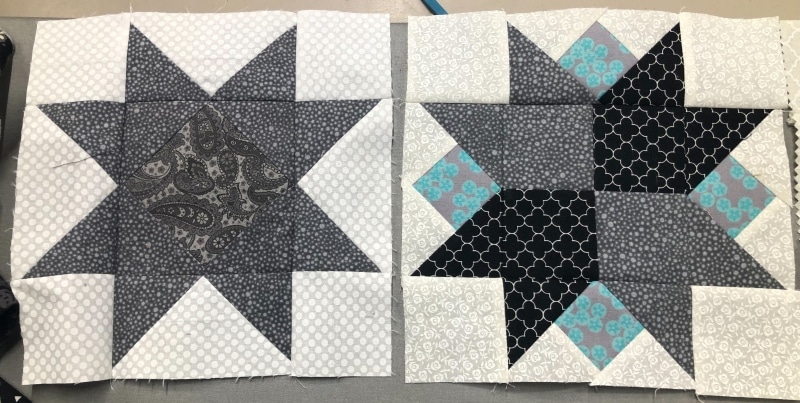
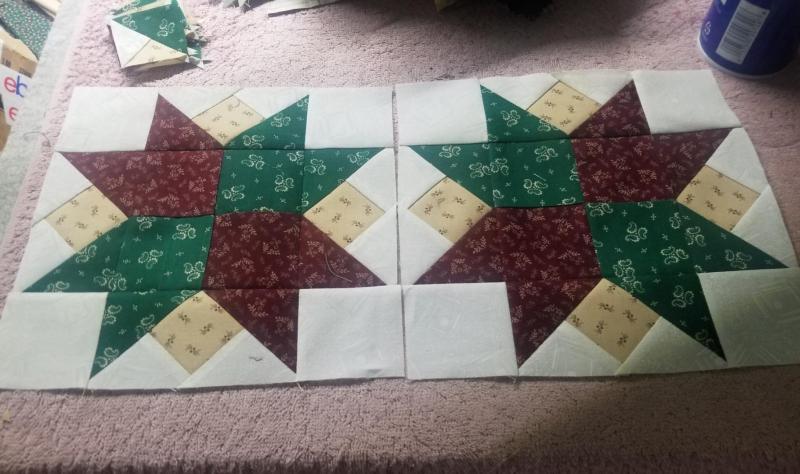
Making the Crocus Block
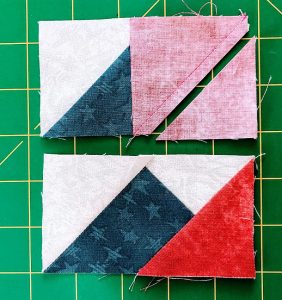
After you have made the (8) Flying Goose blocks, it’s time to add corners to them to make them into Crocus Blocks. These blocks will be the four corners of the Challenging Block. Notice that they are not all the same! You will be making 4 blocks with Color Two on the right and 4 blocks with Color Two on the left.
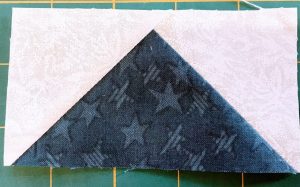
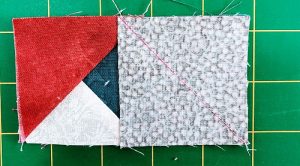
Make a test block first. Following the directions in your pattern, draw a diagonal line on the back of (8) Color Two squares. Place them on the block, the SEW ON THE LINE. Fold the block to the corner of the Flying Goose block. If it matches perfectly, you can trim. If not, unsew a bit and try again.
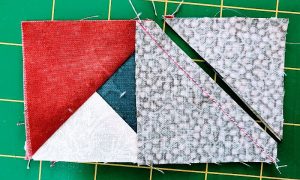
Press the Color Two block to the corner and add the Color One block. Notice that it overlaps Color Two by a bit. That will become your seam allowance.
Repeat the process. And press. You have made 8 Crocus Blocks!
Remember to make two of them!
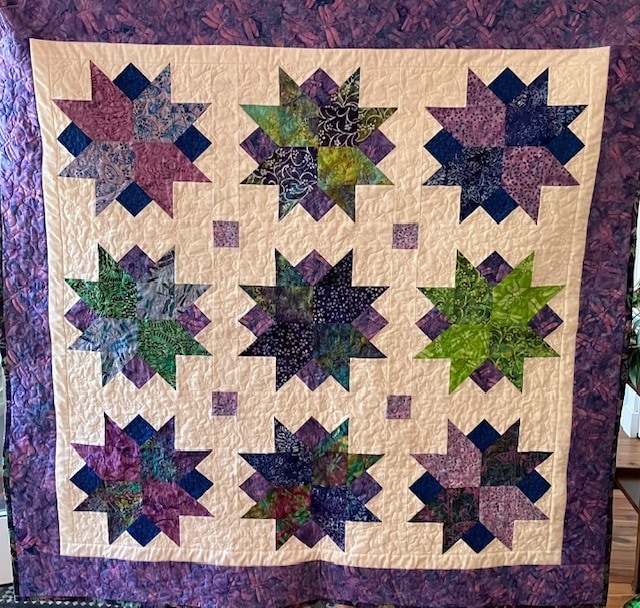
Here are some examples:
 Made by Kelly M | 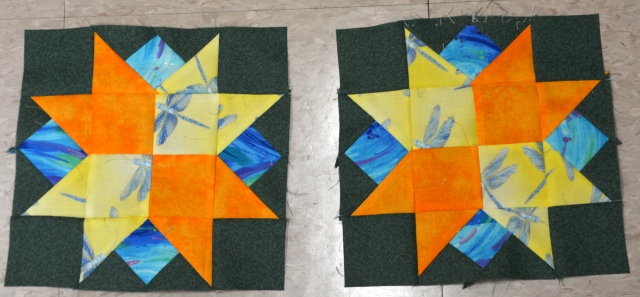 Made by Pam R |
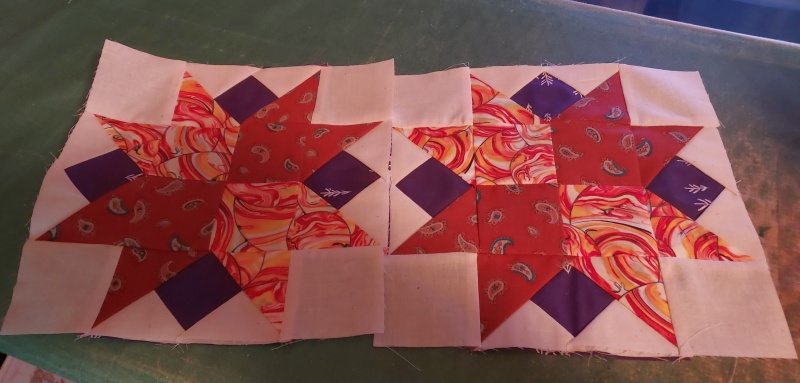 Made by Judy | 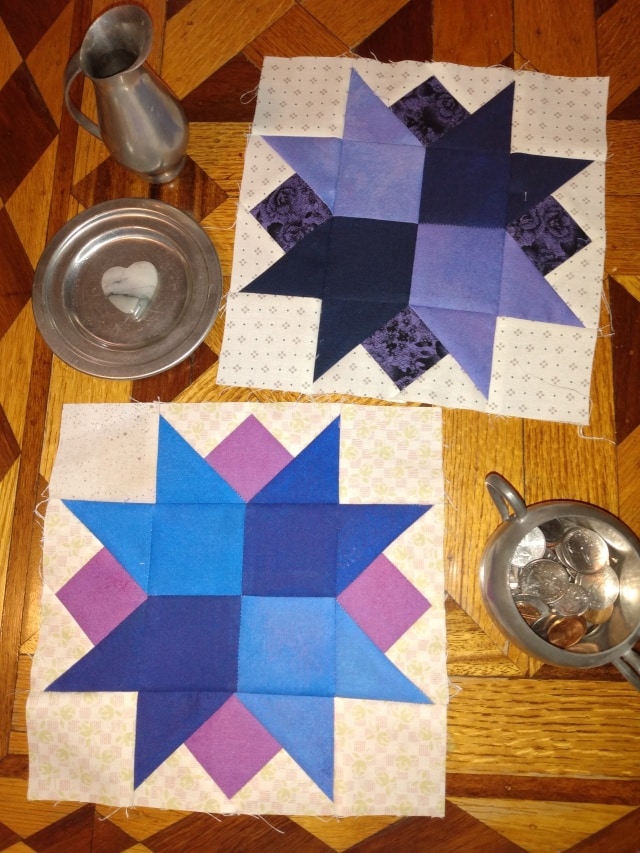 Block 3 by Birgit |
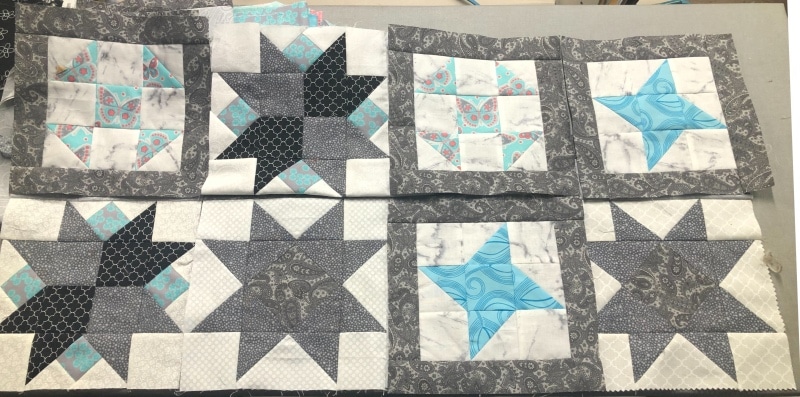 All the blocks so far by Kelly M | 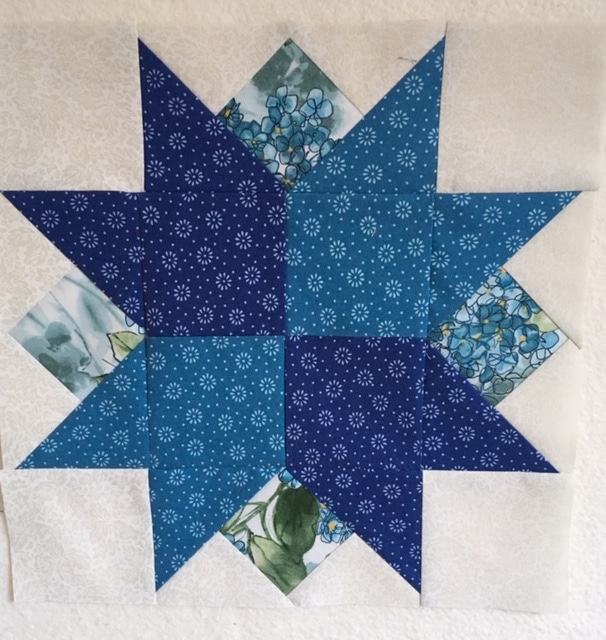 Made by Polly S |
 Made by Kathy Made by Kathy | 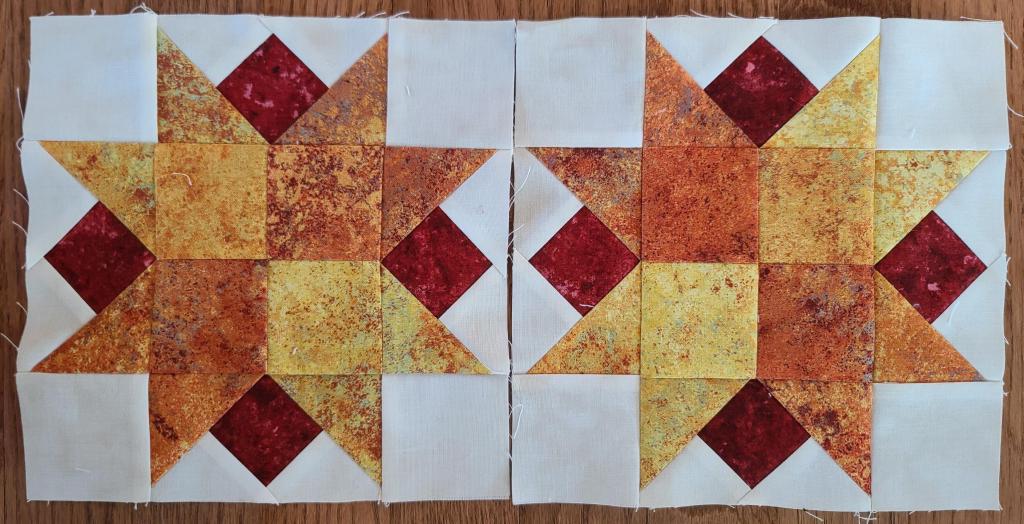 Made by Daniella |
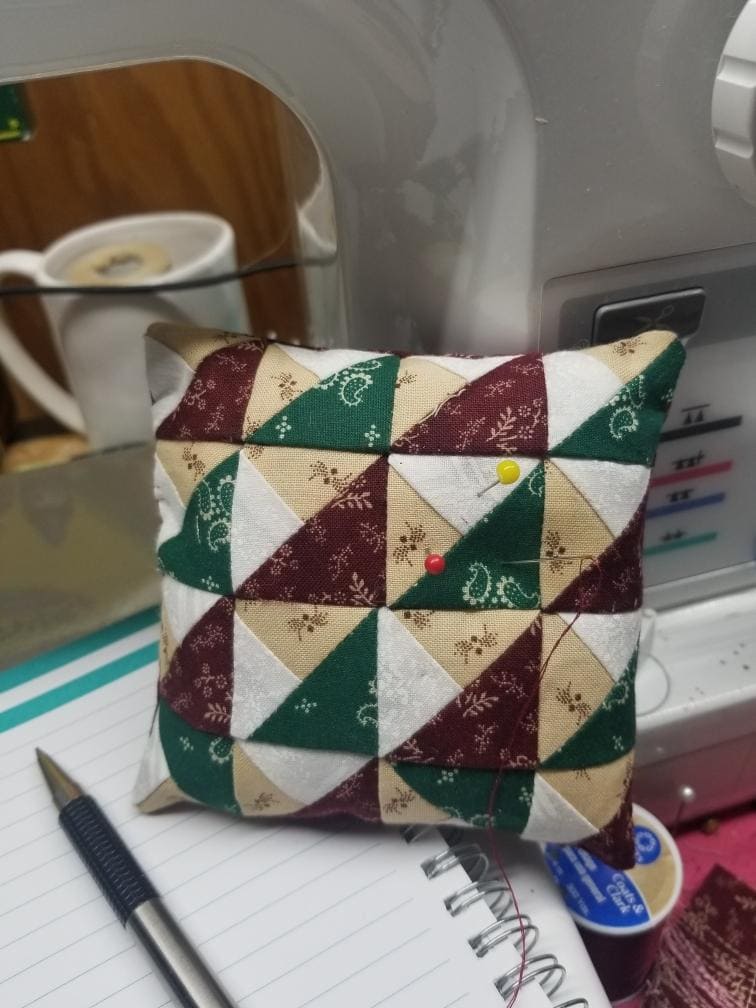 Here is a pincushion Kathy made with her leftovers | 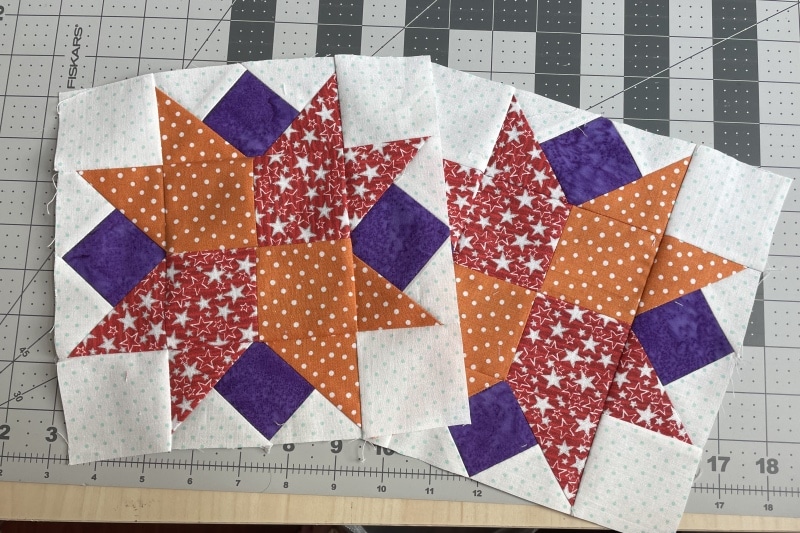 Made by Elke |
Color Me Creative Schedule
- 4/18/2022 Introduction and Block One
- 5/11/2022 Block Two: The Diamond Sawtooth Star
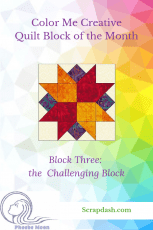
- 6/15/2022 Block Three: the Challenging Block
- 7/13/2022 Block Four: More Flying Geese
- 8/10/2022 Block Five: the Log Cabin
- 9/14/2022 Block Six: HST Quilt Blocks
- 10/12/2022 Block Seven: the Churn Dash
- 11/9/2022 Block Eight: the Center Star
- 12/14/2022 Block Nine: Half Star Quilt Blocks
- 1/11/2023 Block Ten: the Center of the Quilt
- 2/08/2023 Block Eleven: Borders
- 3/15/2023 Block Twelve: Finishing and adding a label

Comments are closed.