

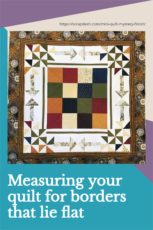
Flat Quilt Borders: Adding the Final Quilt Border
Assemble :
(4) 3″ wide outer border strips
Step One: Measure your quilt top through the center vertically in two places. It should be 31-1/2″, but if not, use YOUR measurement. Cut (2) strips of the border fabric to this length. Using your walking foot if you have one and matching the center of the quilt with the center of the border strip, sew a border to both sides. Forcing a quilt top to match two identically cut borders will force it to lay flat. Press to the border.
Step Two: Measure your quilt top through the center horizontally in two places. It should be 36-1/2″, but if not, use YOUR measurement. Cut (2) strips of the border fabric to this length. Using your walking foot if you have one, and matching the center of the quilt with the center of the border strip, sew a border to the top and bottom. Press to the border.

You are done with Flat Quilt Borders!
But wait…you still have a 5″ x 27-1/2″ pieced strip leftover from the first step. What is that for? A hanging sleeve! It will be made from the same fabric as the quilt so if you ever need extra fabric for a repair, you have it right there. You can even add pieces of the border fabric to make it longer if you like.
A hanging sleeve is usually a tube of fabric sewn to the back of your quilt at the top. To hang a quilt with a sleeve, just slide a rod of some sort through the tube.
Because this piece is only 5″ wide, however, I am going to suggest that you sew it to the back of the quilt after it is quilted but before the binding. Finish the two short sides and one long side by making a small hem. Then place the long raw edge at the top of the quilt so that when you sew the binding on, you will also sew on the hanging sleeve. When you fold over the binding to stitch it down, you will enclose this raw edge. Hand-stitch the other edge in place.
Consider signing your name and address inside the sleeve. It won’t be seen when the quilt is displayed, but should it ever become lost or stolen you will have proof of ownership. Don’t forget to add a label too. Here is a tutorial on how and why to put a label on your quilt.
Preserve your place in history—always sign your work.
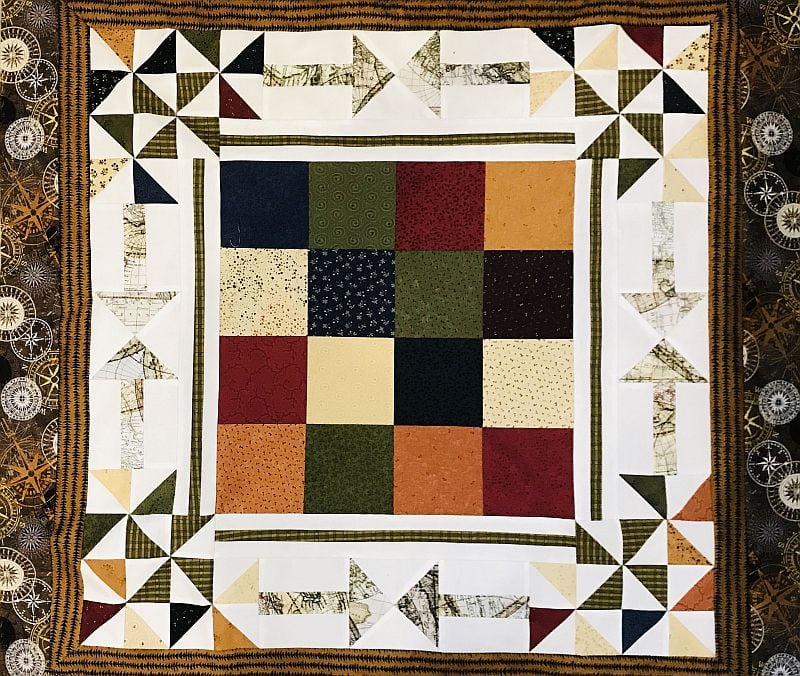
Setting the Quilt Top on Point
Would you like this quilt to be a little bit bigger? If you set it on point as we did for the Pumpkin Spice Latte Mystery, you can make it 51″ x 51″. Or even larger if you add borders after that. The construction details are in that mystery, but basically, you need to cut two 26-1/2″ squares on the diagonal and sew them to the four corner sides.
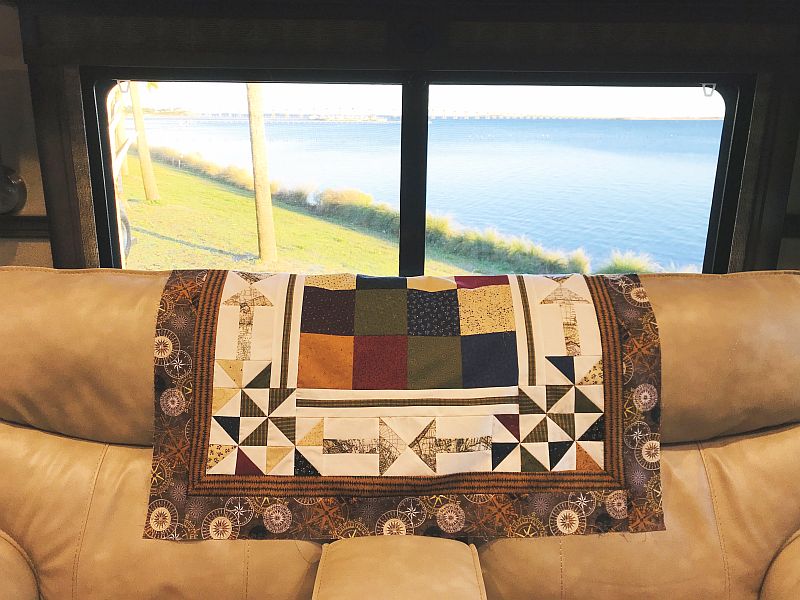
Here is my sample, on the back of the couch in our fifth wheel travel trailer. Did you finish yours? Send me a picture, I like to brag! I will send you a copy of the finished pattern as a thank-you. My email is phoebemoondesigns@gmail.com
Round The Mountain Clues
- Introduction
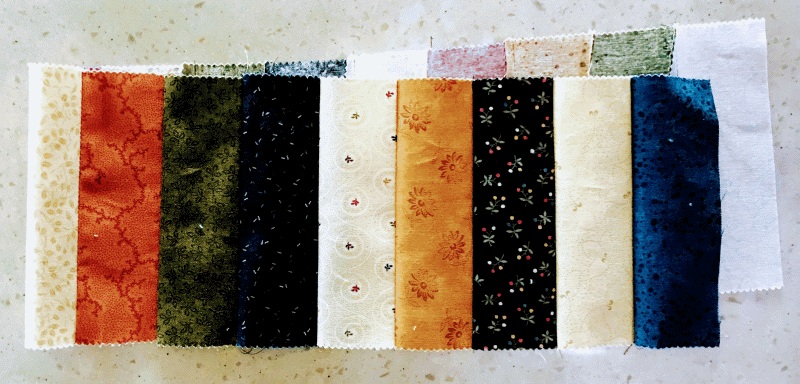
- Fabric Requirements and Cutting Directions
- Clue One: Preparing the Charm Squares.
- Clue Two: Making HSTs and QSTS
- Clue Three: Creating a Pieced Border
- Clue Four: Nine-Patches
- Clue Five: Adding the First Border
- Clue Six: How to Miter a Border
- Clue Seven: The Grand Finale
- Picture Page
Questions or comments? Click on Leave a Reply below or Leave a Comment in the upper left hand corner.
Don’t forget to sign up for the newsletter! Once a week, I send updates on quilt-related information I have found while wandering the web. This might be an inspiring article, a tip or tutorial I have discovered (or written) and occasionally exclusive offers & discounts as well as immediate access to the secret page of free patterns, guides, and printables. You can follow my page on Facebook, or join the Make Believe Quilters group, too.
PhoebeMoon Designs is a participant in the Amazon Services LLC Associates Program, a program designed to provide a means for sites to earn advertising fees by advertising and linking to Amazon.com. As an Amazon Associate I earn from qualifying purchases.

Great design! I’ll fit it in sometime in the next couple of months, because it’s too good not to make! I really like that border fabric with it, too!
Somehow I was late to this party, so it’s on my “to do soon” list. I plan to add additional borders to get it large enough for a QOV. This will also make a wonderful community service comfort quilt at the current size. The tips and instructions are most helpful, especially mitering a border. This is something I had on my “to learn” list for 2020. Thanks for doing this mystery. Happy New Year!