Bookworm Quilt Block
Note: This post may contain affiliate links. That means we may earn a commission at no additional cost to you if you purchase via our links. Not all links are affiliate links. I only recommend products I use and trust. As an Amazon Associate, I earn from qualifying purchases.
The Bookworm Block
This is a great block to place on the front of a bookbag! You could personalize the book titles with a name or a favorite book, too.
This block is completely freehand. By that I mean YOU get to choose the size and type of the books, and the circles that make up the books and bookworm. I am using my Accuquilt Die #55155 but you don’t have to. A protractor, a cup, even a circle from a word processing program will work.
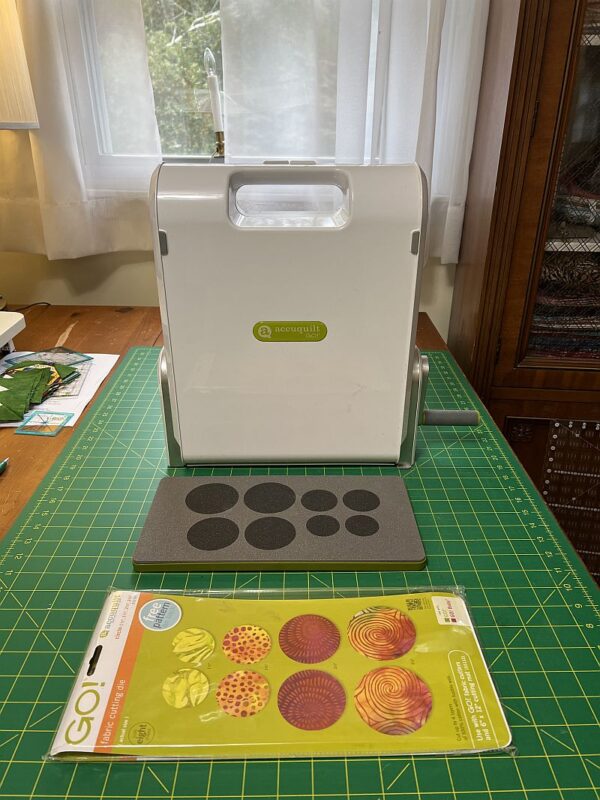
Before starting this project, I recommend that you press your fabric with spray sizing. It will make it easier to cut small pieces. Take the time to clean your machine, put in a new needle, and fill a few bobbins. When pressing, just hold the iron over a spot for a moment or two. This pattern assumes a perfect 1/4” seam.
Make the Books First
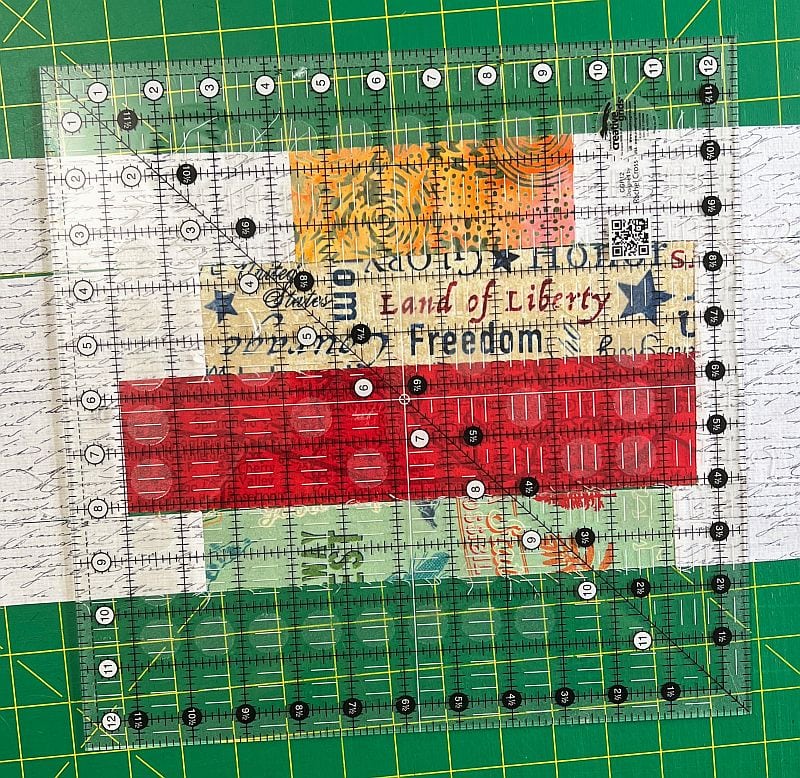
The bookworm needs something to sit on. I have chosen a handwriting background with books that range in size from 1/2″ tall to 2″ tall. Those are unfinished sizes, so be sure to add 1/2″ for the seam allowance. I pieced the books first, then slid them back and forth until I found a design I liked.
I pieced them together, then added the top part of the block and squared it up to 12-1/2″.
Making the Bookworm
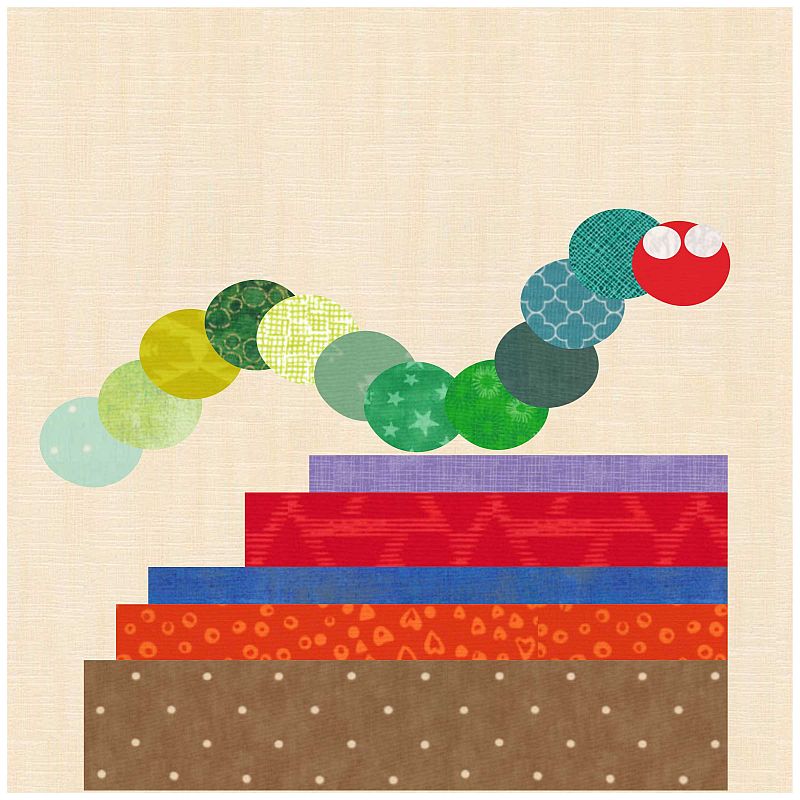
My idea was to use circles to make the body of the bookworm. Here is my Electric Quilt idea.
Using the Accuquilt Machine to make Circles
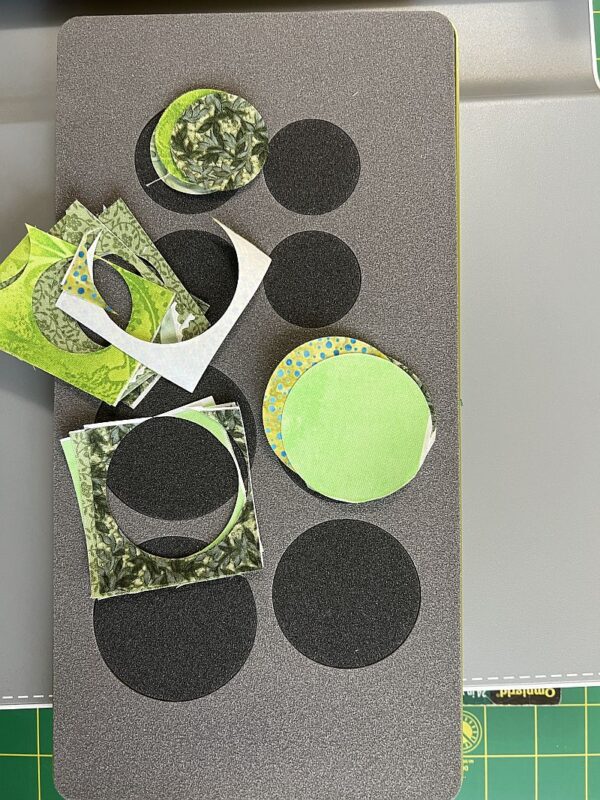
First I gathered some scraps and cut them into 2″ squares. This was a BAD idea. I should have adhered them to the fusible interfacing first and THEN cut them into 2″ squares. Learn from my mistakes!
I had to adhere the tiny pieces of fabric to the fusible, then cut them apart to run them through the machine. I actually needed different sizes so I just used the part of the die that had the size I needed.
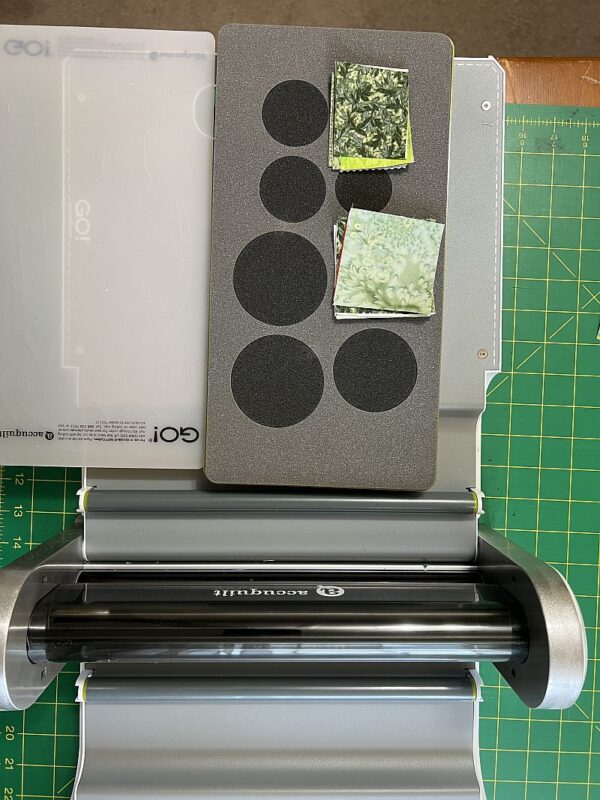
Be sure to put the cutting mat on first, then just roll it through the machine. Easy Peasy.
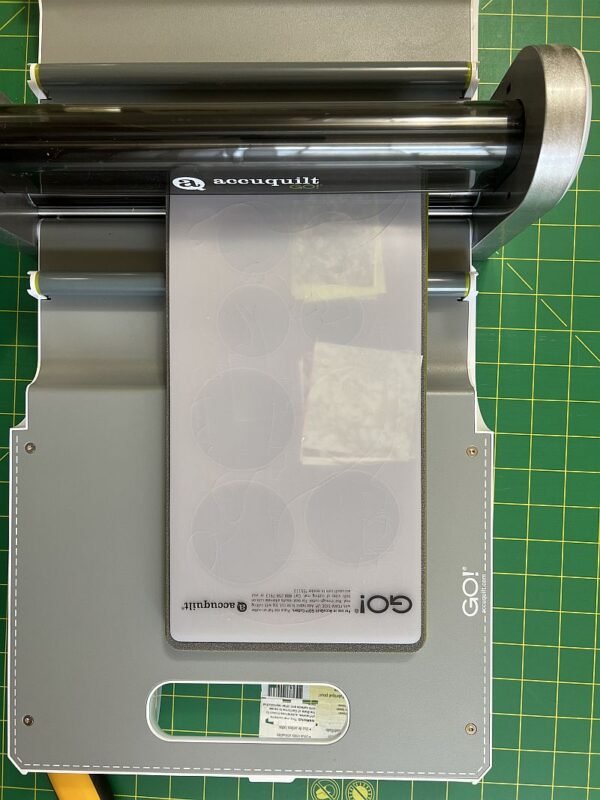
All those pretty circles! I had to handmake the eyes, though. I traced around a bottle top.
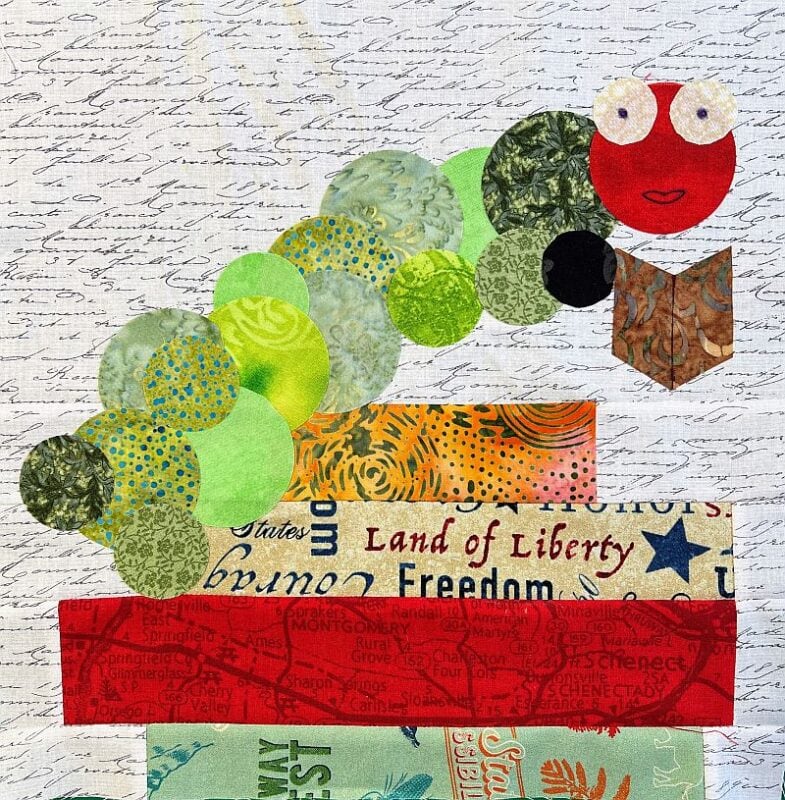
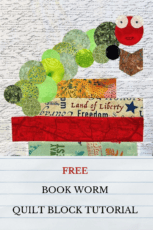
My Final Block
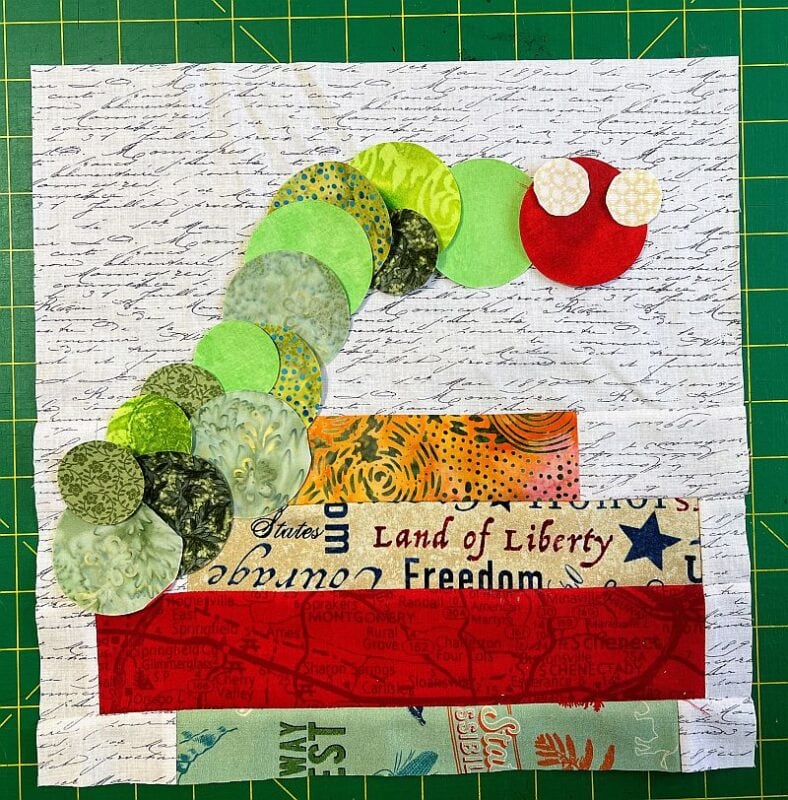
Here’s what it looked like before I fused it. To take the paper off the back of the circles I used a trick that Sue Pritt of Sweet Season Quilts showed me. If you “scrape” the back of the fusible, you create enough friction to easily peel away the paper. Or at least open a tiny tear. She always recommended the Karen Kay Buckley Tiny Scissors. They are expensive, but they have saved my bacon more than once. They are super sharp and great for getting into tiny spaces.
I kinda guessed at the book motif, then realized I needed a hand to hold it. Okay, one more circle. If I were an embroiderer, I would have embroidered the accents but I am not. I used a pen to draw them in. I am not sure what I will do with the final block. Frame it? Quilt it? I might put it behind a piece of vinyl and put it on a book bag. We will have to see!
Don’t forget to sign up for the newsletter! Once a week, I send updates on quilt-related information I have found while wandering the web. This might be an inspiring article, a tip or tutorial I have discovered (or written), and occasionally exclusive offers & discounts as well as immediate access to the secret page of free patterns, guides, and printables. You can follow my page on Facebook, or join the Make Believe Quilters group, too.


What a cute block. Love the bookworm. He makes me think of the Very Hungry Caterpillar.
Great idea! The bookworm is so cute.
Okay this block is a bit of work but so very cute. I will try it on my Grandkids book bags. Thanks for all your work
Love it and I’ve got that die so good to go. He is sooo cute
I don’t have an Accuquilt, but I really appreciate your Bookworm. It is so cute!
Thank you,
Lila
I don’t have an Accuquilt, but I really appreciate your Bookworm. It is so cute!
Thank you,
Lila
BEAUTIFUL…..I think maybe a circle punch might work after the fusible backing is ironed on….worth a try
Love your book worm block! I agree, it reminds me of the cute hungry caterpillar! Great job, I might just have to make some for my grandkids.
Sorry for the late comment. I don’t have a machine but the little worm is so adorable and easy enough to cut. Would make a great book marker as well. Always looking for book markers! Or an applique for a “first day of school” jumper. Thanks (Next favorite quilt is the kite!)
Absolutely adorable! Would love to make it.
this is so adorable. i love that the little worn is reading.
My granddaughter just started a reading group called bookworms! So excited for her. she reads twice a week to children under 10. This block is so perfect!