Everything is Coming Up Roses!
Note: This post may contain affiliate links. That means we may earn a commission at no additional cost to you if you purchase via our links. Not all links are affiliate links. I only recommend products I use and trust. As an Amazon Associate, I earn from qualifying purchases.
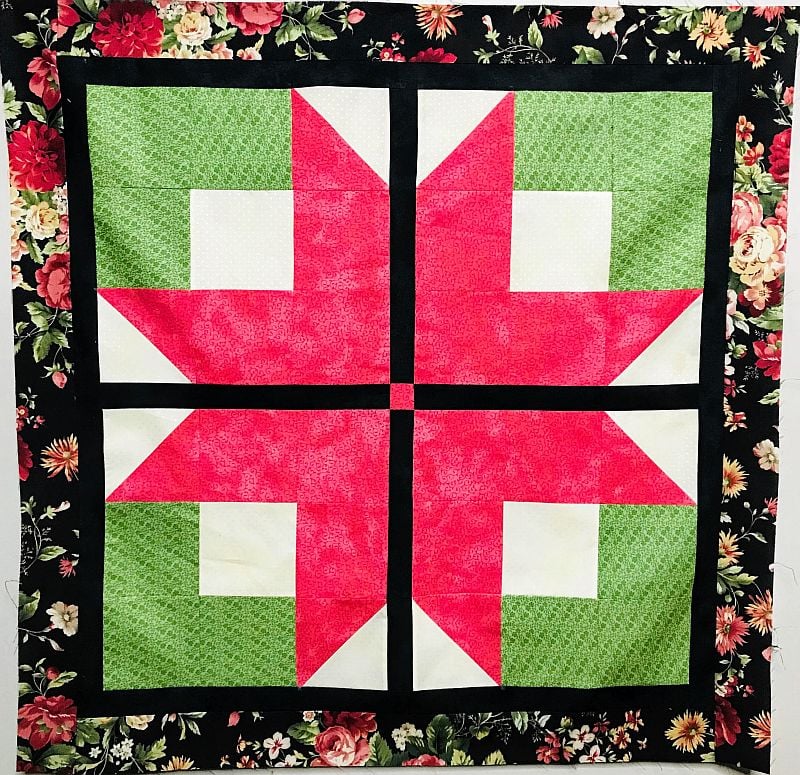
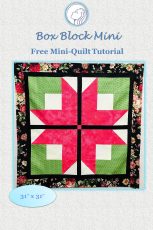
I admit that I am known for seeing the word through Rose Colored Glasses. Here is a pretty pink mini-quilt called A Box of Roses with a rose colored border just to celebrate the season.
Fabric Requirements and Cutting Instructions
- 1/4 yd Green: Cut (2) strips 4-1/2″ wide. From those strips, cut (12) 4-1/2″ squares.
- 1/3 yd Pink: Cut (2) strips 5″ wide. From those strips, cut (4) 5″ squares,
(12) 4-1/2″ squares and (1) 1-1/2″ square. - 1/4 yd Background: Cut (1) strip 5″ wide. From that strip, cut (4) 5″ squares and (4) 4-1/2″ squares.
- 1/2 yd Black: Cut (6) strips 1-1/2″ wide by the Width of Fabric. From (2) strips, cut (4) 1-1/2″ x 12-1/2″ rectangles. From the remaining (4) strips, cut (2) 1-1/2″ x 31-1/2″ rectangles and (2) 1-1/2″ x 27-1/2″ rectangles.
Cut (4) strips 2-1/4″ wide by the Width of Fabric. Sew these end to end to use as the binding. - 1/4 yd Border: Cut (3) strips 2-1/2″ wide by the Width of Fabric. Sew these strips end to end, mitering the join if you prefer.
Making the Half Square Triangle (HST) Blocks
As you can see, this block is basically a nine-patch block with a half-square-triangle block in opposite corners. Since this mini needs 8 identical HSTs, I would normally use the Magic Eight Method but for the purpose of this tutorial, I am using the traditional method.

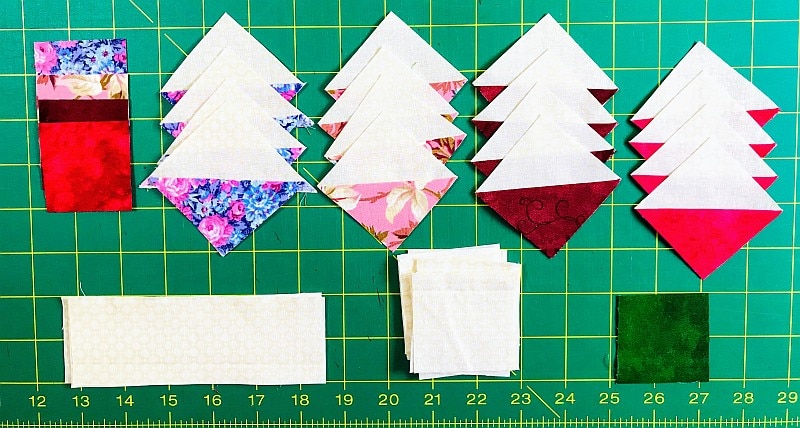
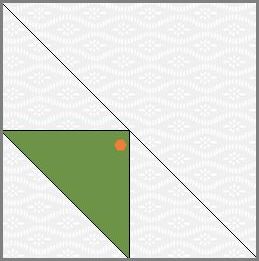
This method uses the 5″ squares of background and pink. Place a 5″ pink square right sides together with a 5″ background square. Draw a diagonal line on the back of the background square. Sew 1/4″ on both sides of the line.
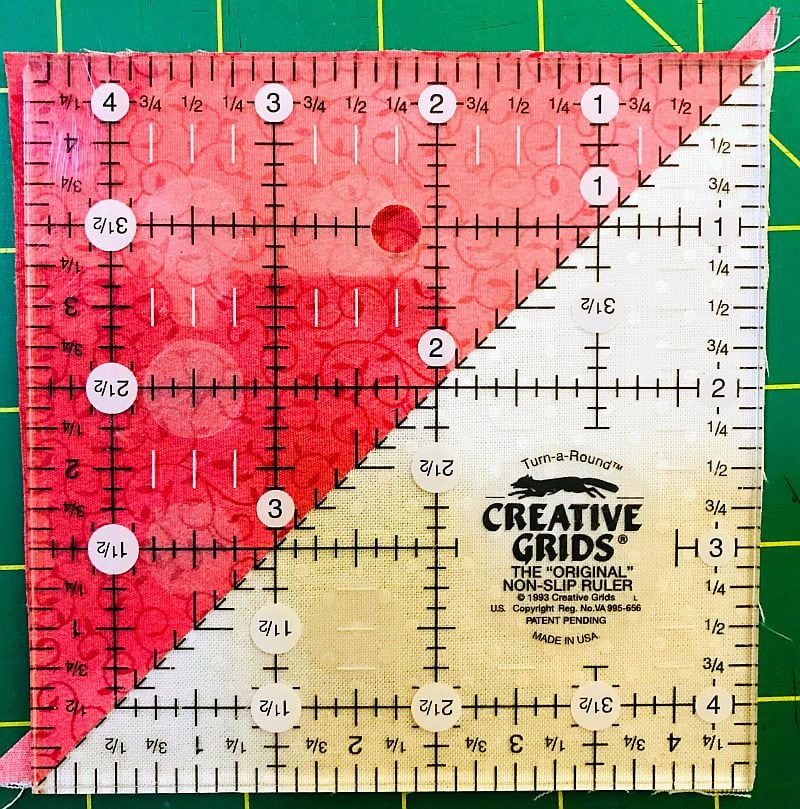
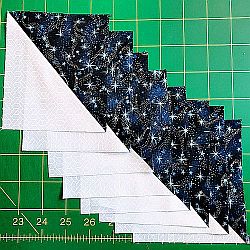
Cut on the line and press to the dark. Square up the two blocks to 4-1/2″ by laying the diagonal line on a 4-1/2″ square ruler on the seamline of the block. Make 8 HSTs.
Making the Box Block
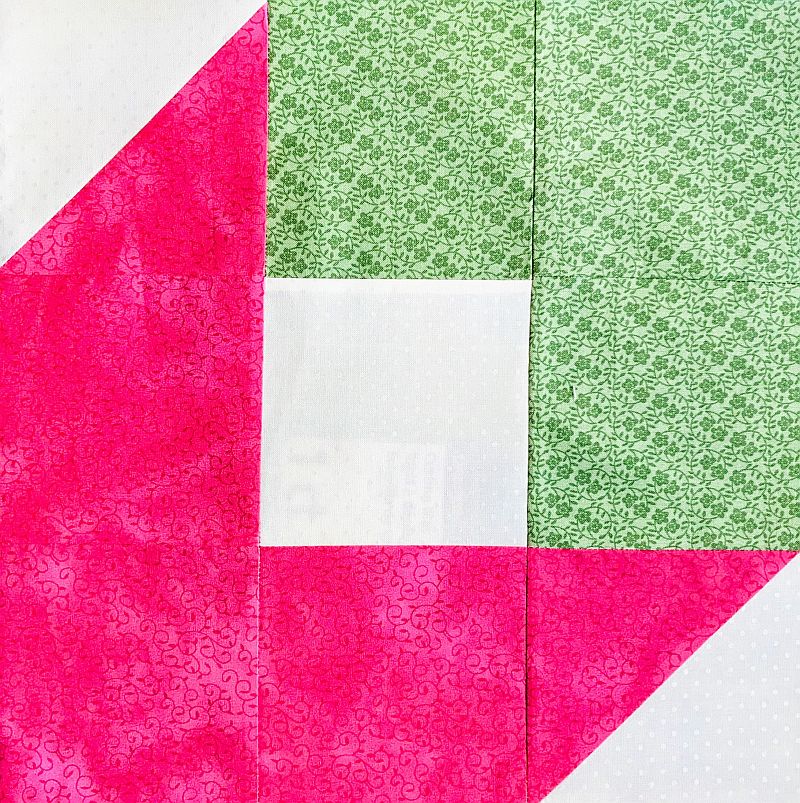
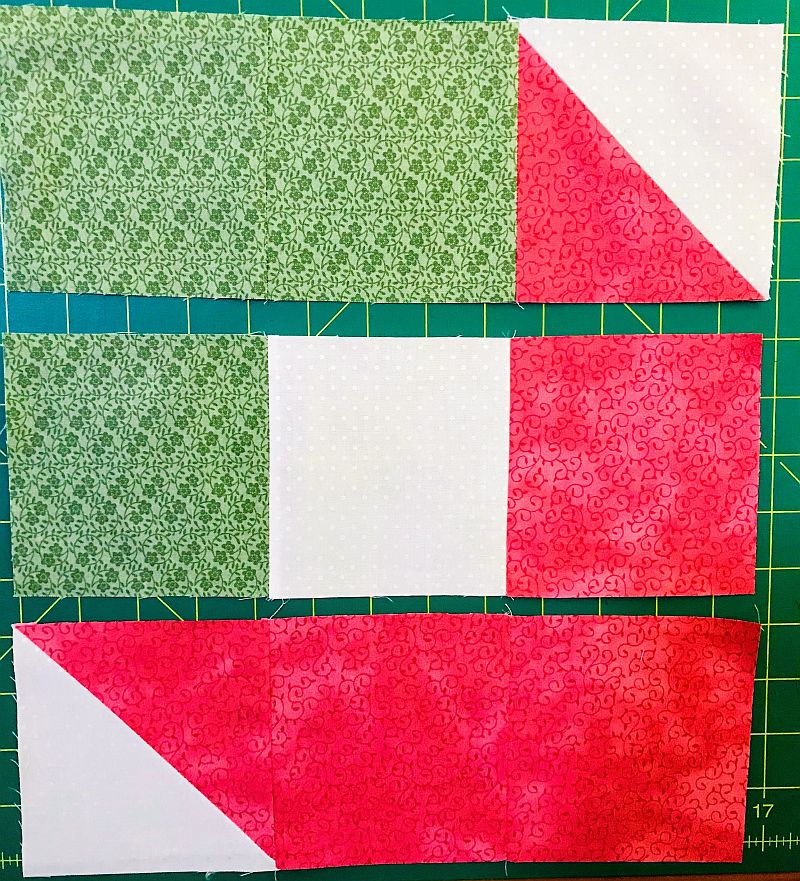
Each box block is actually a nine patch. Sew the squares in four rows of three, pressing as shown. This will help your seams lie next to each other when you sew the rows into a block. Press. Make (4) blocks.
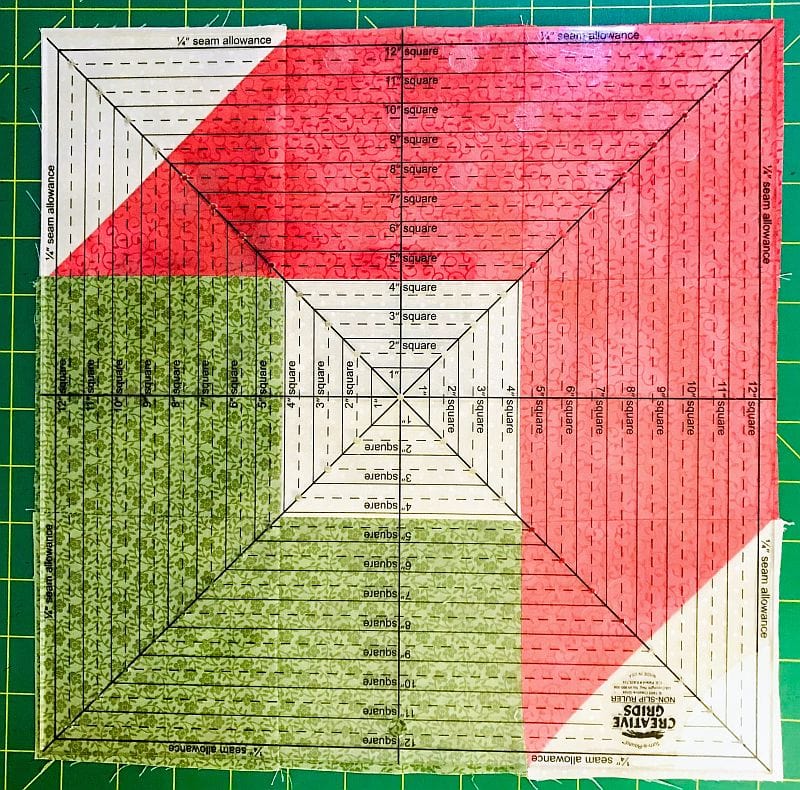
I had two 12-1/2″ square rulers and decided to try them both when squaring up this block. I didn’t think I would need to, but I was wrong! My 1/4″ seam must be a little too small. Here are the two rulers I am trying:
- The Creative Grid Fussy Cut Ruler CGRSQ12 (on the left)
- The Creative Grid Square-Up Ruler CGR12 (on the right)
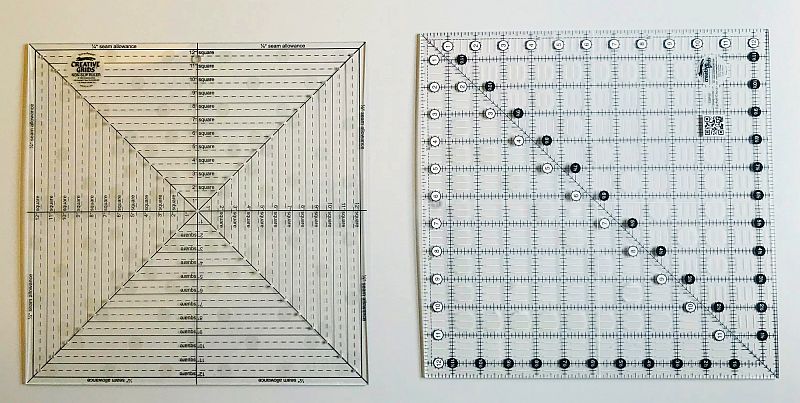
This is the CGR12. It has small, almost invisible non-slip circles on the back, which holds it in place nicely when you are cutting around it. I like the easy-to-read numbers in the circles, too.
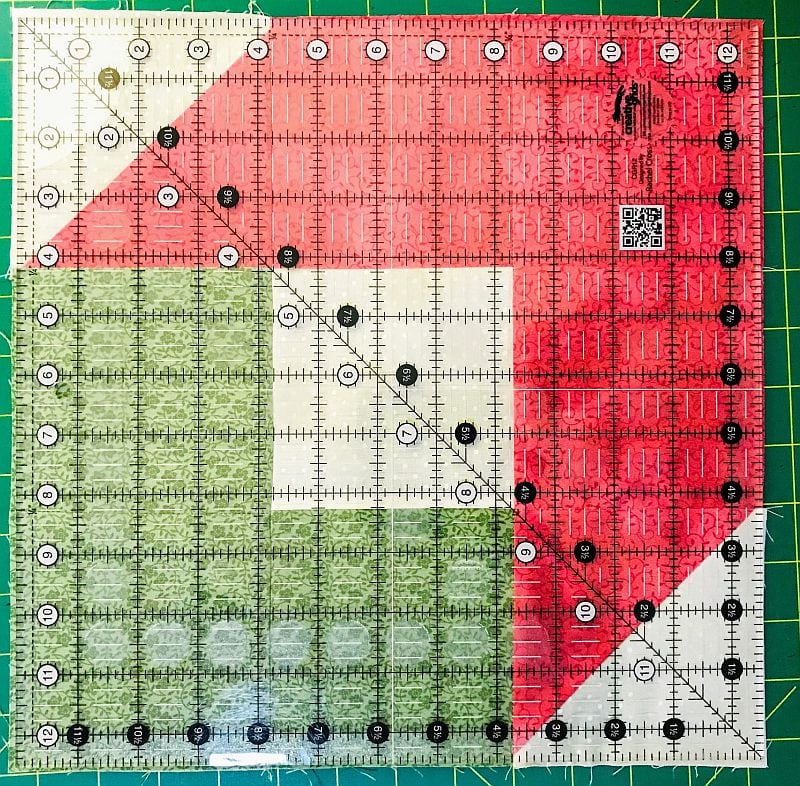
Although I do love the CGR rulers, I preferred the Fussy Cut ruler for squaring up these blocks. It has the same non-slip dots, but I liked the way it was lined for fussy cutting. You just centered the center block lines on the block and aimed the four diagonal lines on the ruler at the corners of the block. Cut around the block and it is perfect!
Making the Box Block Mini-Quilt
Assemble:
- (4) Box Blocks
- (4) 1-1/2″ x 12-1/2″ black rectangles.
- (1) 1-1/2″ pink square.
Sew a 1-1/2″ x 12-1/2″ black rectangle between two blocks to create a sashing as shown. Press to the sashing. Make (2) sets.
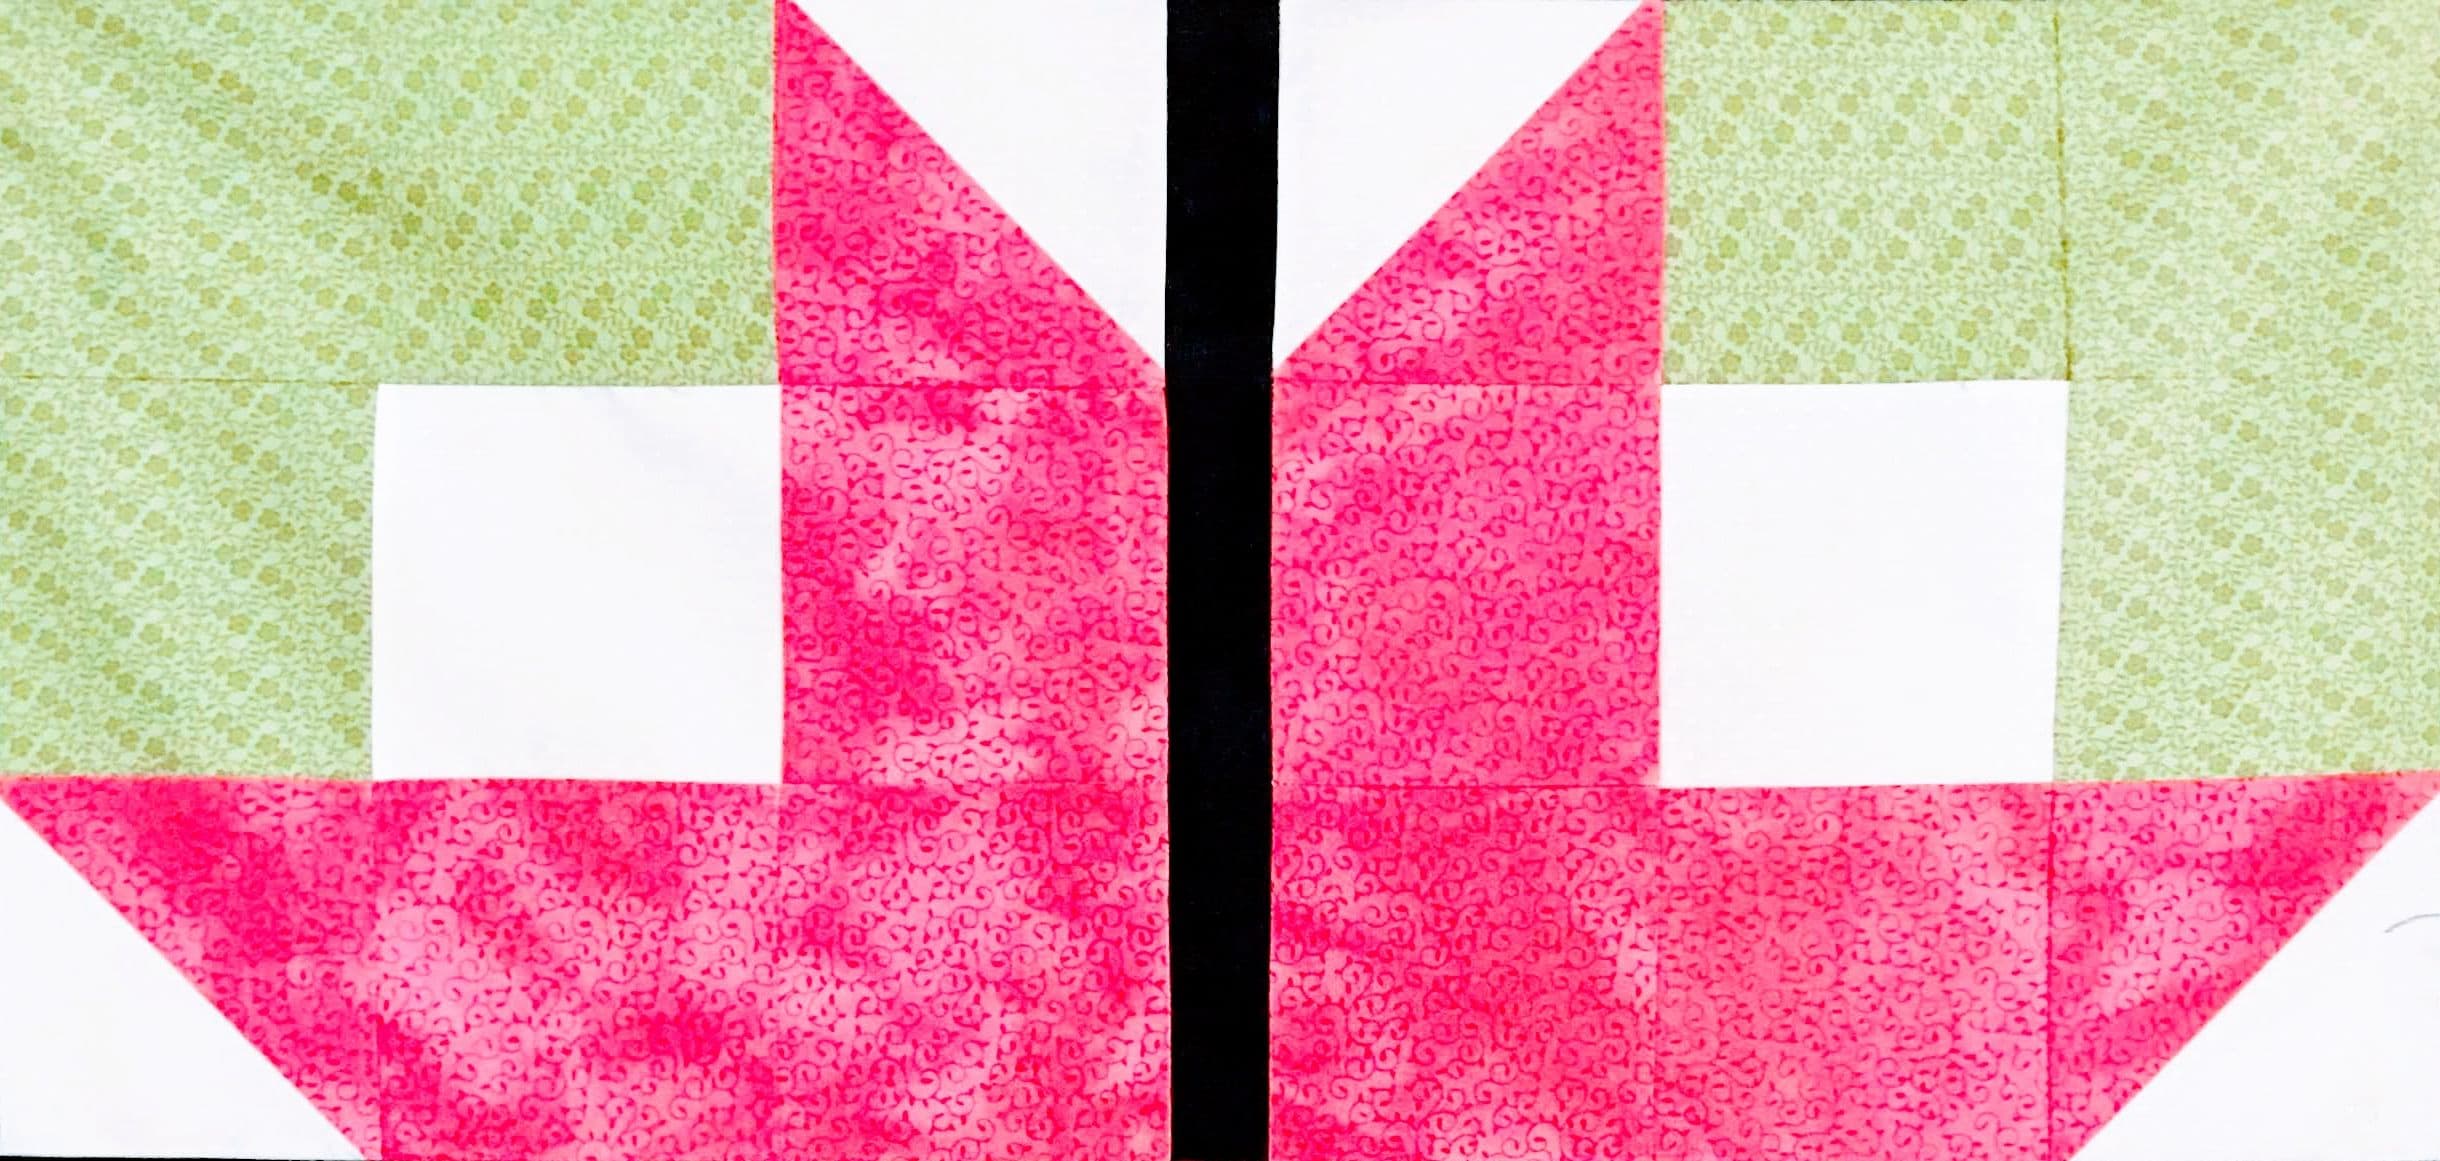
Sew the 1-1/2″ pink square between (2) 1-1/2″ x 12-1/2″ black rectangles. Press to the sashing.

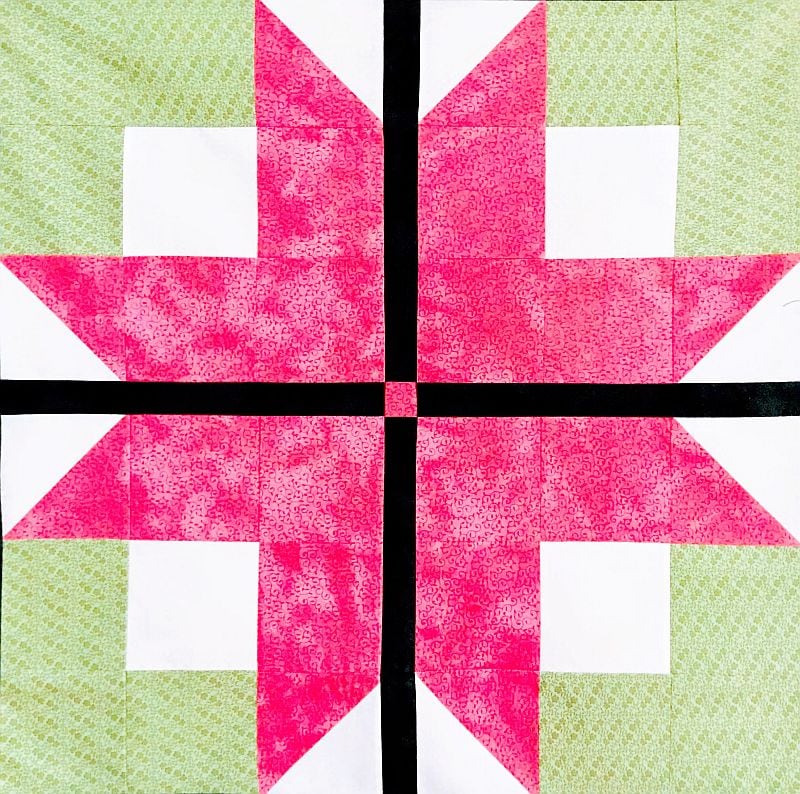
Centering the small square on the two vertical sashings, sew a two-block unit to both sides of the center sashing. Press to the sashing. Your new top should measure 25-1/2″ square.
Assemble:
- (2) 1-1/2″ x 25-1/2″ black rectangles
- (2) 1-1/2″ x 27-1/2″ black rectangles
- The long border strip you made from the (3) 2-1/2″ wide border strips
Matching the center of the rectangle with the center of the quilt top, sew a
1-1/2″ x 25-1/2″ rectangle to both sides of the quilt top. Press to the rectangle.
Matching the center of the rectangle with the center of the quilt top, sew a
1-1/2″ x 27-1/2″ rectangle to the top and bottom of the quilt top. Press to the rectangle.
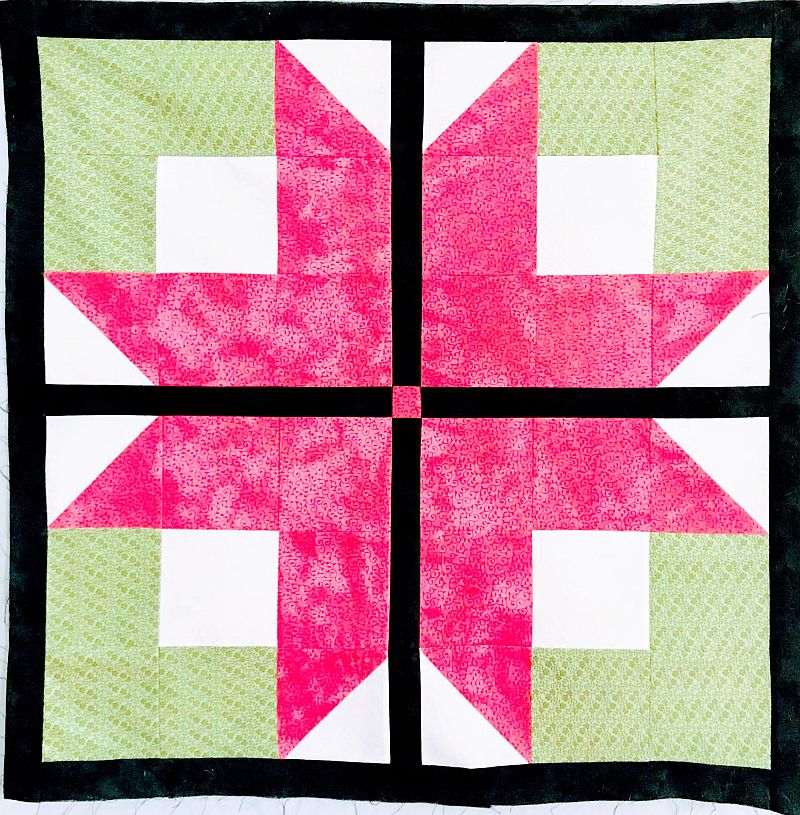
Your quilt top should now measure 27-1/2″ square. Cut two border strips to this length and sew them to both sides of the quilt top. Take care to match the center of the border with the center of the quilt top. Press to the border.
Cut two border strips 31-1/2″ long and sew them to the top and bottom of the quilt top. Take care to match the center of the border with the center of the quilt top. Press to the border. You are done! Quilt as desired and enjoy.
Please add moc.hsadparcs@sirk to your contacts list to make sure you get the confirmation message. Drag the confirmation message from the Promotion tab to the Primary tab if you use Gmail.
If you are already a subscriber, it’s okay to fill out this form. You won’t be put on the mailing list twice.
Don’t forget to sign up for the newsletter! Once a week, I send updates on quilt-related information I have found while wandering the web. This might be an inspiring article, a tip or tutorial I have discovered (or written), and occasionally exclusive offers & discounts as well as immediate access to the secret page of free patterns, guides, and printables. You can follow my page on Facebook, or join the Make Believe Quilters group, too.

Lovely mini and a great tutorial! Thanks for the pattern.
Lovely quilt. Thank you for the pattern.
Pretty! I love the bright colors.
I love box blocks!
This is an awesome and beautiful block! Your tutorial is great, too. Thanks for being a cool blogger and hopping with us!
Great-looking mini, and thanks for the tutorial and pattern!
Very pretty and thanks for the tutorial!
very cute block — thanks for sharing the tutorial!
Lovely block. Thanks for sharing.
What a fun project! Love the colors!
Thanks for taking the time and photos for such a detailed tutorial.
Such a cute mini quilt! Thanks for sharing.
Beautiful colors!
What a pretty block! Thanks for sharing.
Fun pattern! Thanks for the instructions.
very pretty mini quilt! Thanks for the tutorial!
That was a surprise! I was not thinking a star was where you were going. It is lovely and a great tutorial.
What a fun tutorial and pretty quiltie!
A very pretty quilt. Thanks for sharing
Your Box of Roses is soooo pretty! Thank you for the tutorial – I think it would make a gorgeous “big” quilt too.