How to Make a Flying Goose Quilt Block using the QIAD Ruler
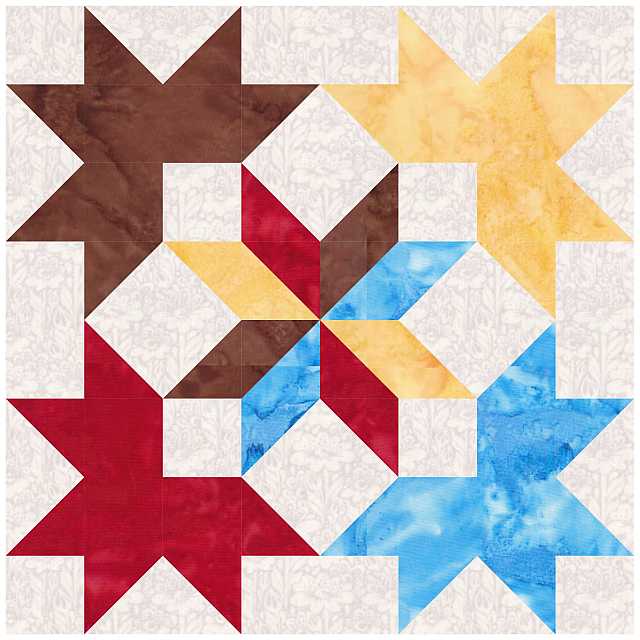
The Flying Goose block is one of the oldest known American quilting designs. A Newark museum has a traditional flying geese quilt made of homespun wool around 1800. Did they call that design the flying goose back then, though? Probably not. The first time the Flying Goose block was mentioned by that name in print was in the Ladies Art Company Catalog of 1898. That catalog called the center block of this quilt “Stars and Cubes”.
So how did the Flying Goose block get the name? Many older quilt block designs are named for designs in nature. Have you ever seen a flock of geese flying in a V formation? That formation helps them fly longer distances without getting tired. Each bird takes a turn flying at the front of the flock to break the air for those flying behind it, creating a slipstream for their flight. All the while they are flying, they are honking enthusiastically, keeping track of each other, and offering encouragement.
Quilters are a little like this, aren’t we? We help each other out in class, taking our turn at flying in front of the group, and offer encouragement to those quilters struggling to keep up. The only difference between us and geese is that we rely more on chocolate.
How to Make 4 Flying Geese Quilt Blocks at once using the Quilt-in-a-Day Ruler
There are many, many ways to make a Flying Goose quilt block. This is just one of them. The overview below shows the Quilt-in-a-Day ruler #CC2007 but it comes in many different sizes.
Instructions are also included with the ruler. Note that you work with much larger pieces until the flying goose unit is completed and then you trim it with a Quilt in a Day Flying Geese ruler.
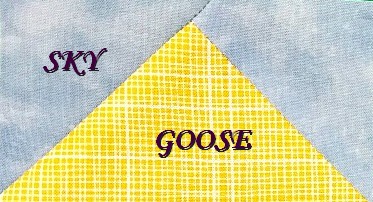
Start with a square of sky blue fabric 3″ larger than the length of your finished unit. Lay on top of that a square of goose fabric 1 ½” larger than the length of your finished unit, right sides together and roughly centered on the larger square.
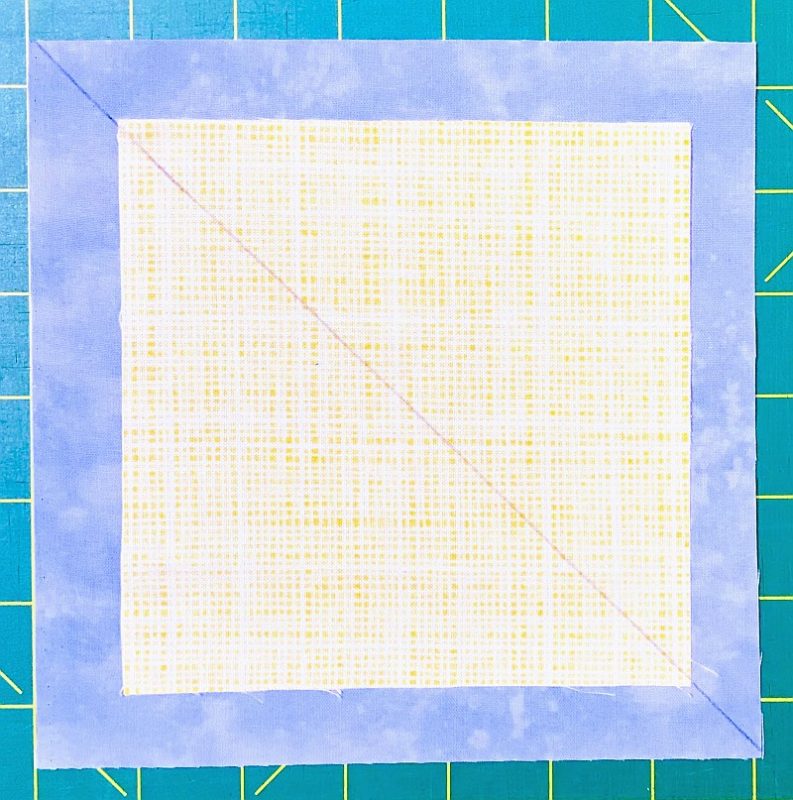
Draw a line through the diagonal of both squares. Pin carefully, then sew 1/4″ on either side of the diagonal. Cut on the line.
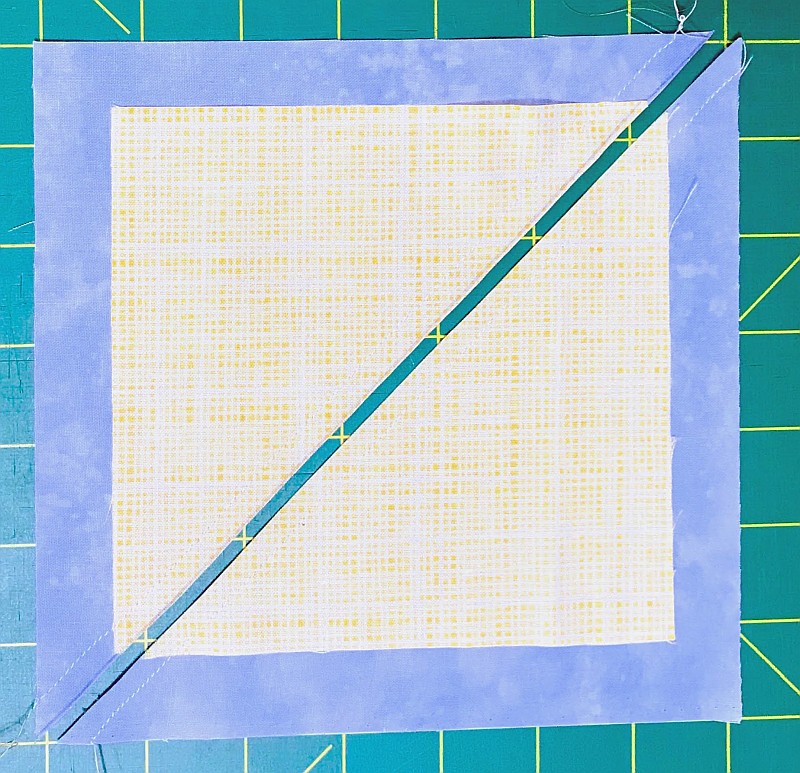
It’s going to look a little odd. Press to the larger triangle.
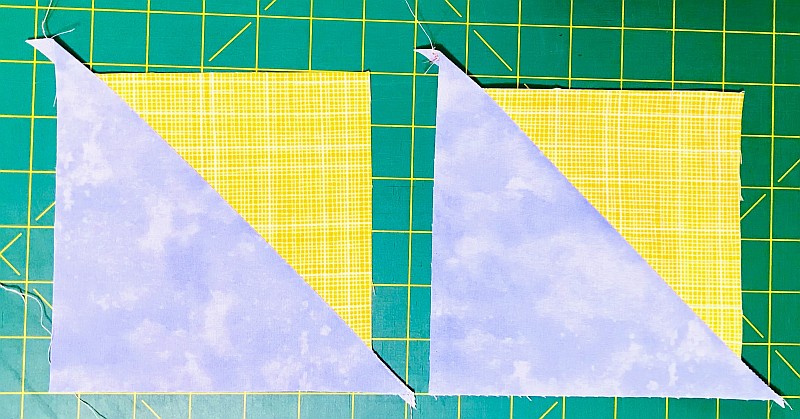
Lay your two odd shaped squares on top of each other, right sides together, matching the corners of the smaller triangle with the corners of the larger one. The seams WILL NOT touch each other. It’s okay, really.
Once again, draw a line on the diagonal (crossing the center seam), pin carefully, and sew 1/4″ on either side of the line. Cut on the line.
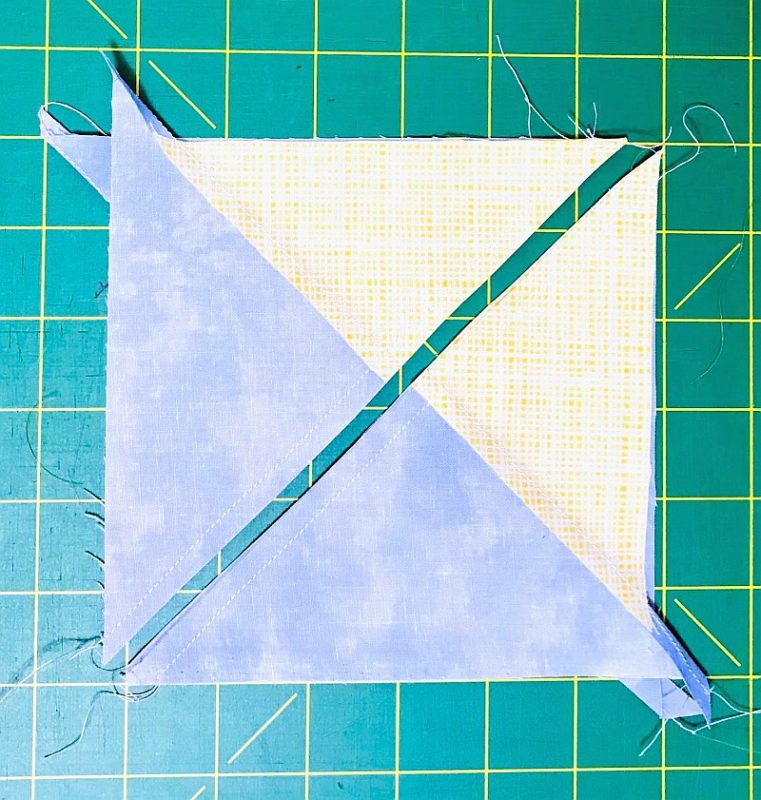
You should end up with a unit that looks like the one below. Make a small clip in the center of the seam so you can press both sides away from the goose.
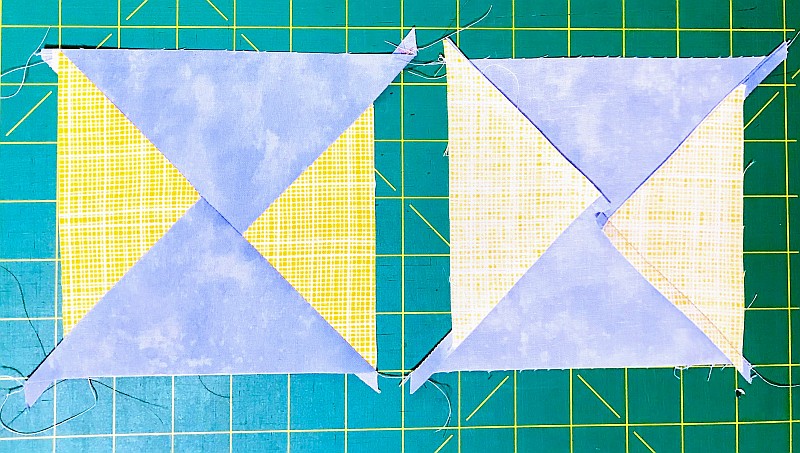
Now just cut this unit in half and square it up using the Flying Geese ruler.
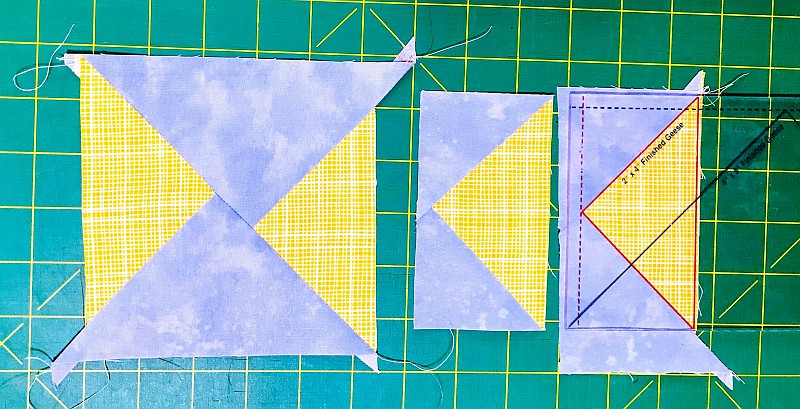
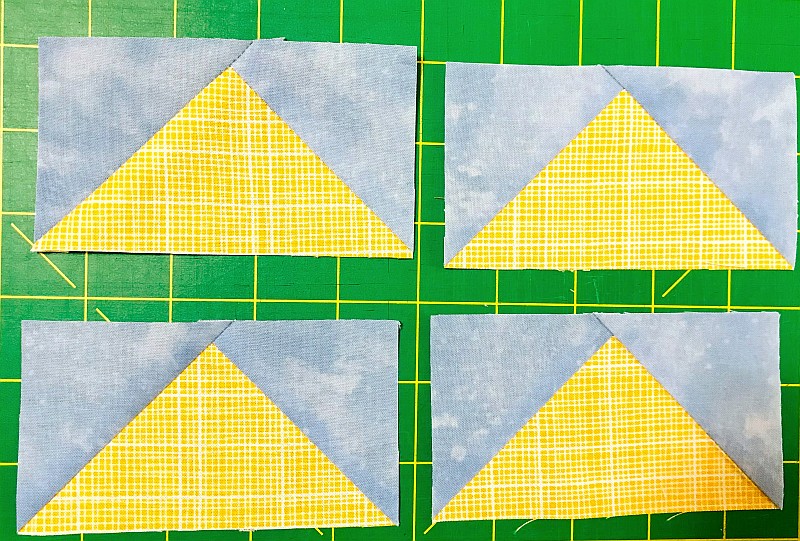
You have 4 perfect Flying Goose Quilt Blocks!
Strolling Geese Quilt Pattern E-Book with three patterns
This e-book will show you 8 different ways of creating the Flying Goose block while creating a quilt, table topper, and table runner. Specialty rulers are explained but are NOT required. Choose your favorite method and fly! Lots of full-colored diagrams and detailed explanations are included. Available as an Instant Download on Etsy for only $ 20.00
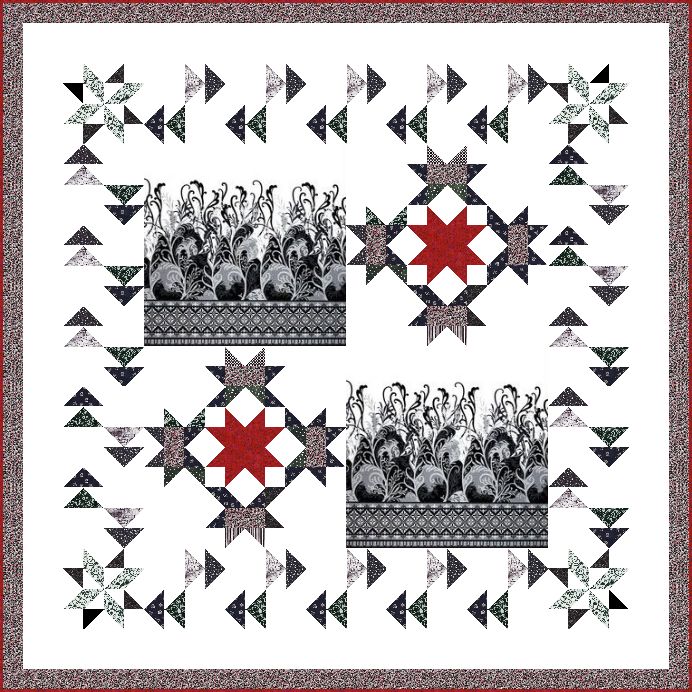 The Strolling Geese Lap Quit finishes 48″ x 38″ and explains these rulers: | 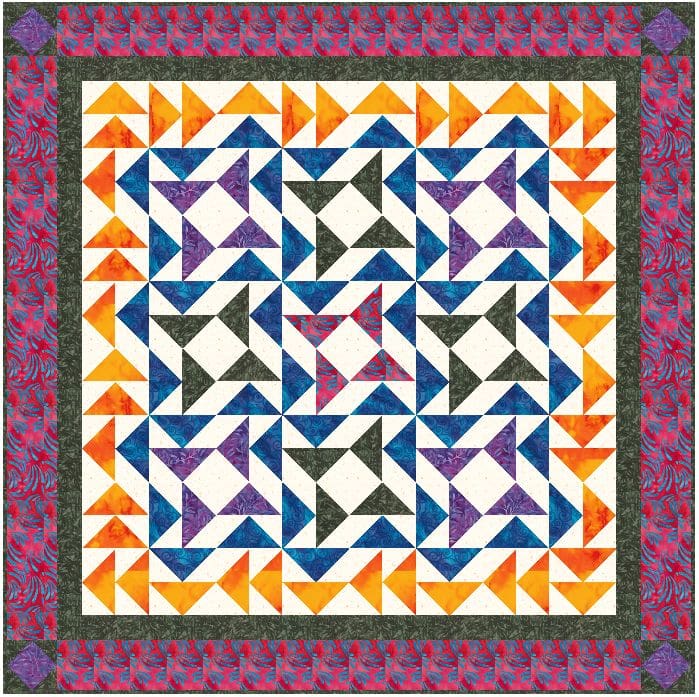 The Giggling Geese Table Topper finishes 41″ x 41″ and is designed for the Wing Clipper Ruler but you can use your favorite method, of course!
| 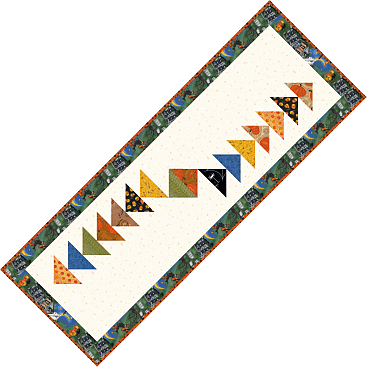 The 13″ x 37″ Fleeing Geese table topper uses a three-dimensional method of making flying geese. |
Don’t forget to sign up for the newsletter! Once a week, I send updates on quilt-related information I have found while wandering the web. This might be an inspiring article, a tip or tutorial I have discovered (or written), and occasionally exclusive offers & discounts as well as immediate access to the secret page of free patterns, guides, and printables. You can follow my page on Facebook, or join the Make Believe Quilters group, too.

