Rotary Cutting Tips
Rotary Cutting Tips for fabric cutting like a pro! Before beginning a project, wash and press your fabric. If you like the behavior of crisp fabric as you cut, sew, and press your project, use a little spray sizing when you press it. Pressing means just holding the iron over a spot for a moment or two. Don’t drag the iron back and forth as you normally do when ironing a garment. That might distort your seams.
Unless the pattern tells you otherwise, you should always assume that you are cutting on the straight-of-grain. All fabric has a grain line, just like wood. The grain that is parallel to the selvage is the lengthwise grain. It has very little “give”.

The grain that is perpendicular to the selvage (going through the fold) is the crosswise grain. It has a little more give and is fine for piecing blocks and borders. The grain that runs on a 45 degree angle to the selvage is the bias. It has lots of give. They tend to pull out of square when working with blocks or fabric cut on the bias.
Most strips for this pattern are cut on the crosswise grain, which means they are cut by Width of Fabric (WOF.) Before you make your first cut, hold the two selvages together and reposition the fold of the fabric if necessary.
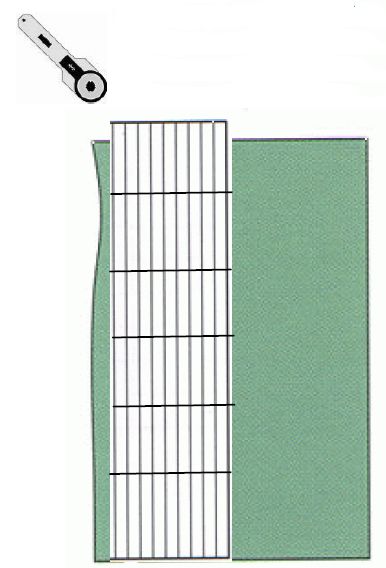
If the edge of your fabric is crooked, straighten the fabric by placing your ruler so the short edge is along the selvage and the long edge goes across the fabric. Cut off an inch or so. All your future cuts will now be on the straight-of-grain.

Remember, your cut will be more accurate if you stand while cutting and roll the rotary cutter away from your body. Hold the cutter at a slight angle to the fabric, not straight up and down.
If you are cutting a lot of strips from one piece of fabric, check for straight-of-grain every few strips. Even a few threads off can make a difference after several cuts. This can also happen if you change rulers in the middle of a project, too.
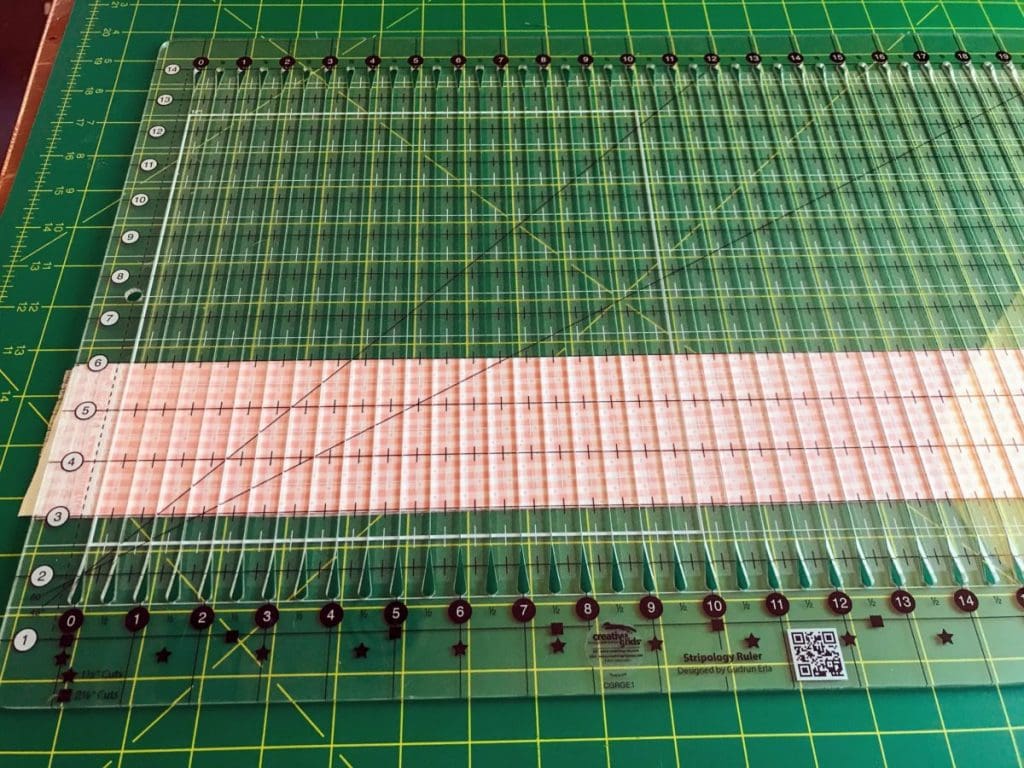
To cut squares, simply lay your strips crosswise on the cutting mat and line up your ruler with the bottom of the strip. In the Stripology ruler, the strips are lined up with a line on the ruler.

Don’t forget to sign up for the newsletter! Once a week, I send updates on quilt-related information I have found while wandering the web. This might be an inspiring article, a tip or tutorial I have discovered (or written), and occasionally exclusive offers & discounts as well as immediate access to the secret page of free patterns, guides, and printables. You can follow my page on Facebook, or join the Make Believe Quilters group, too.
