Spark your creativity with the No Whining quilt technique

Let me tell you about a class I once created called the No Whining Quilt. This was in the mid 90’s when the internet was in its infancy and quilters still drew inspiration from each other in classes and workshops.

In this class, I encouraged students to think outside the box – to come up with new ways of creating blocks and putting them together. We started with what is now called the disappearing nine patch.

As a group, we experimented with different ways to color the nine-patch quilt block and different ways to put them together.  Our brainstorming events were epic!

We would come up with different blocks to cut apart – not necessarily in fourths. Sometimes we would put different blocks together, cut them up, and put them back together again. We might add unrelated blocks like a half square triangle block or a churn dash as an alternate block. Or we would add a three-dimensional element. Many, many times we created ugly, unworkable blocks. But every single solitary time I taught one of these classes, someone would come up with something that was utterly original.

Don’t be afraid to think outside the block!

The method I call “bias beauty” was created in one of those classes, as was the faux cathedral window. Now, I would love to take credit for all these blocks but the truth is that we all came up with them together.  In fact, we came up with so many ideas that I finally split the class into three sections. These were the original No Whining; Stripper Club; and Piecing in the Third Dimension.  If you did the Pumpkin Spice Mystery, you explored a few of those techniques.

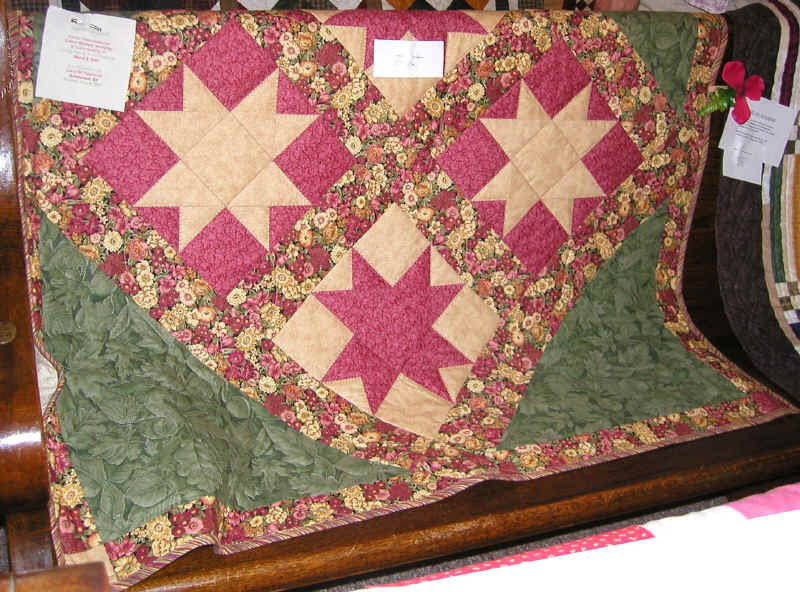
You can do the same without a workshop, although truthfully, it does help to have someone to bounce ideas around.  The picture above is from a Stripper Club class I taught for the Maple Leaf Quilters in Rutland, VT.

I would like to urge you to experiment. You don’t need to use your best fabric. I do have to warn you the colors you choose will greatly influence your perception of the final product.

You don’t need to create an entire quilt. A block will do just fine, or a placemat or tablecloth if you want to see a repeating design. If you like your practice piece, you can always use it for a potholder, pocket on an apron, birdcage cover, doll quilt, pillow, or other home dec project.

This block is the same one used in the Faux Braid – just rearranged.

Rearranged Blocks from the Faux Braid

This month, step outside your comfort zone and try new techniques. You never know which will become your new sewing passion until you try.

Please add moc.hsadparcsobfsctd@sirk to your contacts list to make sure you get the confirmation message. Drag the confirmation message from the Promotion tab to the Primary tab if you use Gmail.

If you are already a subscriber, it’s okay to fill out this form. You won’t be put on the mailing list twice.

Have another tip to offer? Send it to me or reply below and I will add it here.

Don’t forget to sign up for the newsletter! Once a week, I send updates on quilt-related information I have found while wandering the web. This might be an inspiring article, a tip or tutorial I have discovered (or written), and occasionally exclusive offers & discounts as well as immediate access to the secret page of free patterns, guides, and printables. You can follow my page on Facebook, or join the Make Believe Quilters group, too.