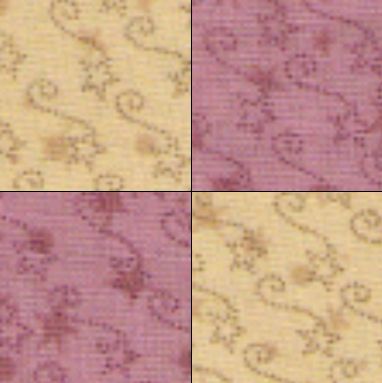
How to Make Four-Patch Quilt Blocks

This mystery quilt is designed to show you two different ways to make perfect flying geese blocks. The clue links are listed at the bottom of this tutorial. To print just this clue, use the green Print Friendly button at the bottom of this page.

In this clue, you are starting to make the blocks for the actual quilt.

Assemble:

  • (2) Light strips 3-1/2″ wide by the width of the fabric
  • (2) Medium strips 3-1/2″ wide by the width of the fabric

To make a four patch, sew a 3-1/2″ medium strip to a 3-1/2″ light strip, right sides together. Make two of these strip sets and press the seam. Don’t open the strips and press to the dark yet. Just press the strip sets closed. This is a dressmaking technique called “setting the seam”. I used this technique in the Summer Storm mystery if you would like to see more details.

Cross cut these sets into 3-1/2″ two-part units. Use the Stripology ruler if you have one. Now you can press them open, pressing the seam to the dark.

Two-part quilt block

Kris’s note: I just happened to notice this ruler on Amazon. It is significantly less expensive than the Stripology and would be good for small units. Take a look at it and see what you think.

Make (10) four patches, using pins to keep your intersections straight. Because you set your seams in the previous step, this intersection should be nice and crisp. To avoid bulk at this intersection, twirl your seams on the back. Finger press them so they go around in a circle. You will need to pick out a couple of stitches at the intersection to get these twirled seams to lay flat. You know you have done it right if you see a teeny tiny four patch made by the right side of the fabric at the intersection.

How to Twirl Quilt Block Seams

Now you can press the block and it should lie absolutely flat and be exactly 6-1/2″ square.

IF YOU ARE MAKING THE LARGER SIZE
You will need more blocks. You will need to make a total of (15) Four-Patch Units in this colorway.

Sewing Ahead

Assemble:

  • (8) Medium 2-1/2″ wide by Width of Fabric strips for the binding (the larger size uses (9) strips.)
  • (6) 1″ Medium wide strips by the width of the fabric. (optional) (If you are making the larger size, you will need 8 strips)
  • (6) Background 3-1/2″ wide by Width of Fabric strips for the floating border, unless you are making the larger size. Those (8) strips should be cut 4-1/2″ wide
  • (7) Outer Border 5″ wide by Width of Fabric strips, unless you are making the larger size. Those (9) strips should be cut 6-1/2″ wide.

Sew each group of strips end to end, mitering the joins if you prefer, by sewing the two strips right sides together at an angle as shown below. Trim the seams to 1/4″ and press open.

How to miter the join of a quilt strip

Mystery Clues

Don’t forget that anyone who sends me a picture of any step in this mystery before 1/3/23 will receive a copy of the final pattern. Send your pictures to phoebemoondesigns@gmail.com

Fabric Requirements
Cutting Instructions (clue available 12/31 at 9AM Eastern)
The Flying Geese for Block One (clue available 1/1/23 at 9AM Eastern)
The Flying Geese for Block Two (clue available 1/1/23 at 10AM Eastern)
More Blocks (clue available 1/1/23 at 11AM Eastern)
Even More Blocks (clue available 1/1/23 at noon Eastern
The Last Quilt Block (clue available 1/1/23 at 1PM Eastern
Borders (clue available 1/1/23 at 2PM Eastern)
The Final Frontier (clue available 1/1/23 at 3PM Eastern
Picture Page

Have another tip to offer? Send it to me or reply below and I will add it here.

Don’t forget to sign up for the newsletter! Once a week, I send updates on quilt-related information I have found while wandering the web. This might be an inspiring article, a tip or tutorial I have discovered (or written), and occasionally exclusive offers & discounts as well as immediate access to the secret page of free patterns, guides, and printables. You can follow my page on Facebook, or join the Make Believe Quilters group, too.