Using a 60-degree ruler to make a Baby Blocks quilt with no Y seams
I saw this technique demonstrated in a guild meeting and decided to try it – with a little help from my friends:-)) I took pictures of each step so you could follow along. MUCH later, I discovered there was a video that explained all this. It is at the bottom of this page.
Using a 60 degree ruler to make baby blocks
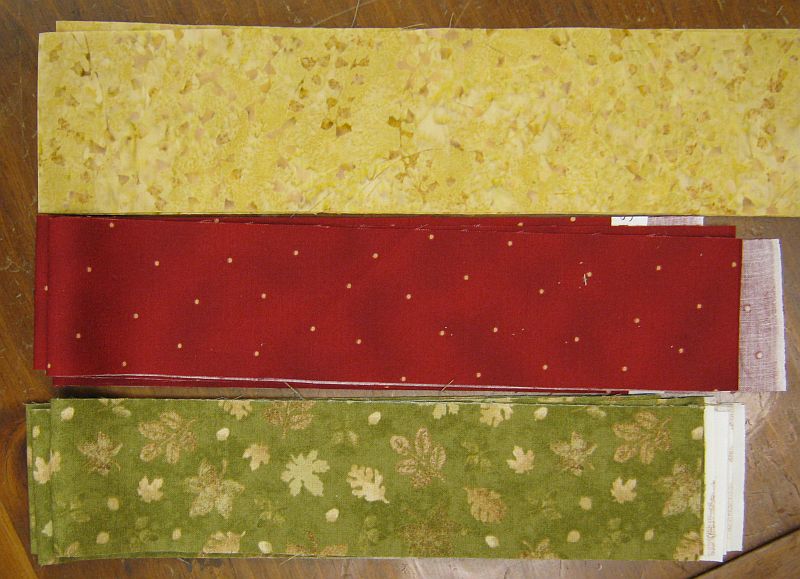
I started with six strips cut from the width of the fabric.
(2) 3″ wide lights,
(2) 2 1/2″ wide darks and
(2) 2 1/2′ wide mediums
(plus (4) strips of 3″ wide border fabric)
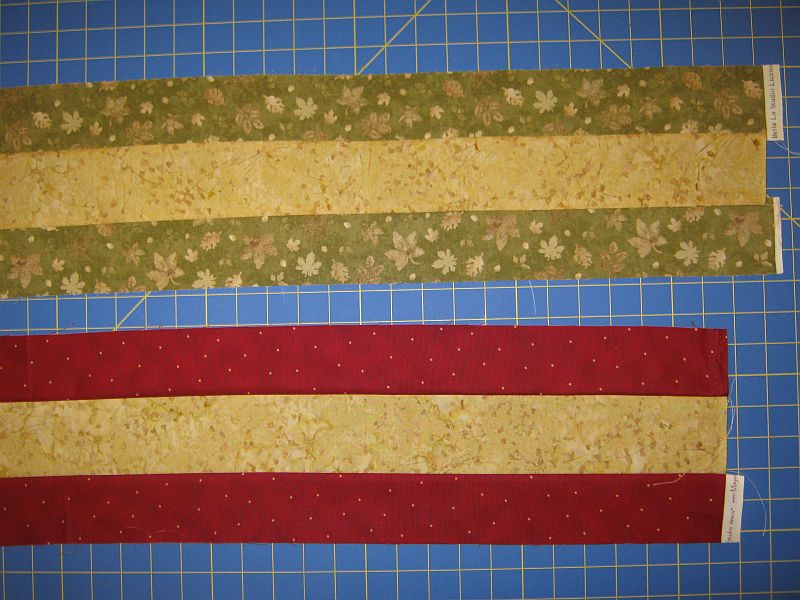
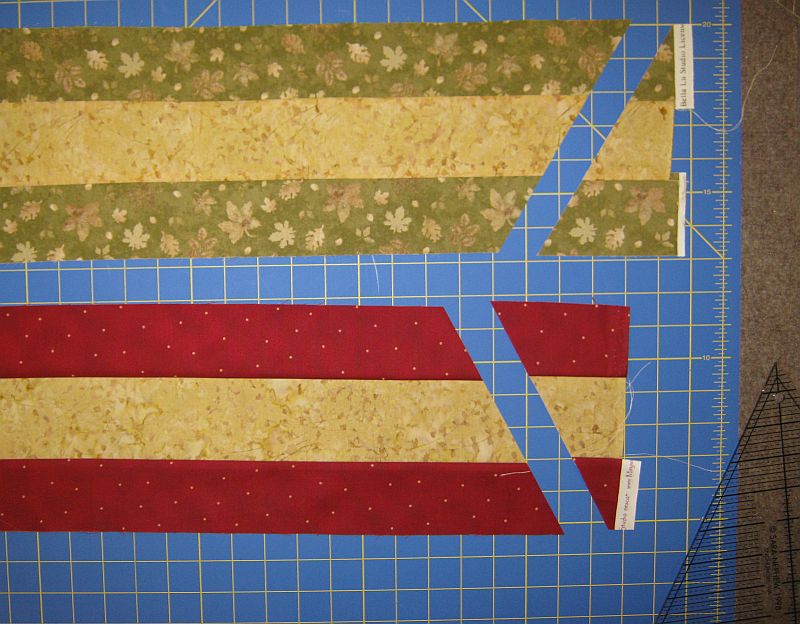
I sewed them together as shown in the picture and pressed them to the darker color.
How to use a 60 degree ruler
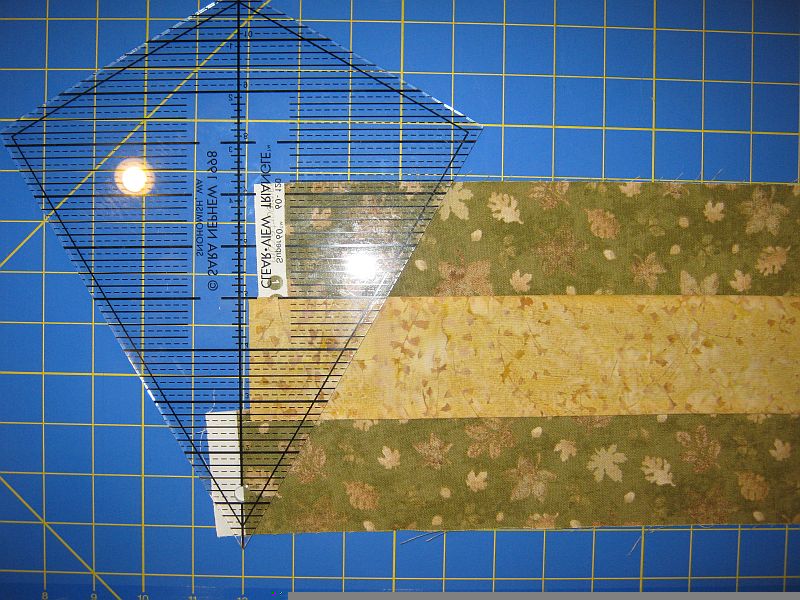
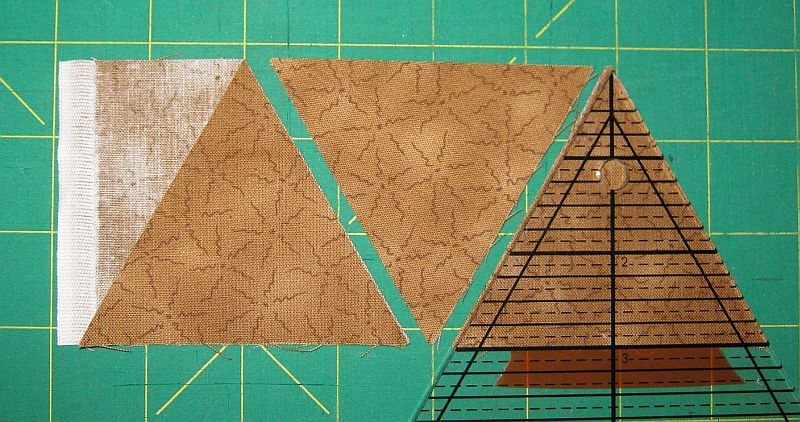
I cut them as shown, using the Super 60 ruler. I like this ruler because it has a 60-degree angle on top and a 120 on the bottom. Very useful for Grandmother’s Flower Garden Blocks.
When you buy this ruler, it comes with a little instruction packet sheet, too.
I cut strips on an angle, every 2 1/2″. It’s important to double-check your angle every so often. It slides off 60 degrees after a few cuts. (Ask me how I know…)
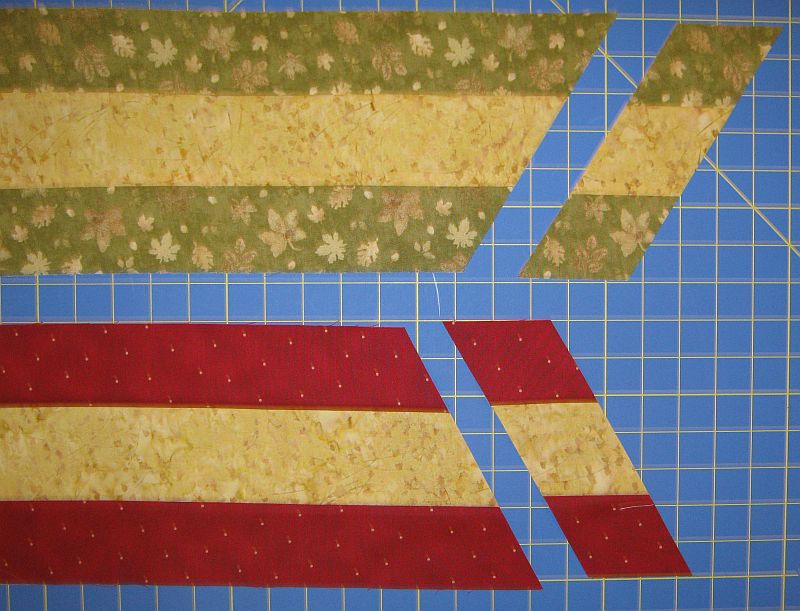
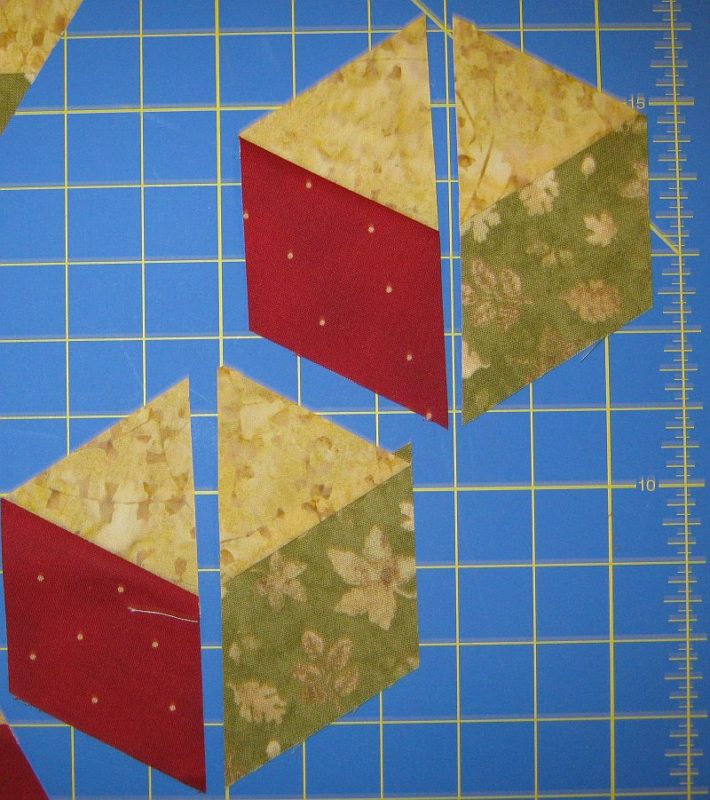
I cut them in half through the center, matching opposite corners.
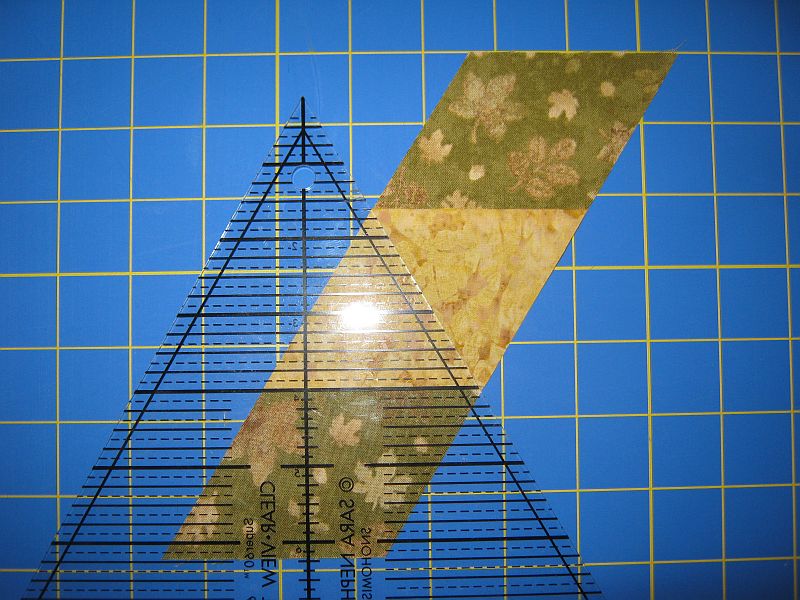
If your strips aren’t a true 60 degrees, you won’t be able to cut corner to corner on a 60-degree angle.
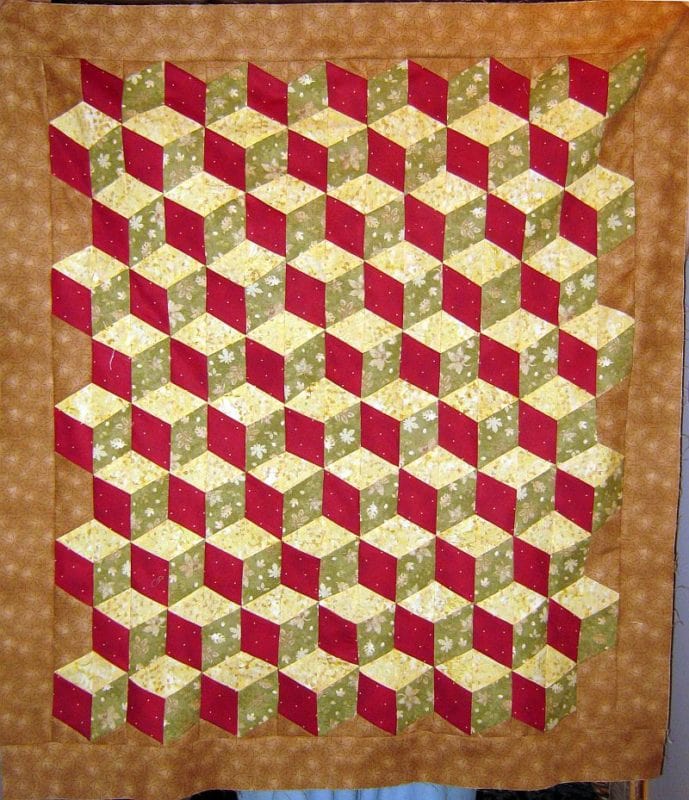
Here is how your boxes go together. When you layout your top, you will be sewing your boxes in columns. Put all your boxes together, then stand back and look at it. Your edges will be jagged.
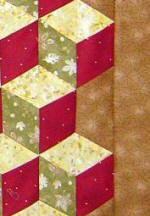
You will be filling in the blank area with the border fabric, so it looks like your boxes are floating on top of the border when you get done. The picture below was taken after the top was finished.
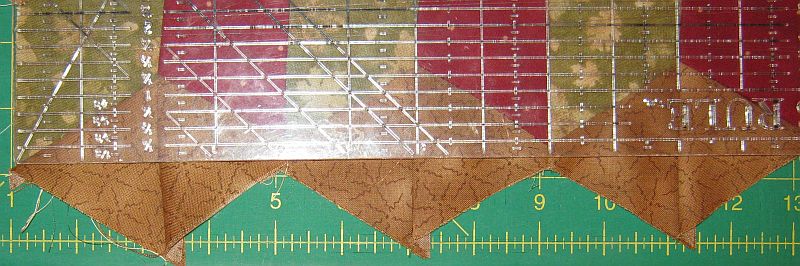
Because I was working without a pattern, I had to guess at the edge pieces. First I measured one of the blocks (below left) then I cut some edge pieces to match. (below right)
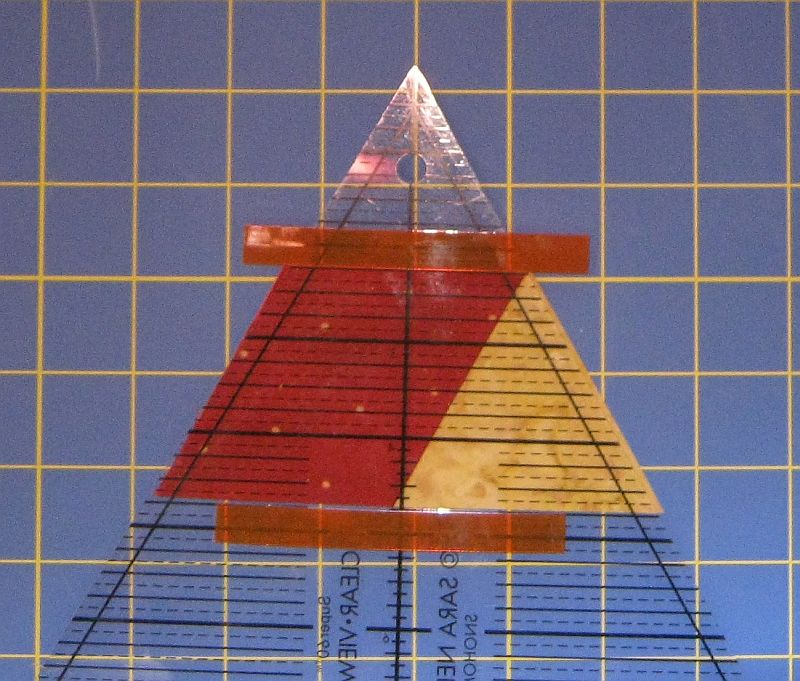
The orange plastic tape you see is actually Q-Tools reusable vinyl edge strips. These are guides that you place under your ruler so your fabric can butt right up next to it. I used it to identify the size of the piece I needed without cutting a template.
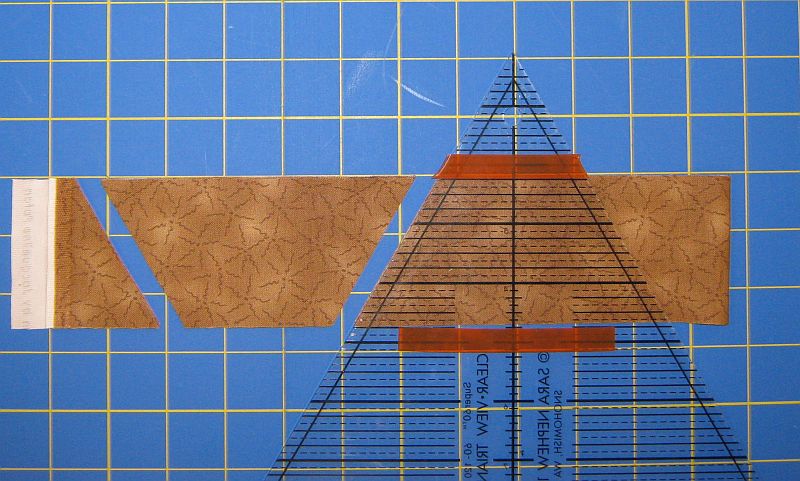
Turns out I didn’t think it all the way through. That was fine for the sides, but the top and bottom needed to be 120-degree blocks. To do that, I had to remove and replace the light triangles at the end of the columns. I recut them from the 3″ wide border (remember, the light was a 3″ wide strip) and replaced the end triangles with the border triangles. The end strips are shown below but before you copy this picture, read my note at the bottom of the page.
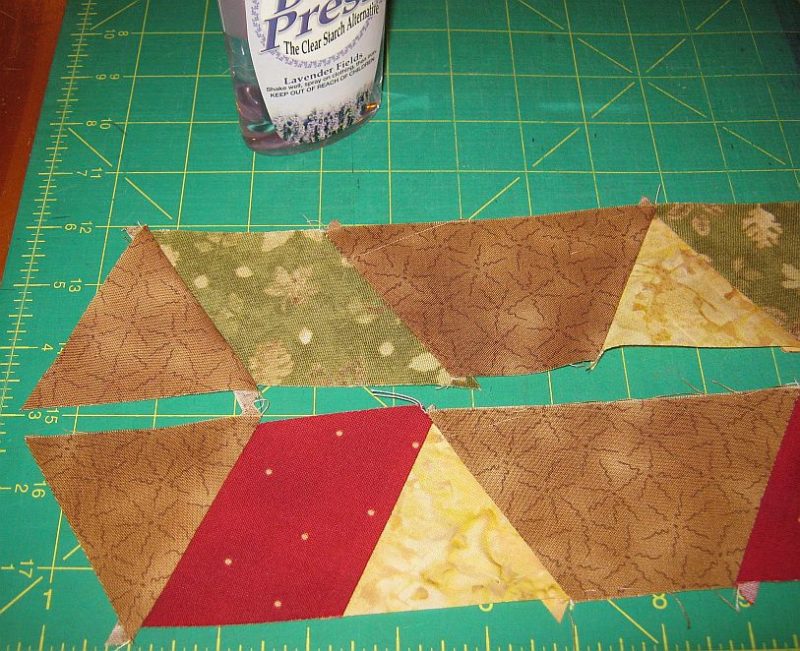
That’s Best Press in the upper left-hand corner of the picture. Trust me, you will need some sort of spray starch before you are all done. Those edges stretch!
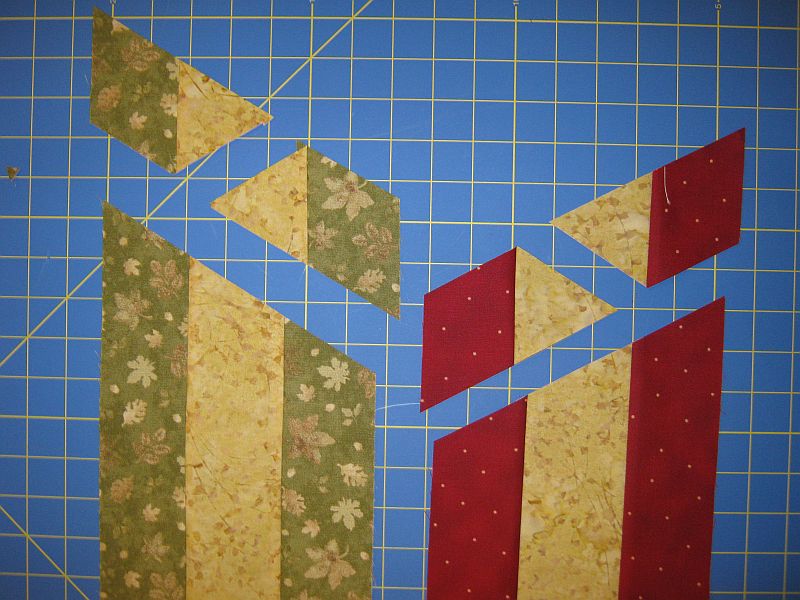
Layout
Lay these out in columns, then sew your columns together. Notice the odd angle that happens when you sew your pieces together. When pressing, always press the light seams over the dark block and the medium seams over both light and dark. In other words, press the seams of the dark IN and the seams of the medium OUT. This will make a difference when you sew your columns together.
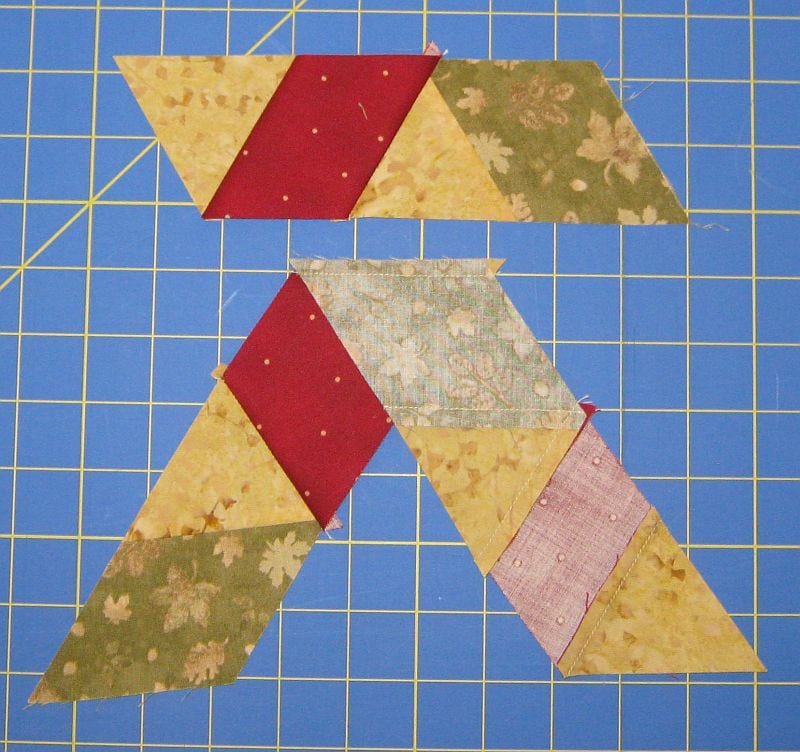
Sew your columns together. Because of the way you pressed your seams, the intersections should just nestle. If you have a problem, try placing a pin at the point of the triangle and matching the same position on the other column. Or you can just ease to fit. (It’ll quilt out:-))
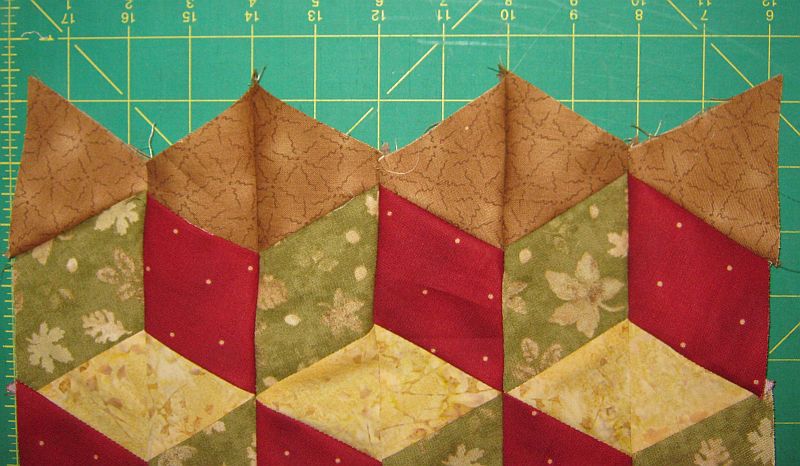
It looked like the picture above before I pressed it. I laid the ruler on the top, putting the 1/4″ line along the bottom of the boxes. That’s to preserve your seam allowance.
Finishing
I wasn’t very exact! I didn’t catch that until I saw the picture. I pressed the heck out of this top, using lots of Best Press. I pressed the columns in opposite directions. I measured through the center in several places and discovered it averaged about 34 1/2″ wide. I think the variance was caused by the fact more than one person worked on this top on more than one machine. Plus I wasn’t as careful as I should have been. I really was just trying to teach myself the technique.
I cut two 3″ wide border strips 34 1/2″ long and sewed them to both sides, easing to fit. Then I repeated the process with the top and bottom. Matching border strips like this is a tried-and-true method of making your quilt top square. My top ended up 34 1/2″ x 40″. I discarded several miss-cuts along the way, so yours may end up larger.
Looking closely at the finished top at the top of this page, I see that the first row doesn’t make a lot of sense. I should have added another half block. The next time I make this, I will plan a little better. If you decide to try this, send me a picture, please. I would love to see how you did.
Here’s the video I wish I had found earlier.
Have another tip to offer? Send it to me, and I will add it here.
