Hourglass Quilt Block Tutorial in Key Lime
Note: This post may contain affiliate links. That means we may earn a commission at no additional cost to you if you purchase via our links. Not all links are affiliate links. I only recommend products I use and trust. As an Amazon Associate, I earn from qualifying purchases.
Hourglass Quilt Block Tutorial
If you are new to piecing, one of the most important things you need to do is to figure out how to cut along the straight of grain. Cutting along the straight of grain means that you are cutting parallel to the selvedge (sometimes spelled selvage.) It is the most stable of all cuts because there is very little give to it. Many quilt pattern designers will specify that you cut the outer border along the selvedge because the final quilt will lay flatter and hang straighter.
Crossgrain cuts that are made from selvedge to selvedge are also considered straight of grain but they have a little more give to them. A crossgrain border is a more economical use of fabric, especially in a very long quilt. You will have seams in a long border, and you do have to pin carefully so that the border doesn’t stretch, but it’s really not a big deal.
Bias cuts are made on a 45 degree angle. Piecing with bias cuts can be tricky. Spray starch and sharp pins will become your best friends if you use a lot of bias cuts.
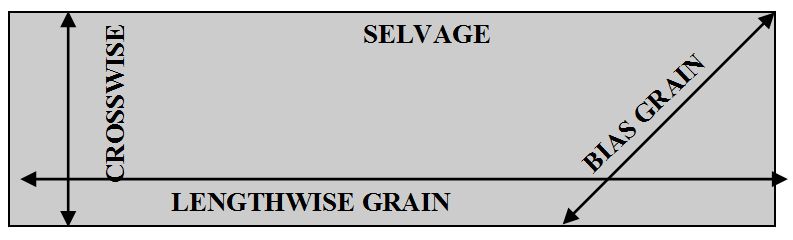
If you don’t see the selvedge on a piece of fabric, you can always rip it one or two inches away from the edge. It will always rip along the straight of grain. Press that messy edge and begin cutting another inch or sew away from that edge to avoid damaged threads.
In the picture below, I am using a Stripology ruler to make my cuts. Always lay one of the black or white lines on the ruler along the straight of grain. Make a “0” (zero) line cut to straighten the edge of the fabric, then cut to the size that you want your strip. If you are cutting square blocks, you can just turn the ruler and place the “0” line along the edge you just cut. You know it is straight.
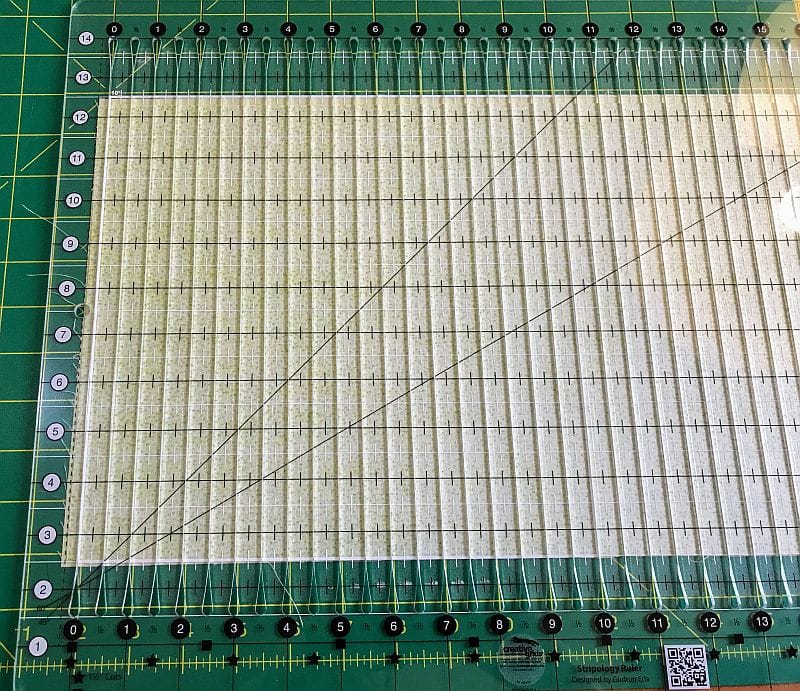
For this block, I needed (4) Half Square Triangle blocks. The directions said to cut (2) dark squares and (2) light squares so I cut all of them at once using the Stripology ruler. Any 45mm or smaller rotary cutter will work fine with this ruler. If you have carpal tunnel, or problems cutting, you might want to consider a Martelli cutter. It is shaped in such a way that you put your finger over the round part of the cutter, decreasing stress on your wrist.
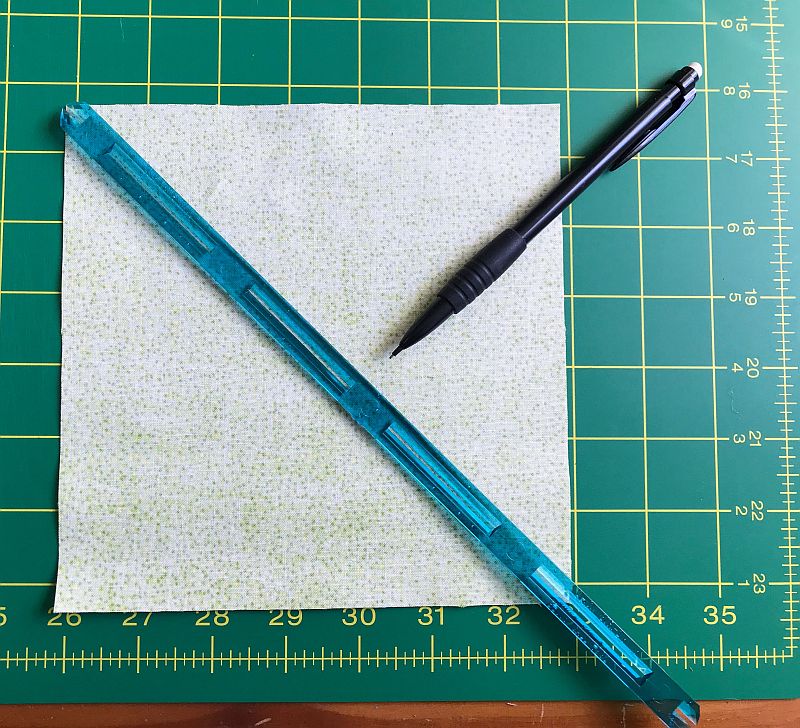
I used a QRQQ ruler to draw both the cutting line and the 1/4″ seam line on the diagonal of the square.
Placing a dark square and a light square together, I sewed on the drawn 1/4″ line. I made two sets. Before cutting them apart, I took the time to press them first. This is called “setting the seam” and it helps you make a crisper block. Then cut them on the cutting line to make four folded triangles.
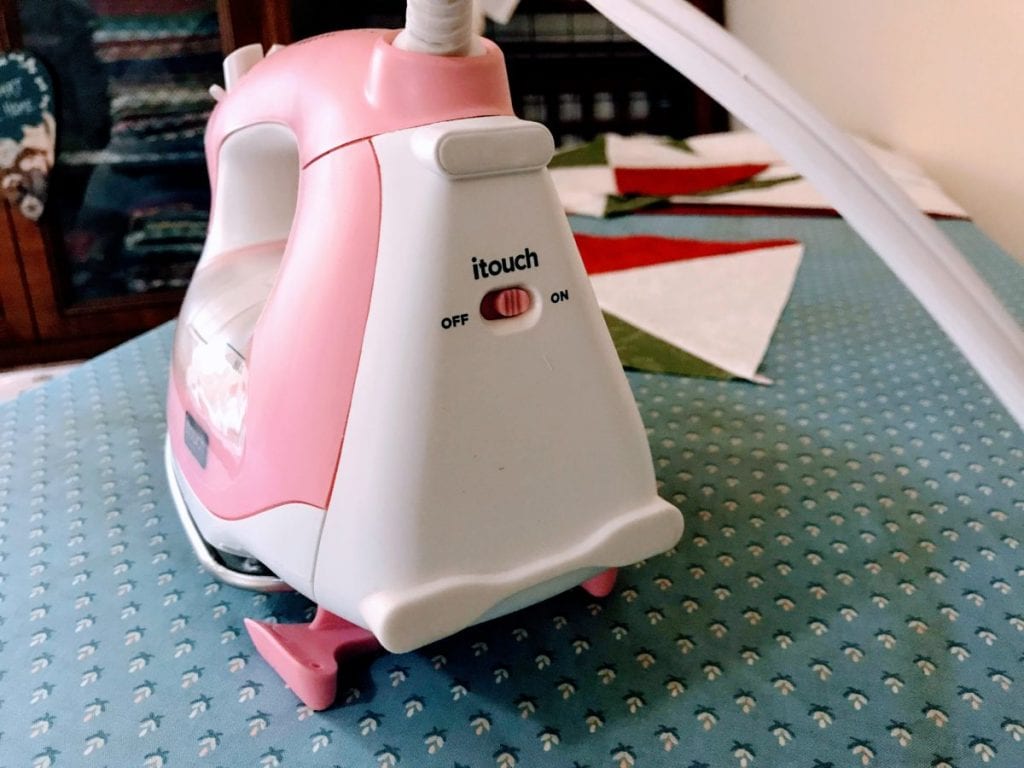
When you press a block, you don’t move the iron at all. I use and recommend the Oliso Smart Iron for its no-scorch and ergonomic friendliness. Just touch the iron handle and it lowers, ready to press. Take your hand off and it lifts off the board. And yes, you can turn off that feature on the back of the iron.
But I like not lifting that heavy and HOT iron up on its heel and worrying about tipping. Plus it has a 30-minute shut off, a 12 foot cord, a flat pressing core, and an easy-to-fill tank in the center you can refill while you work. It’s expensive, but it is worth it for the self-lifting feature alone.
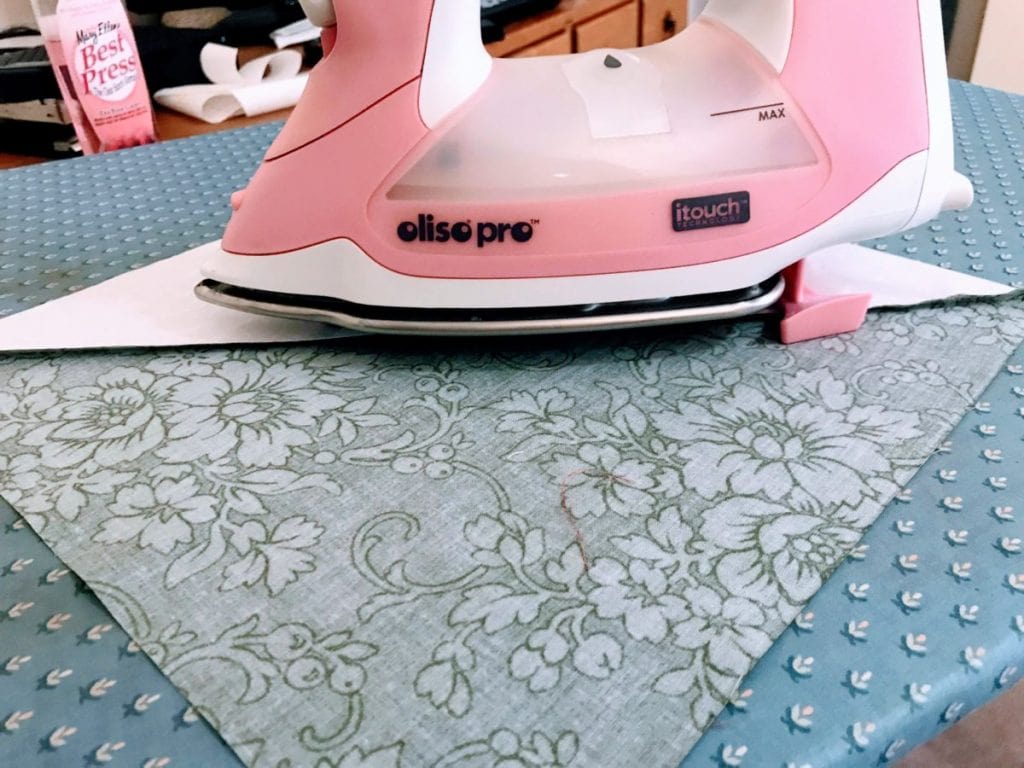
In the picture above, I am pressing HST blocks from a different project. I had to take my hand off the iron to take the picture and it automatically lifted itself up! Cool.
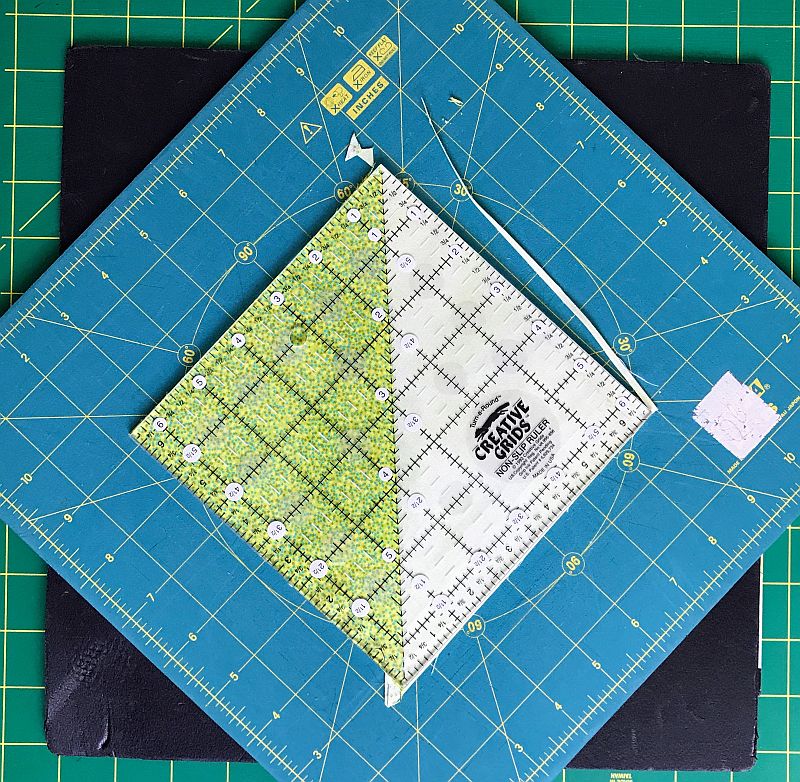
There are a couple of different ways to square up a block. Here are two methods that square up the block while they are still folded into triangles. This method uses the Quilt-in-a-Day Square Up ruler.

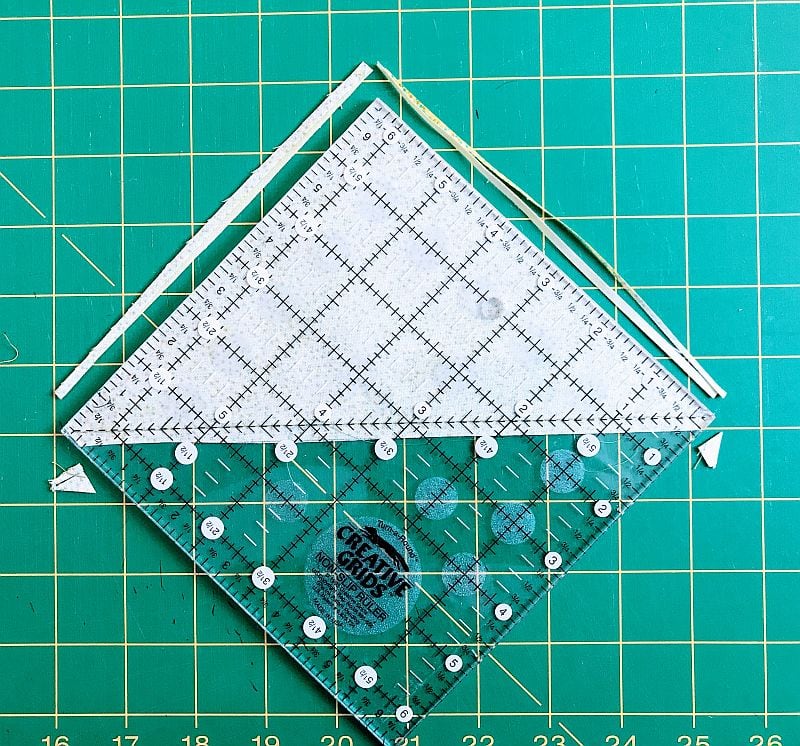
It’s not quite as easy to do this with a regular square ruler because there is no horizontal line, but it is still possible. This method uses a Creative Grid ruler.
Or, you can press the block open and cut all the way around it. Press the light seam over the darker side of the block. This is called “pressing to the dark.” Remember to PRESS and not iron as you might a garment. You just want to make this block flat.
A rotating cutting mat will make your life much easier as cut around the block because you won’t have to pick up the ruler, then the block, then reposition it before making the next cut.
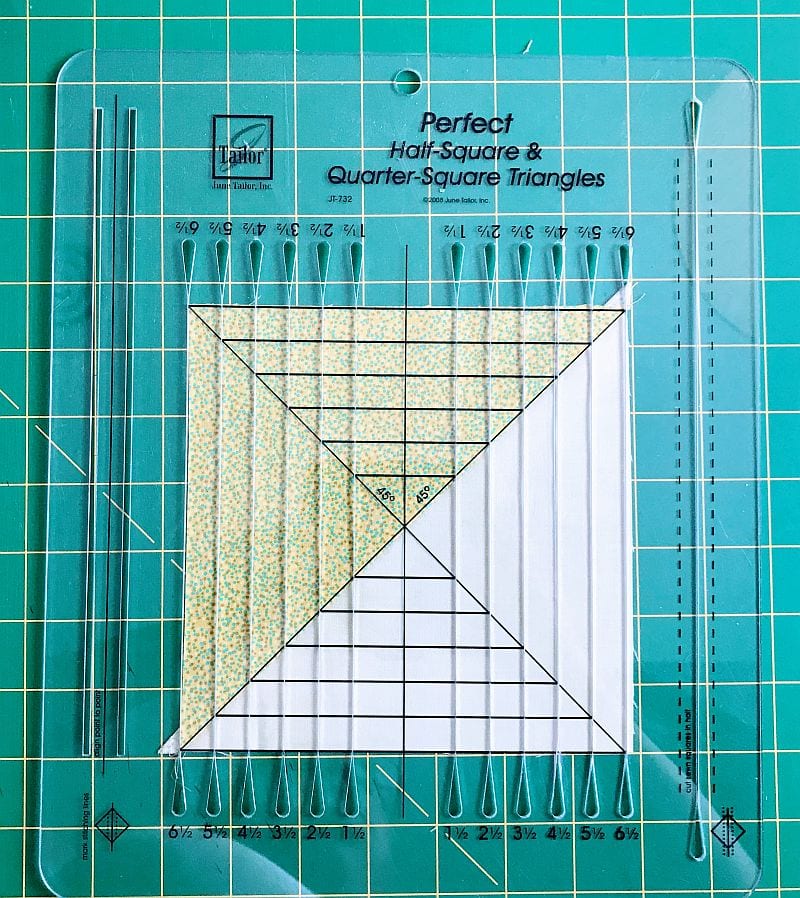
My favorite method for squaring up blocks is below. I admit it surprised me. I decided to try The Perfect Half Square Ruler just for the sake of having a complete tutorial. As it turned out, it was both easy to use and accurate. I can’t wait to try it with a quarter square triangle block – that double diagonal is great.
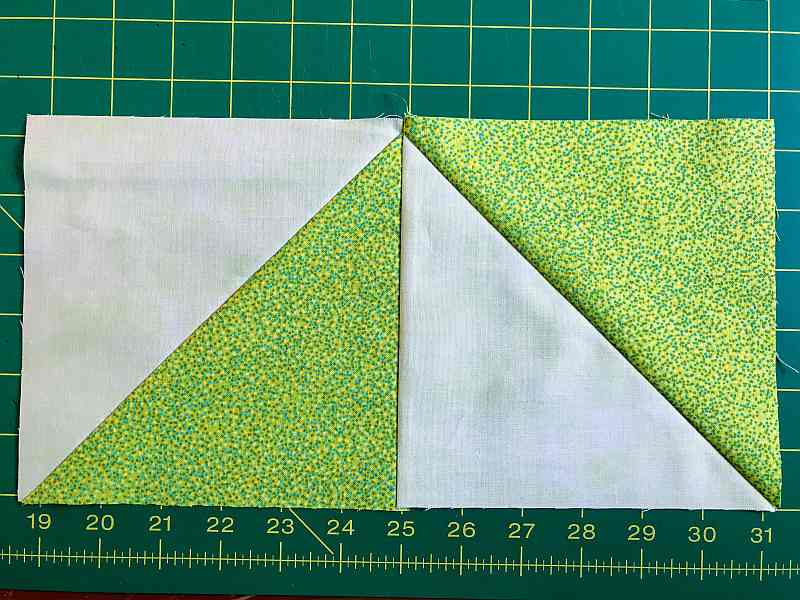
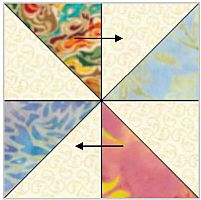
You should now have (4) HST blocks, all perfectly squared up. Sew these blocks in groups of two as shown below. Because of the way you pressed the seams, they should face in alternate directions. They will lightly touch each other at each intersection. Make (2) sets.
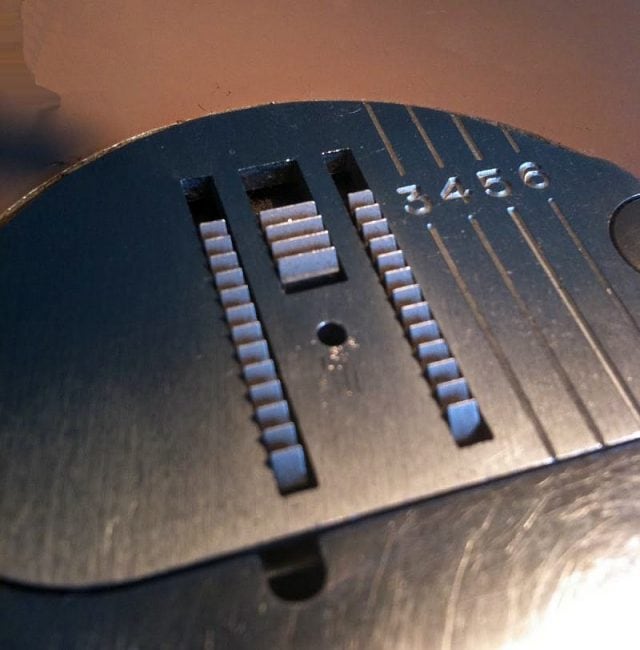
Sometimes the feed dogs of your sewing machine will try to pull the bottom layer of a quilt set faster than the top layer, resulting in an uneven seam.
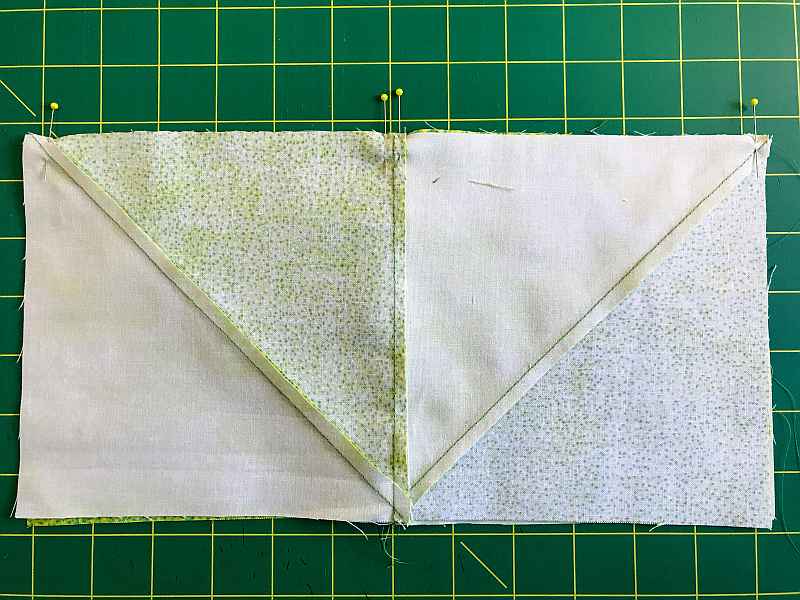
I don’t have a walking foot installed, so I have pinned the seams in alternate directions in the center, and pinned the edges so the block set doesn’t pull out of square as it is being sewn. The picture below shows the two sets prepared for sewing.
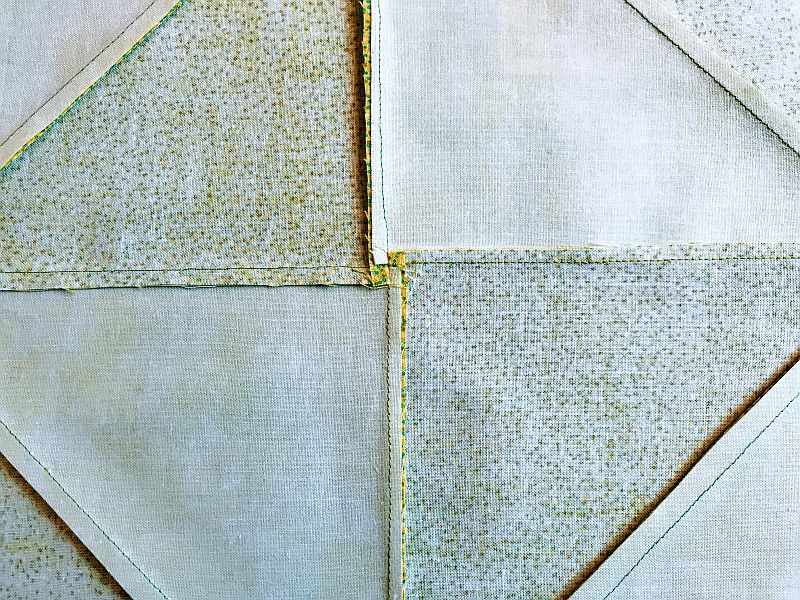
Here is a picture of the sewn set before I pressed it. See how the block seams are going in opposite directions?
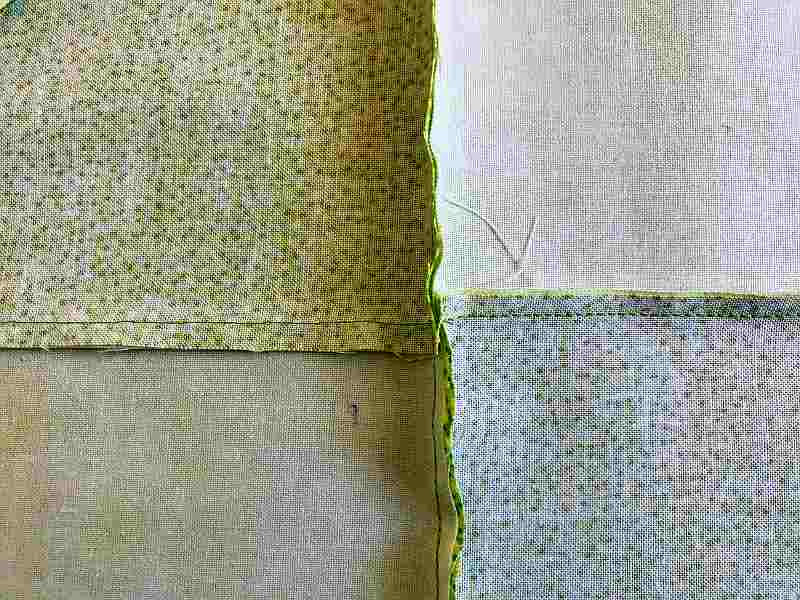
But what to do with the center seam? You could press it open, or you could finger press each individual seam in a rotating direction. It’s a little extra work, but it does keep the bulk down and makes the intersection look sharp.
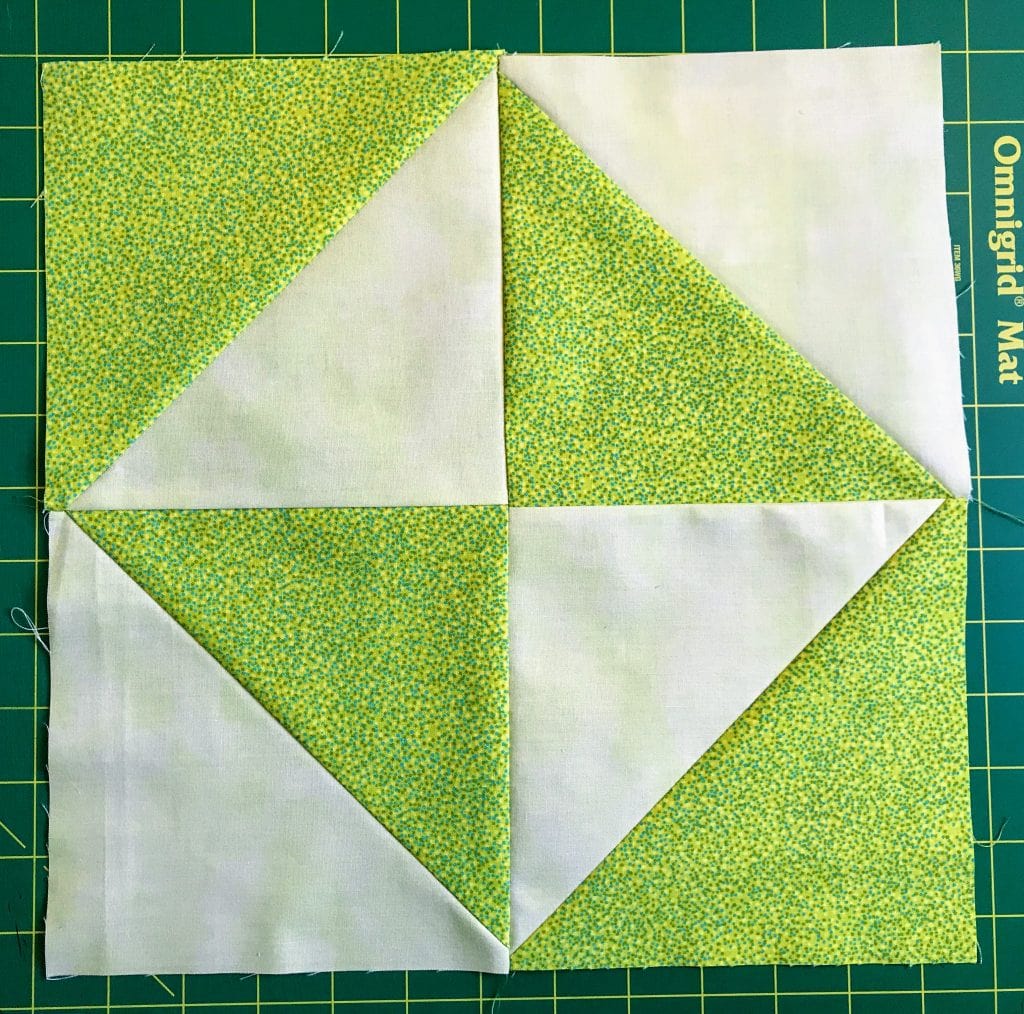
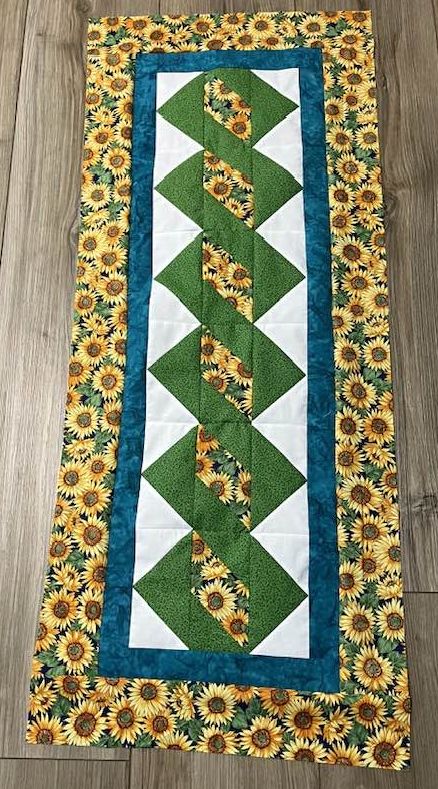
And here is the final block!
Remember, to get the pattern for this months block, you must visit Patterns by Jen. While you are there, check out the pages of the other participating bloggers.
Oh, but I promised you a recipe, didn’t I? Inspired by this months Lime color challenge, here is my husband’s recipe for:
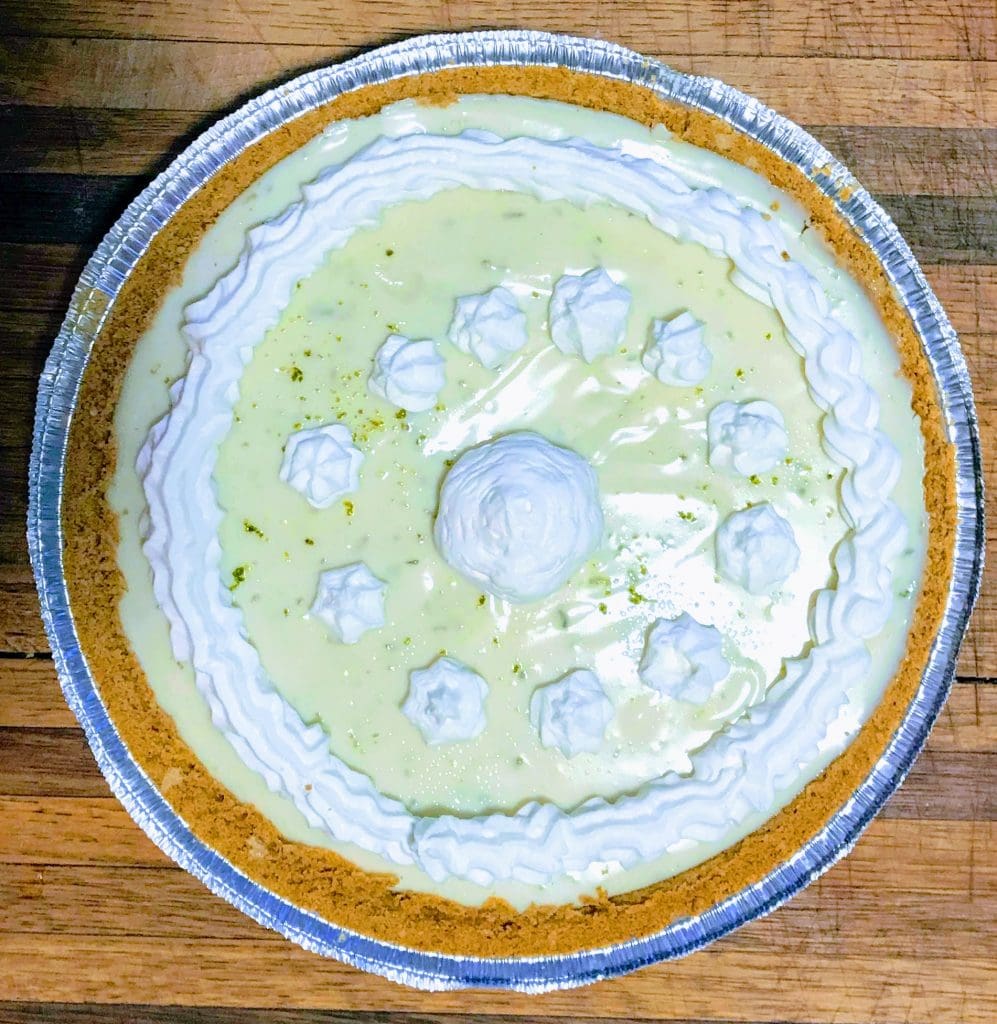
Key West Lime Pie
(1) 9″ Graham Cracker Crust
(2) 15 oz cans of Sweetened Condensed Milk
1/2 cup sour cream
3/4 cup Key Lime Juice
1/3 cup Key Lime Zest
Preheat oven to 350 degrees. Combine the above ingredients and pour into the Graham Cracker Crust. No snitching! Bake for 6 – 9 minutes. Don’t let it brown. Chill for 3 hours or longer.
For the topping you will need:
1 cup heavy cream
4 tablespoons confectioners sugar
Whip these two ingredients until stiff peaks form. Pipe or spread whipped cream over chilled pie and garnish with zest and lime slices if desired. Share with your friends.
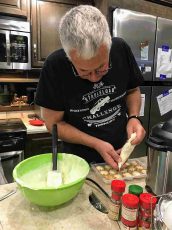
These were a staple of the pot luck dinners we went to when we snowbirded last year! Here’s a picture of him piping the mixture into premade shells for key lime pie hors d’oeuvres.
A tip from my husband: know the temperature of your oven. Just because it says 350, doesn’t mean it is 350. Buy an oven temperature gauge and test it.
Don’t forget to sign up for the newsletter! Once a week, I send updates on quilt-related information I have found while wandering the web. This might be an inspiring article, a tip or tutorial I have discovered (or written), and occasionally exclusive offers & discounts as well as immediate access to the secret page of free patterns, guides, and printables. You can follow my page on Facebook, or join the Make Believe Quilters group, too.

Wow! Two wonderful parts to this post! Thank you very much!
-Jean ❤
Thank you! DH loves cooking – I have completely given up dieting.
Yep, definitely sounds good. I will have to try it. Too bad my cooking DH has passed on. I would love to just hand it over and then eat the pie! LOL