How to Make a Pixie Promise Quilt Block
Note: This post may contain affiliate links. That means we may earn a commission at no additional cost to you if you purchase via our links. Not all links are affiliate links. I only recommend products I use and trust. As an Amazon Associate, I earn from qualifying purchases.
There is a free chart at the end of this tutorial for newsletter subscribers. If you would prefer not to subscribe, use the Print Friendly button under that list to print this page. If that doesn’t work, try Ctrl-P or Flower-P.
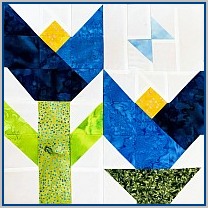
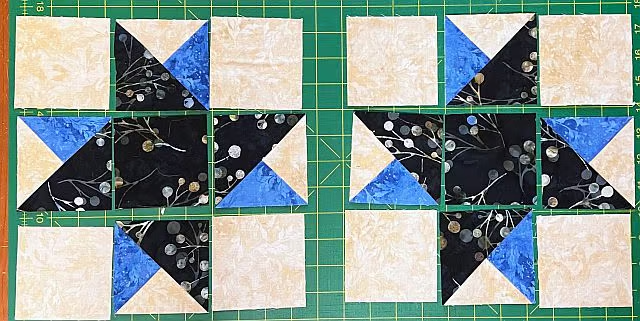
The 3-color Quarter Square Triangle block (also known as a 3-part or split QST) made with this method has a unique characteristic. It creates mirror-image blocks. When you are creating blocks, you need to either create two that are mirror images as in the stars below, or one that uses both blocks, as in the Growth Spurt block.


Let’s make a Pixie Promise block
Assemble:
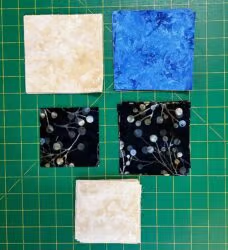
- (8) 3-1/2″ Background Squares
- (2) 3-1/2″ Tossed Floral on Midnight Squares
- (2) 4-1/2″ Blue Watercolor Squares
- (2) 4-1/2″ Background Squares
- (4) 4″ Tossed Floral on Midnight Squares
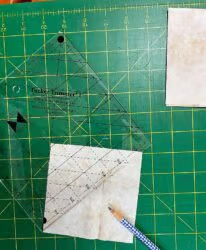
- Tucker Trimmer 1 Ruler #DT03 for squaring up the blocks
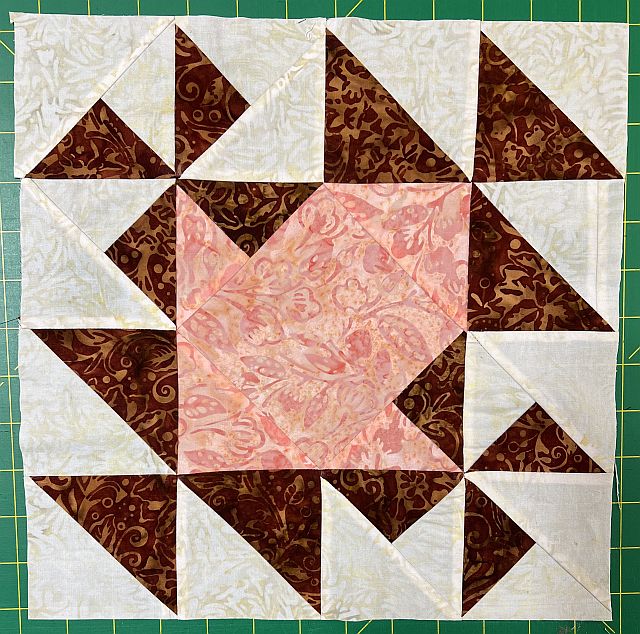
This block is made from (4) QSTs, Quarter Square Triangles, which surround a center square. These QSTs are made from HSTs, Half-Square-Triangles, that are sewn together, then cut apart.
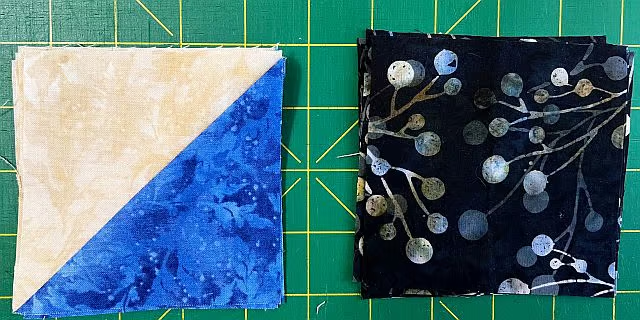
To make the HSTs you will need, place a 4-1/2″ Blue Watercolor square right sides together with a 4-1/2″ Background square.
Draw a diagonal line on the back of one square. Sew 1/4″ on both sides of the line. Cut on the line and press to the dark.
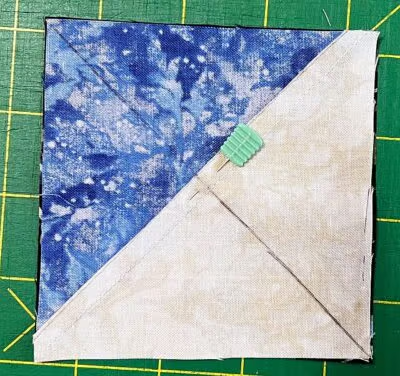
You will have made two HST blocks. Use this method to make (8) HSTs and square them up to 4″ using a Tucker Trimmer ruler.
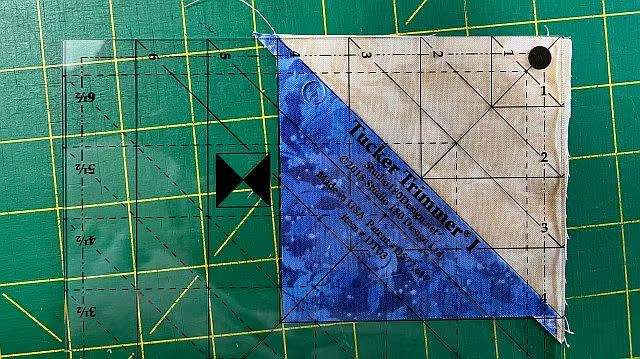
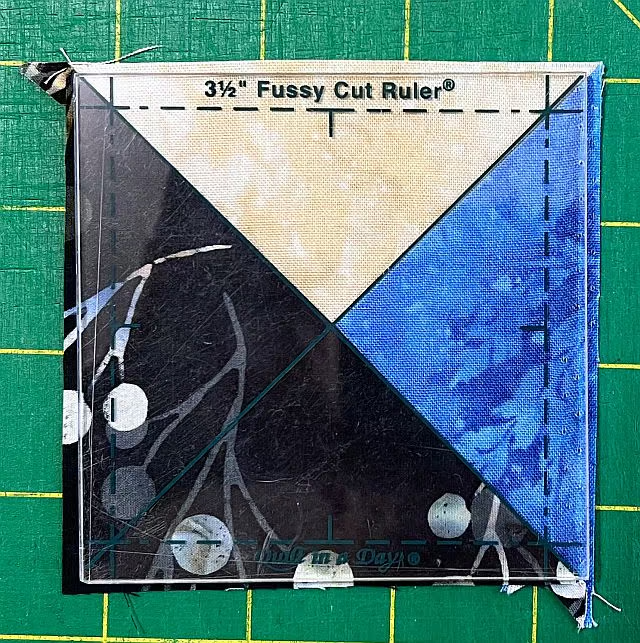
Match an HST with a 4″ Tossed Floral on Midnight square, right sides together. Draw a line diagonally through the seam of the HST. Sew 1/4″ on both sides of the line. Cut on the line and press to the dark. You will have made (2) three-color QSTs.
Notice that these two blocks are mirror images. Keep them in separate groups, either Group A or Group B, so you can make two mirror image Pixie Promise blocks. Make (16) and square up your blocks to 3-1/2″.


These two star blocks are actually nine-patch blocks. Working with only one group at a time, sew an “A” QST between (2) 3-1/2″ Background squares. Be sure to keep the small Background triangle facing away from the center of the block. Make (4) rows
using the “A” blocks. Press as shown.
Sew an “A” QST to both sides of (2) 3-1/2″ Tossed Floral on Midnight Squares. Be sure to keep the small Background triangle facing away from the center of the block. Make (2) rows using the “A” blocks. Press as shown below.
Sew the rows into a nine-patch, turning the first row upside down to make the design. Make (2) blocks, press, and square up
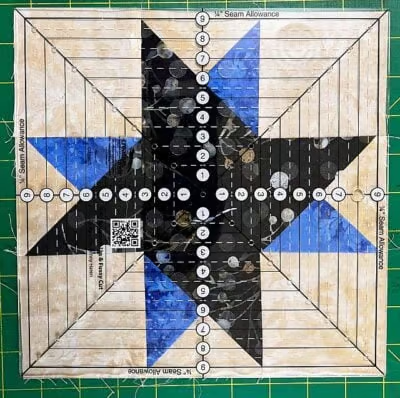
to 9-1/2″. See above.
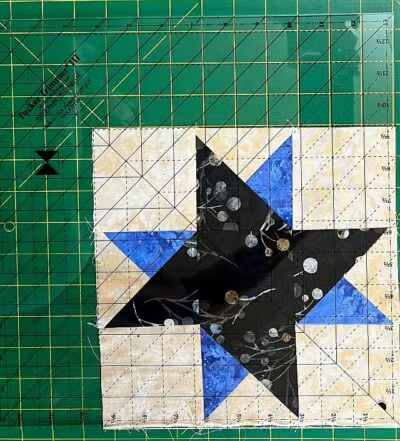
up blocks up to size 12-1/2″
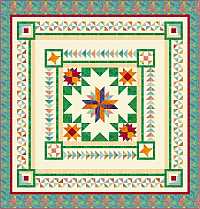
Repeat this process with the “B” blocks. One star will swing to the right and the other will swing to the left, like the ones at the top of this page. You have made two Pixie Promise Blocks!
Here is a chart of HST and QST sizes.
Please add moc.hsadparcs@sirk to your contacts list to make sure you get the confirmation message. Drag the confirmation message from the Promotion tab to the Primary tab if you use Gmail.
If you are already a subscriber, it’s okay to fill out this form. You won’t be put on the mailing list twice.