Bean There, Week Five
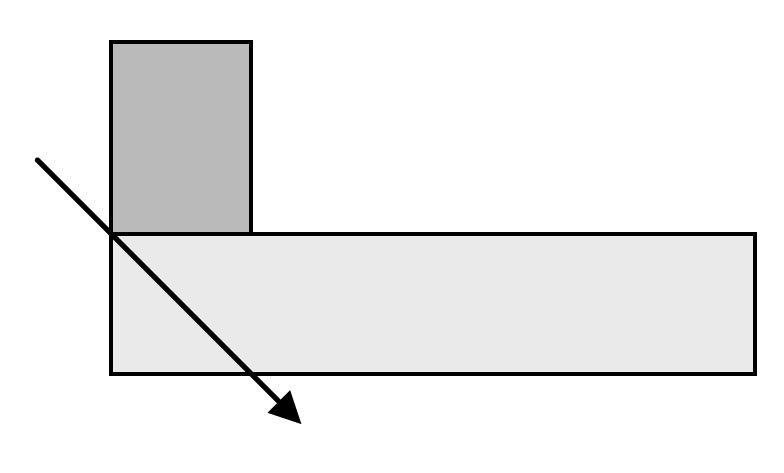
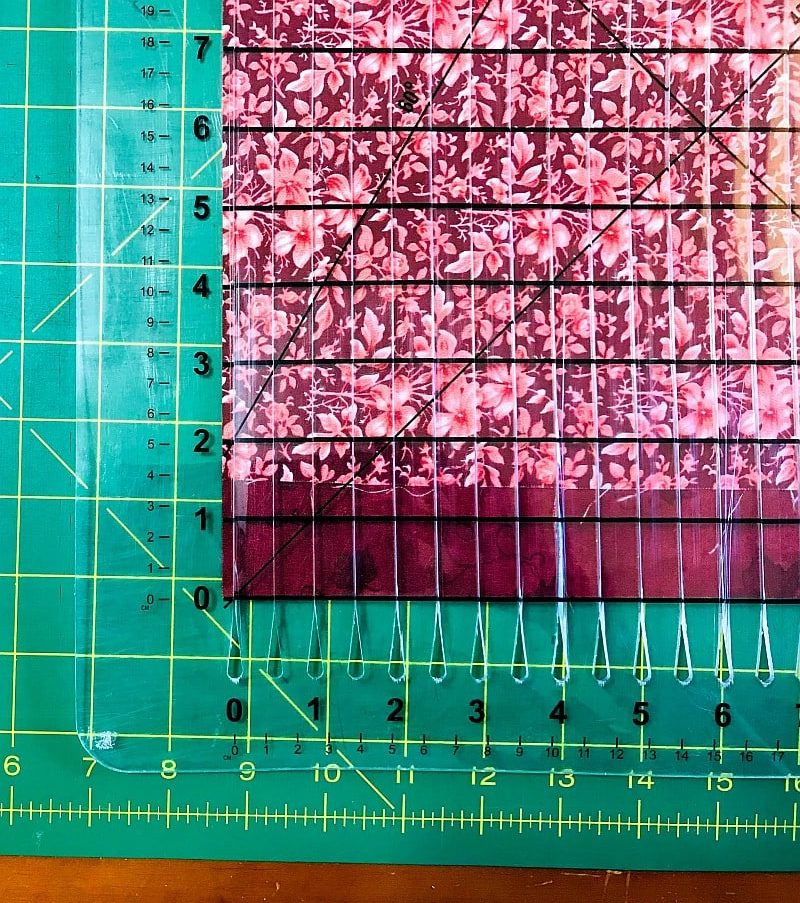
This week, you will be making the long strips for borders and binding this week you will be sewing ahead You will need some long strips to create the borders and binding. To save time, sew all these strips end to end ahead of time. Here is how to miter that seam to make it…