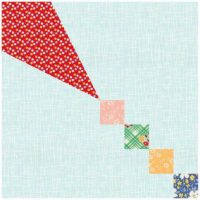
Economy Quilt Block
Note: This post may contain affiliate links. That means we may earn a commission at no additional cost to you if you purchase via our links. Not all links are affiliate links. I only recommend products I use and trust. As an Amazon Associate, I earn from qualifying purchases.
How to Make an Economy Quilt Block
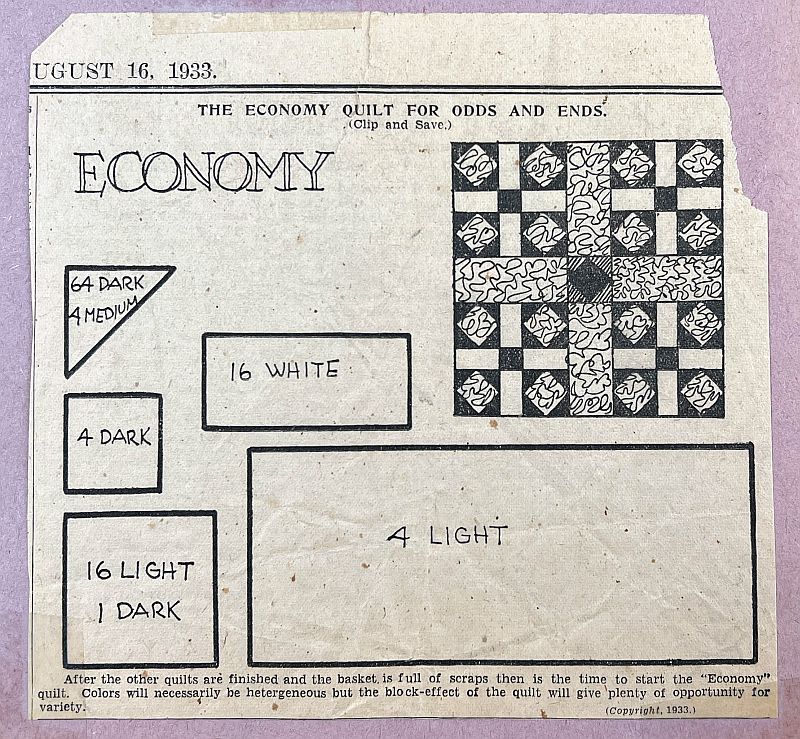
An Economy Quilt Block as we know it now is a block that is basically a Square-in-a-Square set on point again – and maybe again! It’s an old block, designed to use up scraps during the Depression. Here is a Kansas City Star clipping from August 1933. It’s changed a bit, hasn’t it?
I’m going to do a tutorial on using the CGRJAW8 ruler to make an 8-1/2″ economy block. The directions that come with the ruler give instructions for making the Economy block and the Snail Trail block, but they only give cutting sizes for the snail trail.
I started with a 4-1/2″ White center square. I used the On Point Chart to discover that I need to cut
(2) 3-3/4″ yellow squares on the diagonal for the four corners of the first block.
This makes a 6-1/4″ square, which I would normally find very difficult to square up. However, the Creative Grid ruler was helpful. It had two black lines I could use to match up with the center square. Nice.
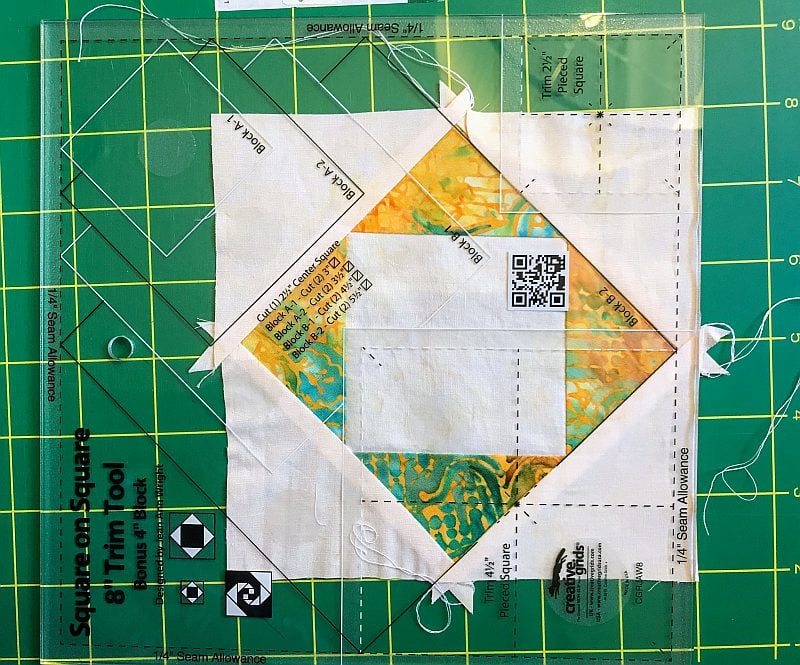
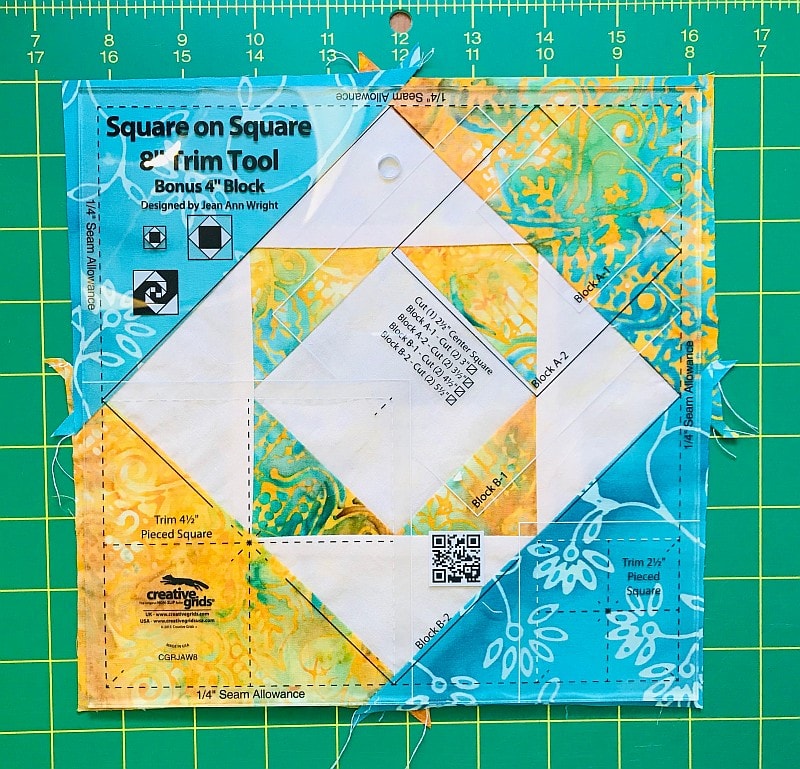
To make this block bigger, I needed to cut (2) more squares on the diagonal. I guessed at this number, figuring that if it was too big, I would just cut it off. [Kris’s Note: the math says I should have used a 4-7/8″ square.] Here is what I made, shown with the CGRJAW8 ruler on top so it can be squared up. Notice how the middle square-in-a-square is centered in the square.
Kris’s Note: I ended up making myself a chart of all these sizes that I use when I am writing patterns. I am offering that free to Newsletter Subscribers at the end of this tutorial.
Here are the 4 blocks put together.

Gather your scraps and have fun!
Please add moc.hsadparcs@sirk to your contacts list to make sure you get the confirmation message. Drag the confirmation message from the Promotion tab to the Primary tab if you use Gmail.
If you are already a subscriber, it’s okay to fill out this form. You won’t be put on the mailing list twice.