Market Bags
Note: This post may contain affiliate links. That means we may earn a commission at no additional cost to you if you purchase via our links. Not all links are affiliate links. I only recommend products I use and trust. As an Amazon Associate, I earn from qualifying purchases.
The pattern is available for free to subscribers at the bottom of the page. If you’d rather just print, click the green Print Friendly button under the tutorial. If that doesn’t work, try Ctrl + P (or Flower + P) to bring up the printer dialog box.
.
Free-standing Bag Pattern
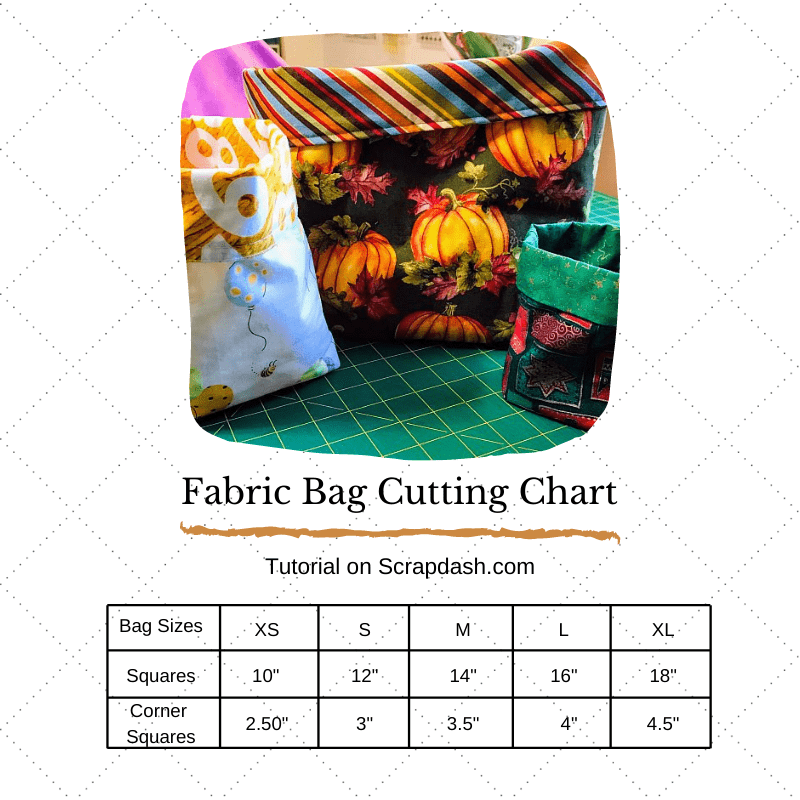
Here is a cute bag you can use at a market (with handles) or for gifts. I am showing a smaller size below so you can practice or use them for gifts, but a chart for making it larger is at the end of this tutorial. These bags are great for gift bags, candy dishes, thread catchers, or whatnot bags. I’ve made several of them, but never the larger size. I thought those would show better in the pictures for this tutorial, so here we go. I have included a size chart at the end of this tutorial and, of course, there is a pattern for newsletter subscribers to download and treasure forever.
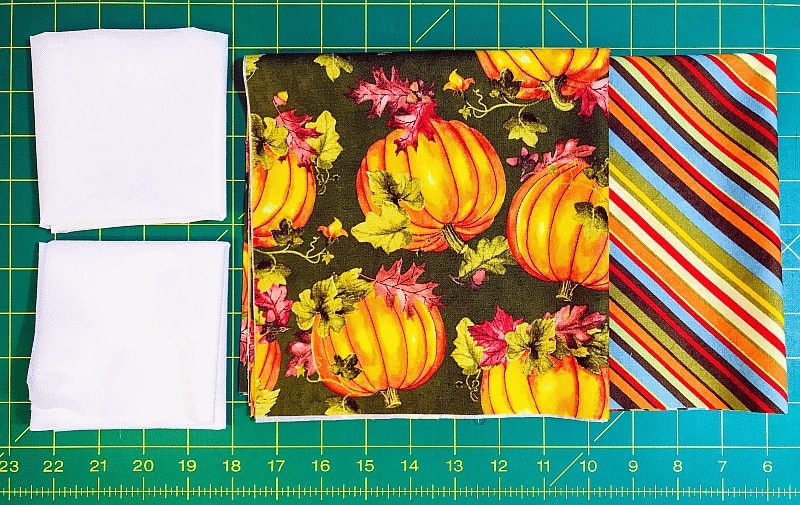
This size uses four fat quarters (FQs) , two for the inside of the bag and two for the outside. It will finish about 12″ tall, which is almost big enough to add handles and call it a purse.
Cut (4) 16″ squares. If you would like a stiffer bag, you can press fusible interfacing to the wrong side of the 16″ square that you will be using for the bag exterior. Follow manufacturers instructions. For this bag, I used a lightweight fusible, which I think makes it a little soft. But I still might add handles.
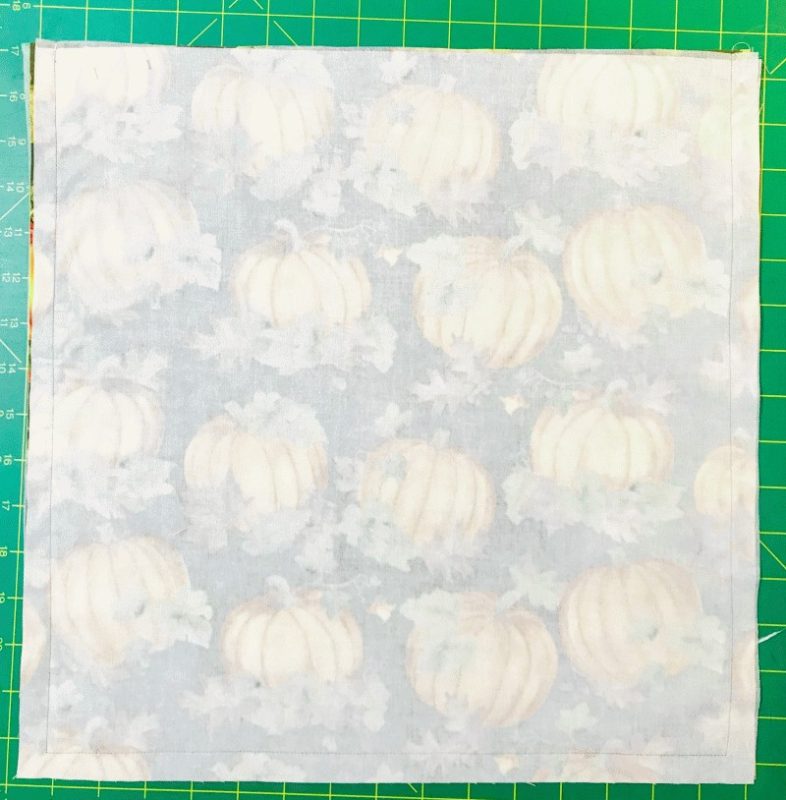
Place the matching squares right sides together. Sew a 1/2″ or 5/8″ seam along three sides. Make two sets, one for the outside and one for the lining. I used a 5/8″ seam because that line was easier to see on my machine’s needle plate.
BUT…
you must leave an opening for turning on the lining set. In other words, partially sew one side, skip two inches, then finish the seam.
Cut a square out of the two corners where the seams overlap. Thank it for its service and throw it away. Do this for both sets. Press all seams open.
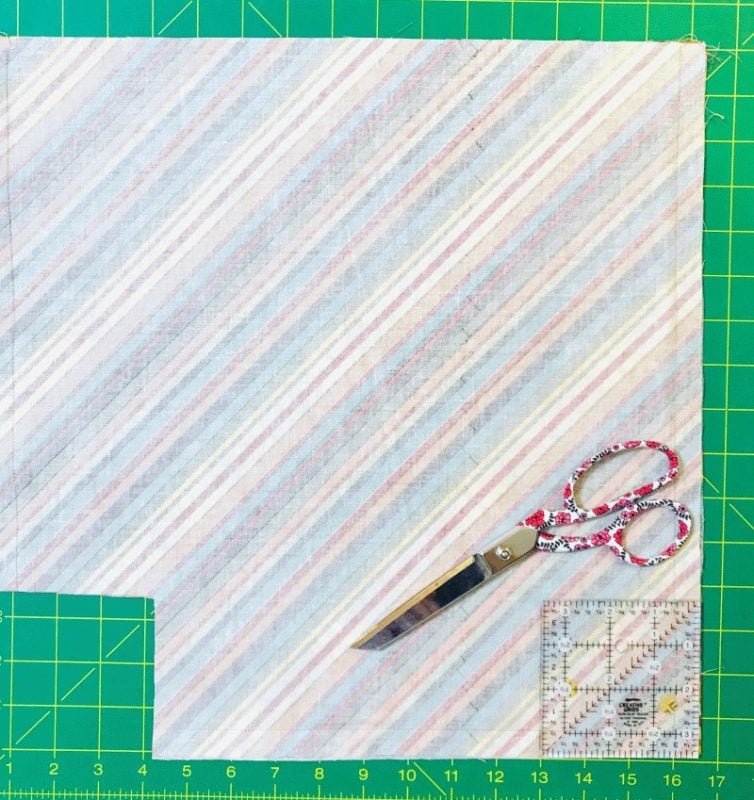
Now comes the tricky part…
Open up one cut corner with your fingers. Match the two pressed-open seam allowances and sew a 1/2″ or 5/8″ seam. Sew both cut edges and you will see that you have just made one-half of the bag. It should stand by itself. Do the same with the other set.
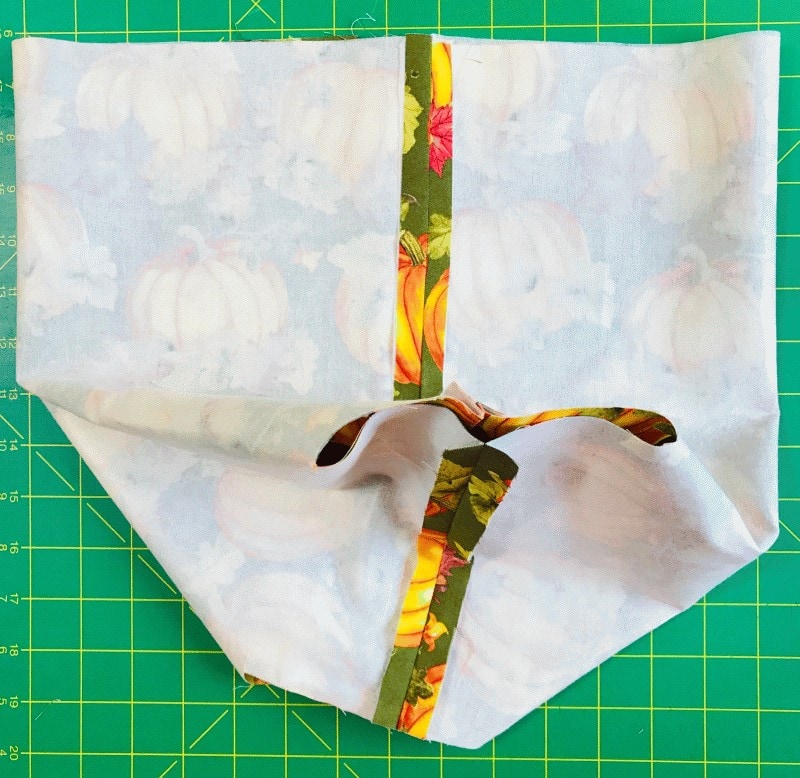
Turn the outside of the bag so the right side is out. Leave the lining turned inside out. Place the BAG inside the LINING.
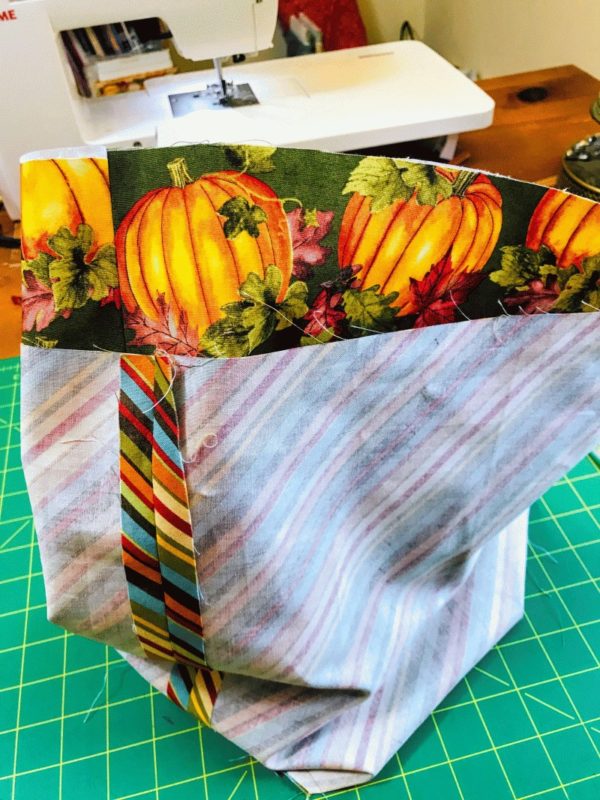
Using a 1/2″ or 5/8″ seam, sew the top edge all the way around in a circle. Pin those opened seams so they line up.
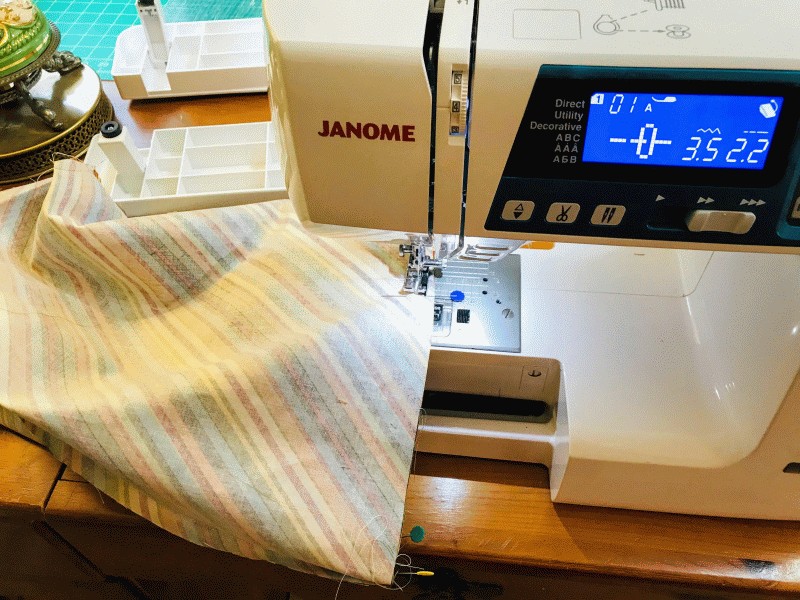
Now reach your hand in through the opening in the lining. Gently pull the bag out. It’s just like giving birth, isn’t it?
Stop throwing things! I was kidding!
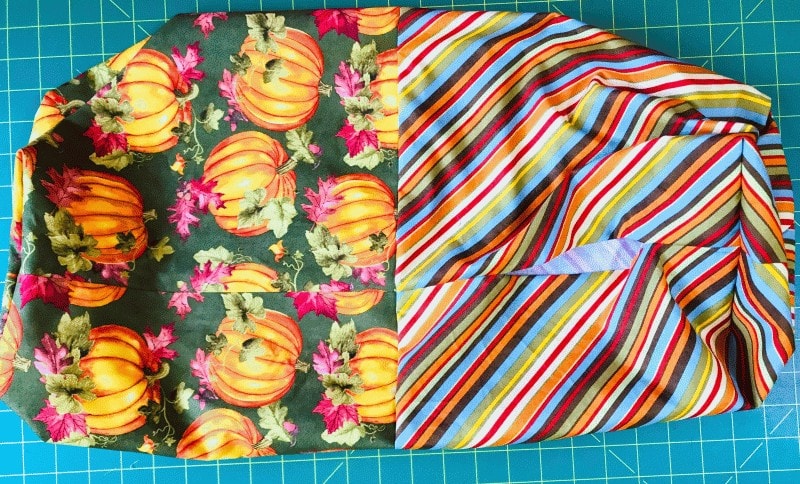
Close up the hole in the lining either by hand or by machine. Put the lining inside the bag and smooth all lumps and bumps. Press the top edge and topstitch the circle opening if you like. Do you have a fancy stitch on your machine that would look good?
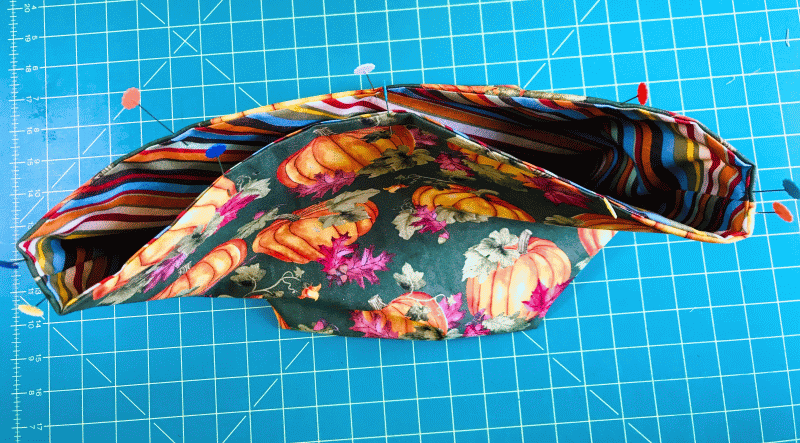
You can use the bag as it is, or roll the top edge over to make a cuff. Now that you have the basic process down, you can make another one with variations. How about piecing the outside of the bag, prequilting it, or adding a pocket to the outside or the lining?
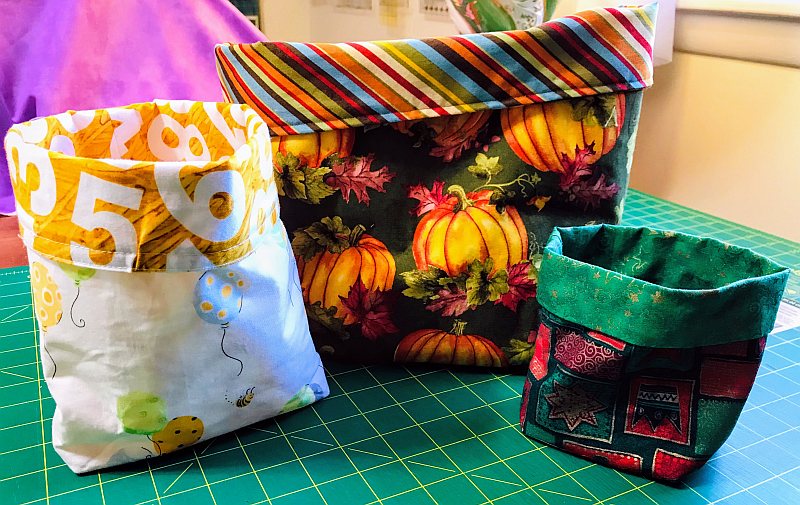
The dimensions I have given you in this pattern are not absolute. Did you notice that I changed the size of the corner square? Feel free to experiment with different size squares and/or different size cut-outs. Would it make a pencil carrier if you started with a rectangle? Try it and see!
Please add moc.hsadparcs@sirk to your contacts list to make sure you get the confirmation message. Drag the confirmation message from the Promotion tab to the Primary tab if you use Gmail.
If you are already a subscriber, it’s okay to fill out this form. You won’t be put on the mailing list twice.