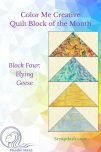
Color Me Creative Quilt Block of the Month, Block Four: the Flying Goose
Note: This post may contain affiliate links. That means we may earn a commission at no additional cost to you if you purchase via our links. Not all links are affiliate links. I only recommend products I use and trust. As an Amazon Associate, I earn from qualifying purchases.
This is the last group of Flying Goose Blocks you will need to make, I promise:-)) Might as well learn a new technique — the Wing Clipper Ruler. Here is a tutorial. (This tutorial also works for the No Math ruler by Lazy Girl.)
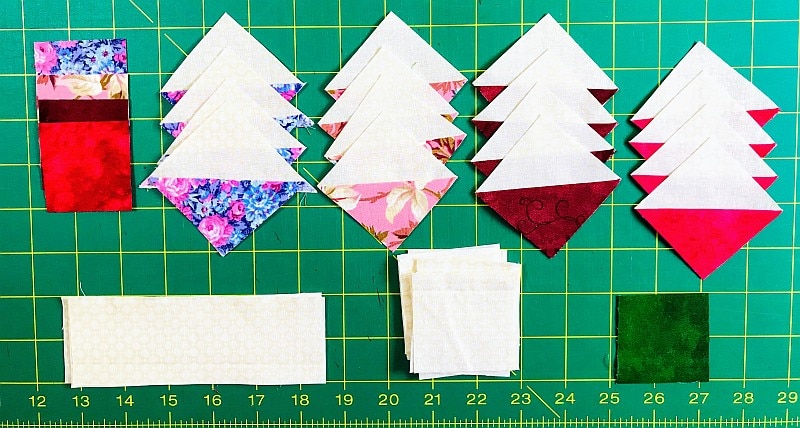
These blocks are made with the 5-1/2″ scrap squares and the 3″ background squares.
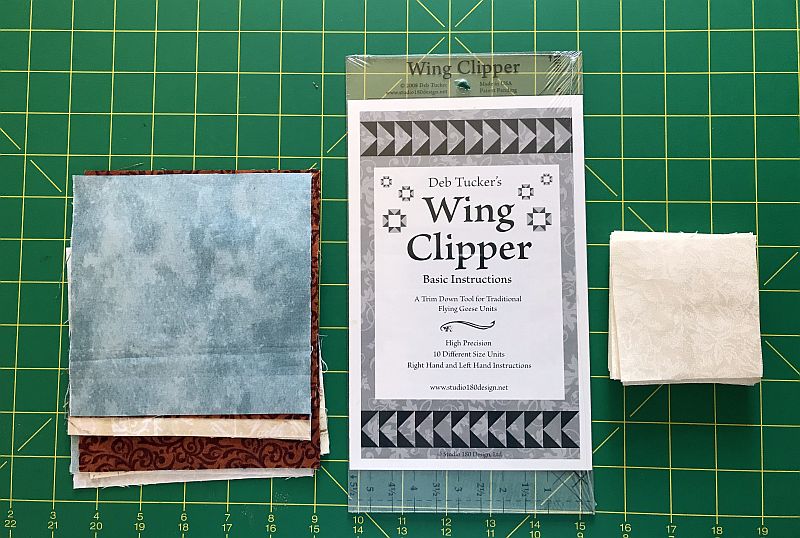
Start by laying the 5-1/2″ square right side up on your cutting mat. Place two 3″ squares right sides down in opposite corners of the block. Draw a diagonal line through both blocks. Sew 1/4″ on both sides of the block.
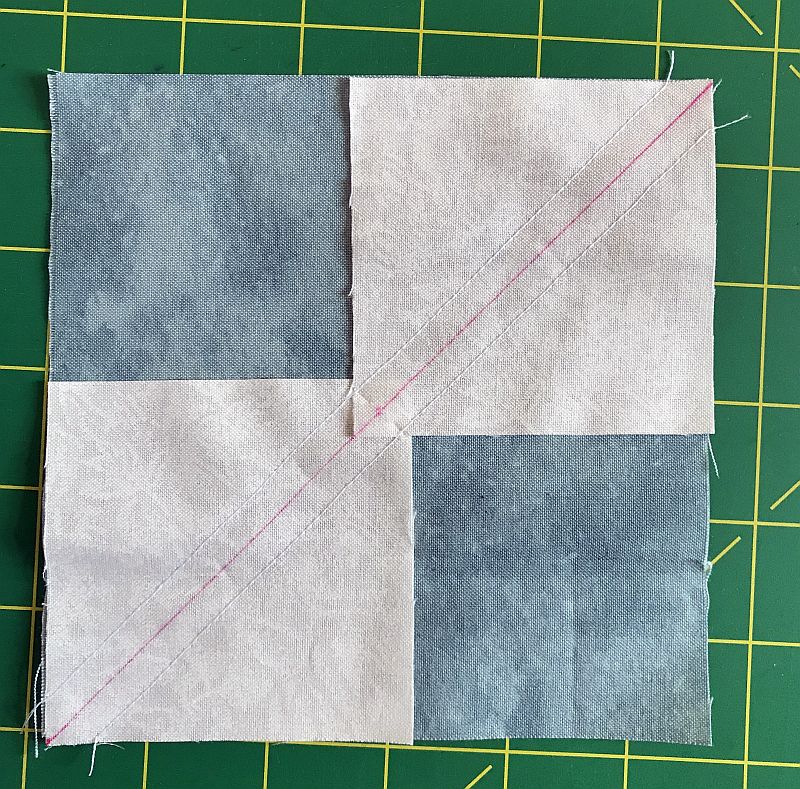
Cut on the line…
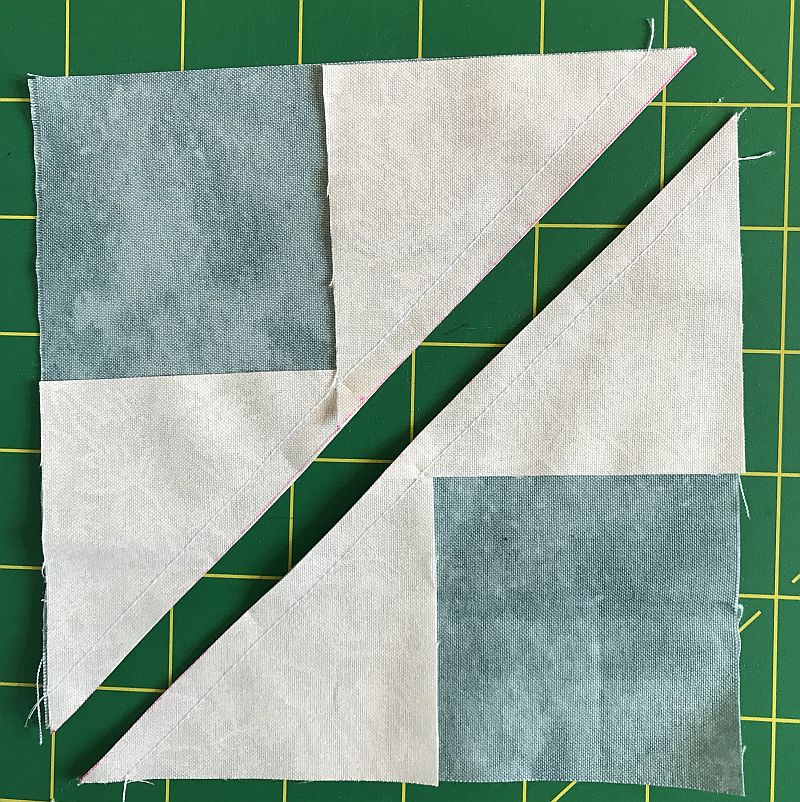
and press the small squares open. You have done it right if it looks like a heart. Place a 3″ background square right sides down in the center of the heart. Draw a diagonal line on this square.
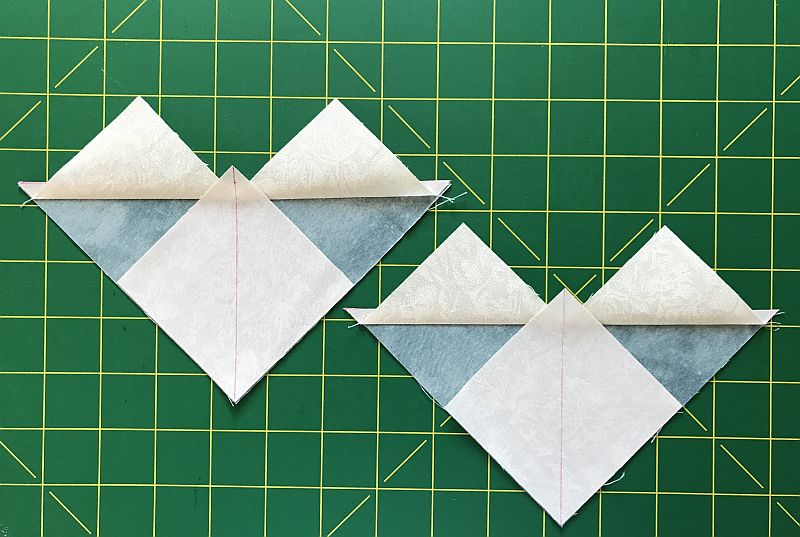
Sew 1/4″ on either side of the line. Cut through the line.
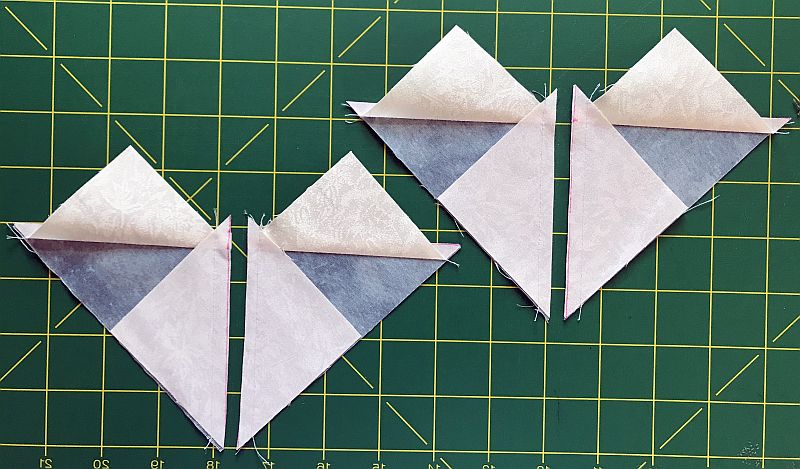
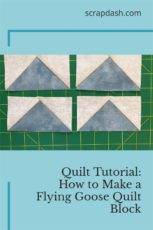
Press the blocks open. You have a flying goose block that just needs to be squared up.
How to Use the Wing Clipper Ruler to square up Flying Goose Blocks
Place the wing clipper ruler right side up on the block, matching the diagonal lines on the ruler with the diagonal seams of the goose. Trim on top and to the right.
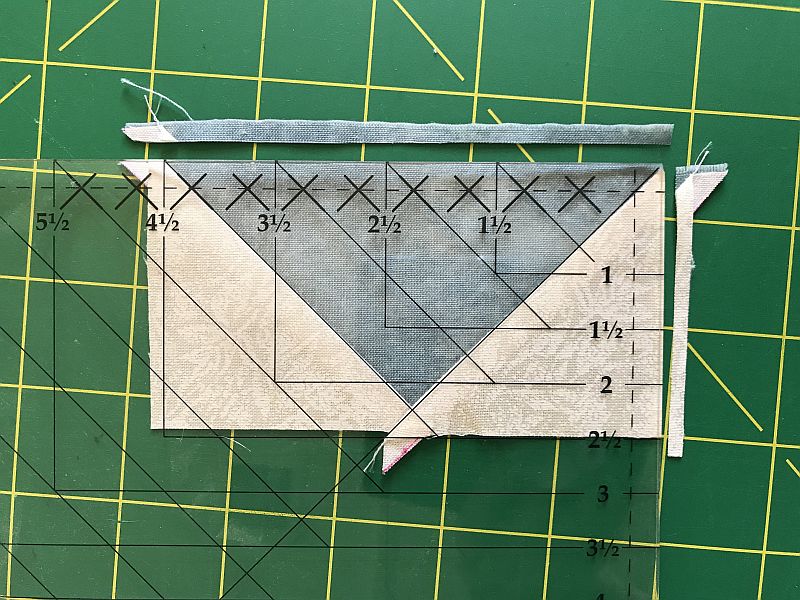
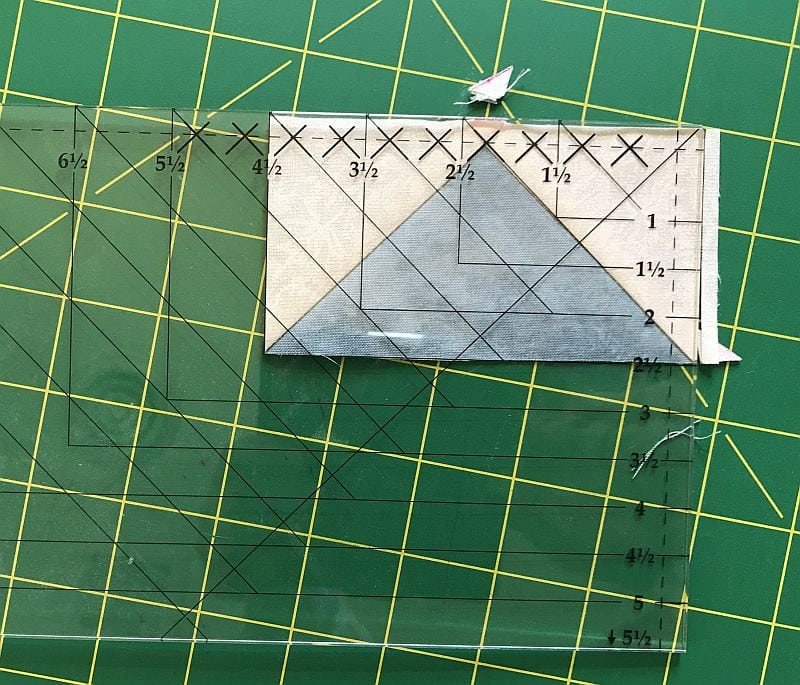
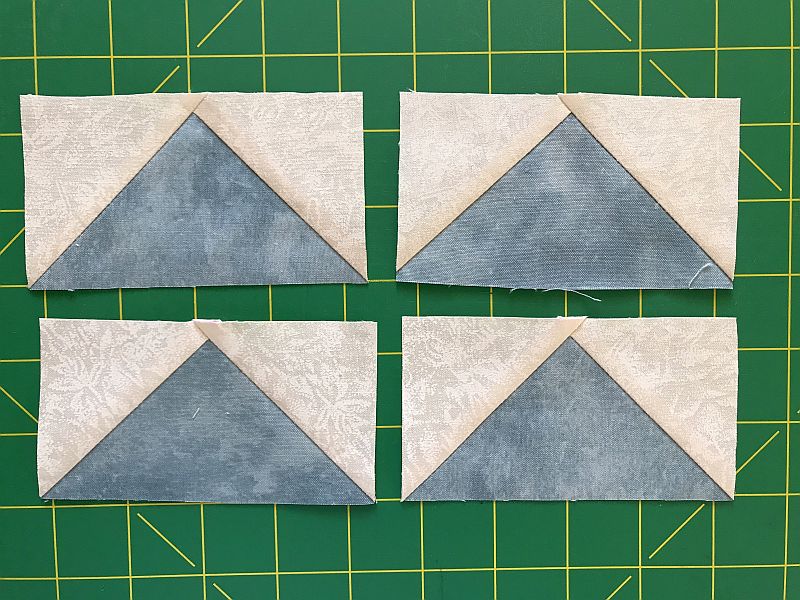
Flip the block upside down and match the X on the ruler with the point of the unfinished flying goose block. Your block should fit perfectly inside the rectangle on the ruler. Trim on top and to the right again. You now have a perfect 1/4″ seam allowance on top of the goose. Your unit will measure
2-1/2″ x 4-1/2″.Each set of squares will make 4 Flying Geese blocks.
Please add moc.hsadparcs@sirk to your contacts list to make sure you get the confirmation message. Drag the confirmation message from the Promotion tab to the Primary tab if you use Gmail.
If you are already a subscriber, it’s okay to fill out this form. You won’t be put on the mailing list twice.
Don’t forget to sign up for the newsletter! Once a week, I send updates on quilt-related information I have found while wandering the web. This might be an inspiring article, a tip or tutorial I have discovered (or written), and occasionally exclusive offers & discounts as well as immediate access to the secret page of free patterns, guides, and printables. You can follow my page on Facebook, or join the Make Believe Quilters group, too.
Picture Time!
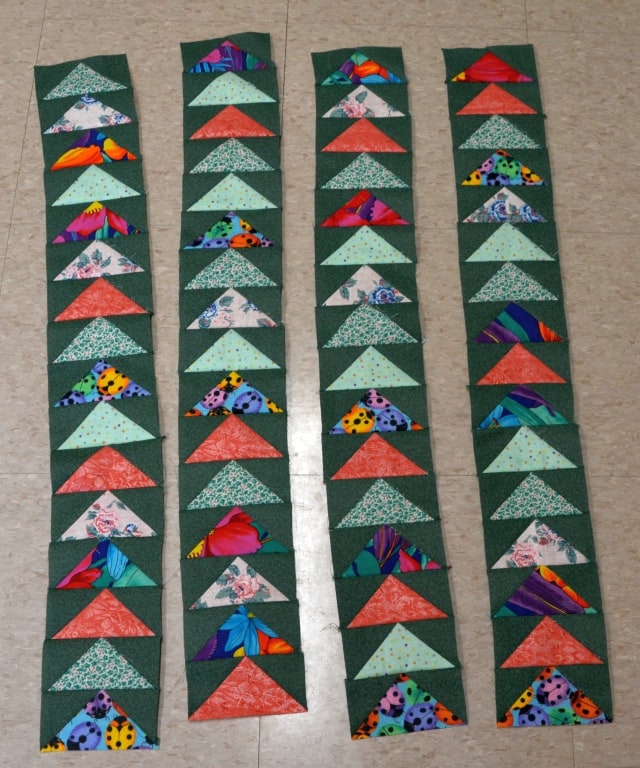 Made by Pam R | 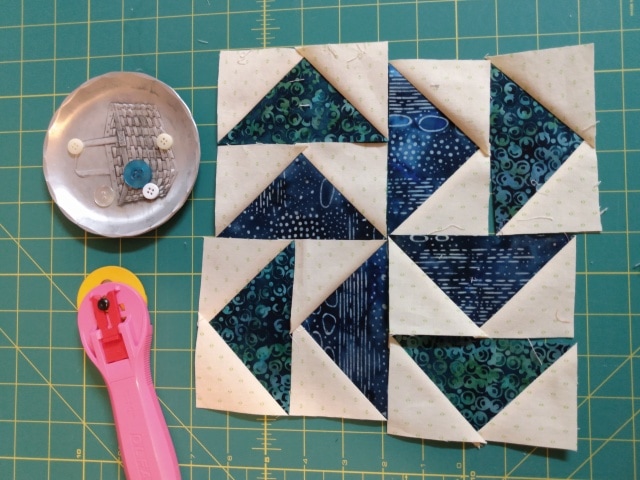 Made by Birgit |
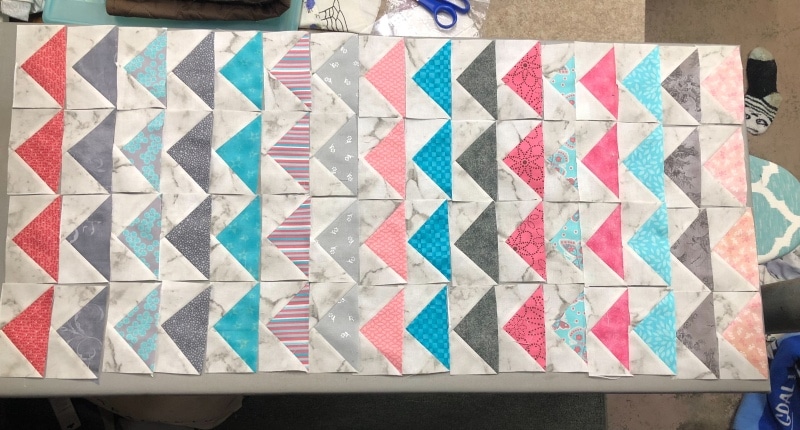 Made by Kelly M | 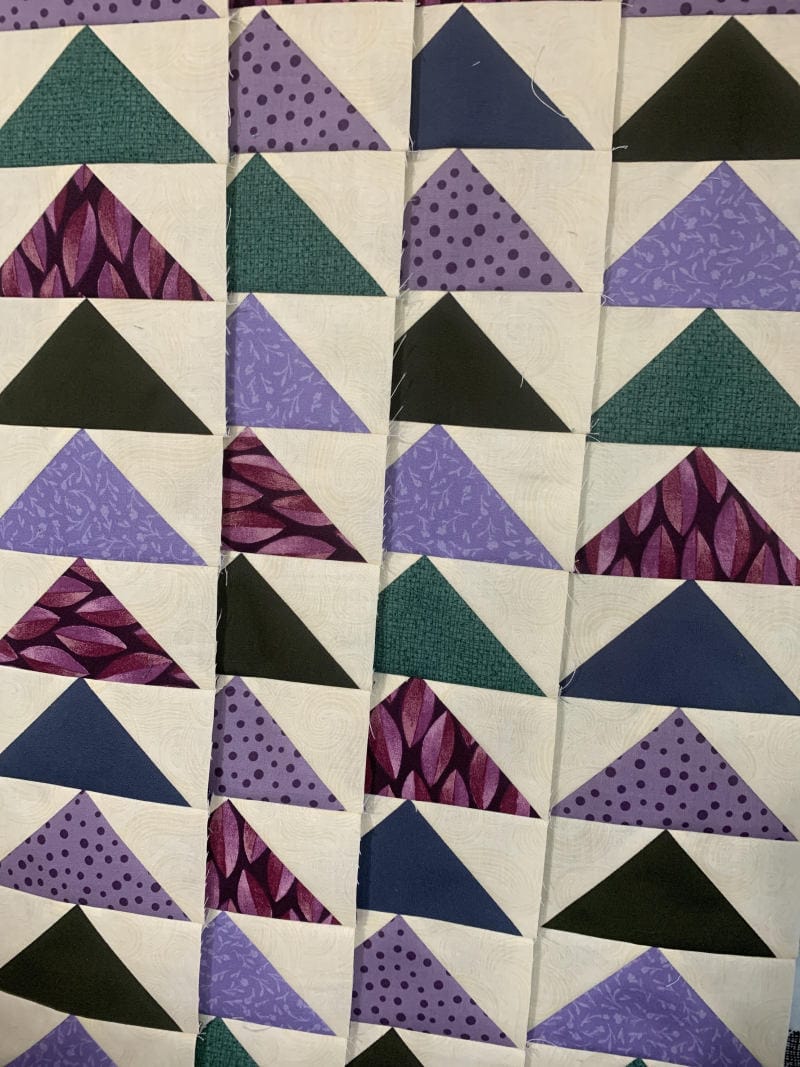 Made by Pam B |
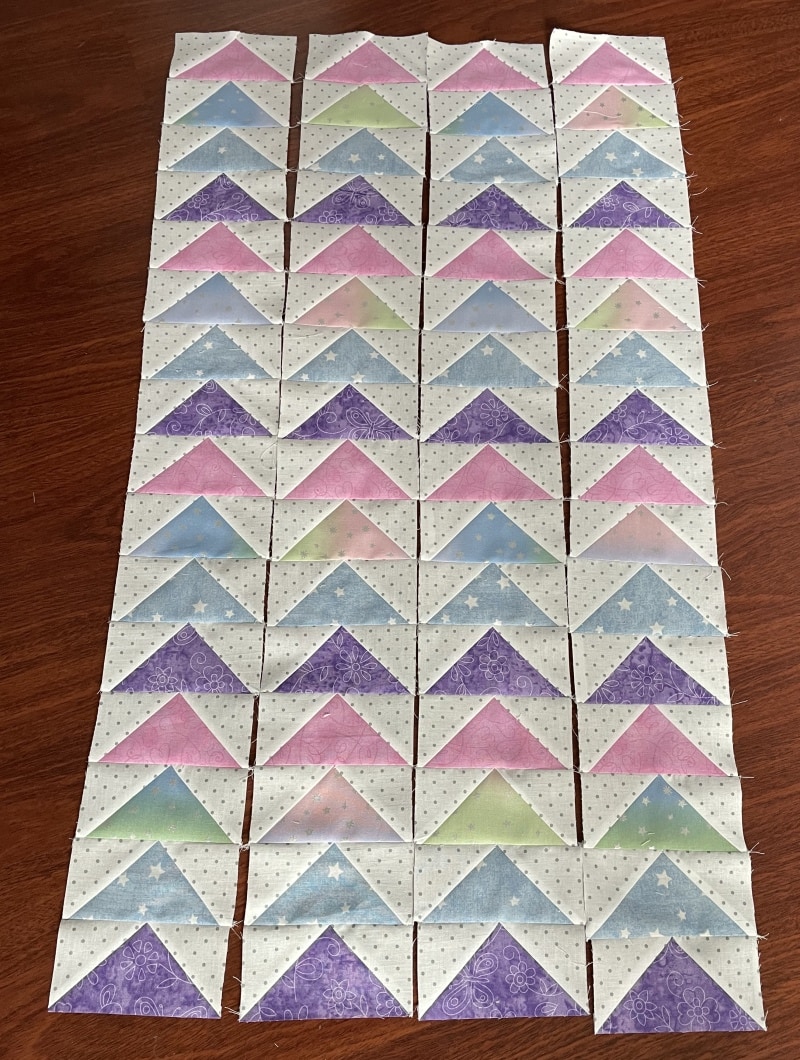 Made by Elke | 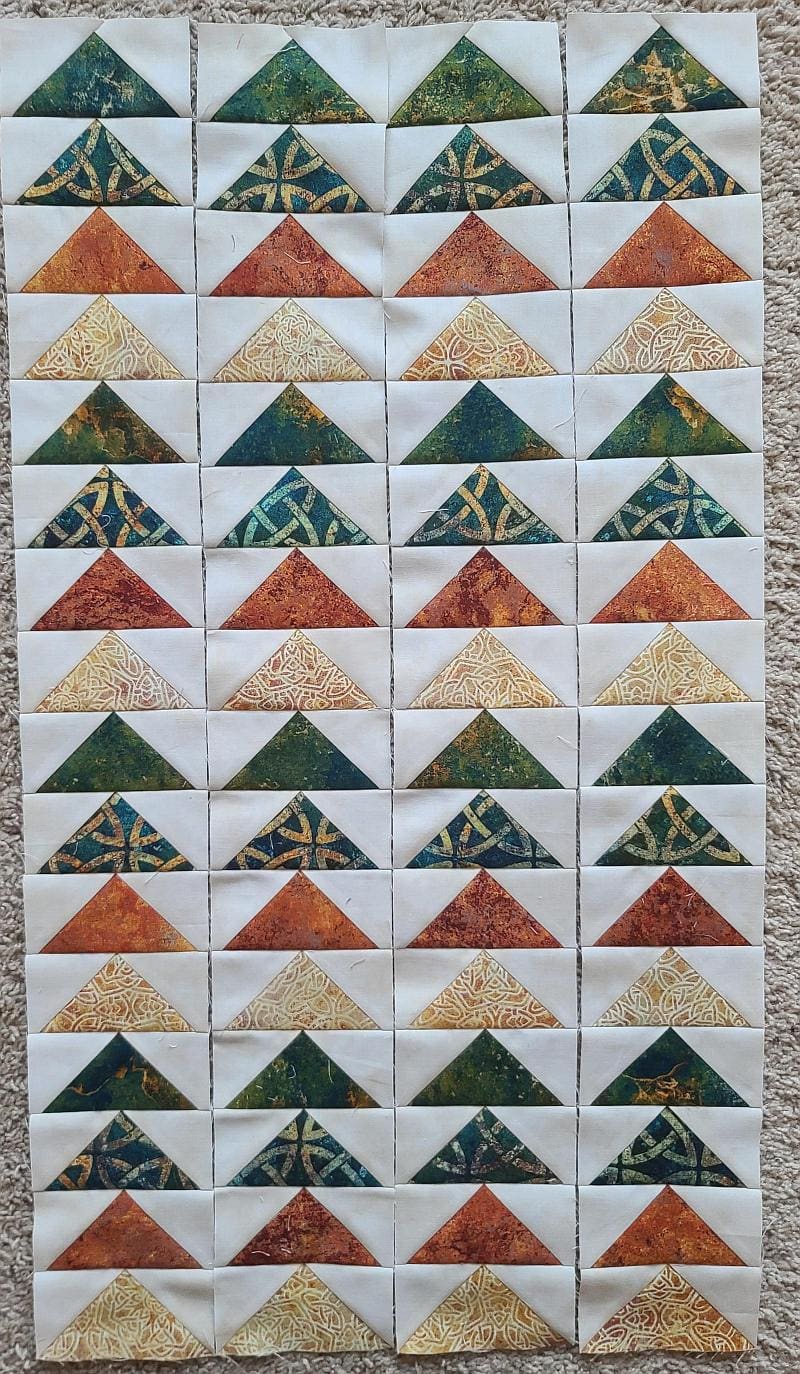 |
Here are the other blocks
- 4/18/2022 Introduction and Block One
- 5/11/2022 Block Two: The Diamond Sawtooth Star
- 6/15/2022 Block Three: the Challenging Block
- 7/13/2022 Block Four: More Flying Geese
- 8/10/2022 Block Five: the Log Cabin
- 9/14/2022 Block Six: HST Quilt Blocks
- 10/12/2022 Block Seven: the Churn Dash
- 11/9/2022 Block Eight: the Center Star
- 12/14/2022 Block Nine: Half Star Quilt Blocks
- 1/11/2023 Block Ten: the Center of the Quilt
- 2/08/2023 Block Eleven: Borders
- 3/15/2023 Block Twelve: Finishing and adding a label

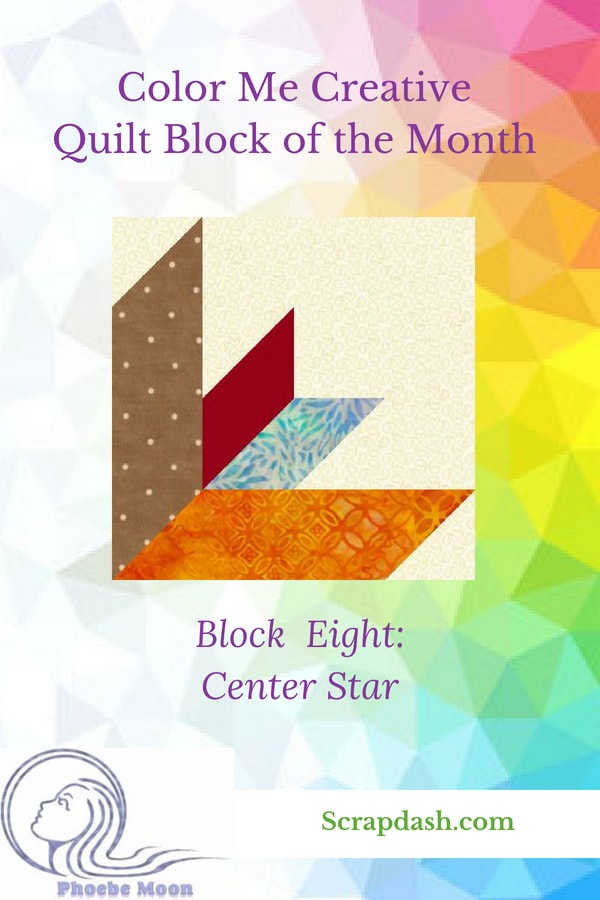
Not a problem! Block one is included with the introduction. You can get that here: https://scrapdash.com/color-me-creative-bom-quilt/
Great directions for four at a time flying geese. How many should we making?