Forest Tree Quilt Block
Note: This post may contain affiliate links. That means we may earn a commission at no additional cost to you if you purchase via our links. Not all links are affiliate links. I only recommend products I use and trust. As an Amazon Associate, I earn from qualifying purchases.
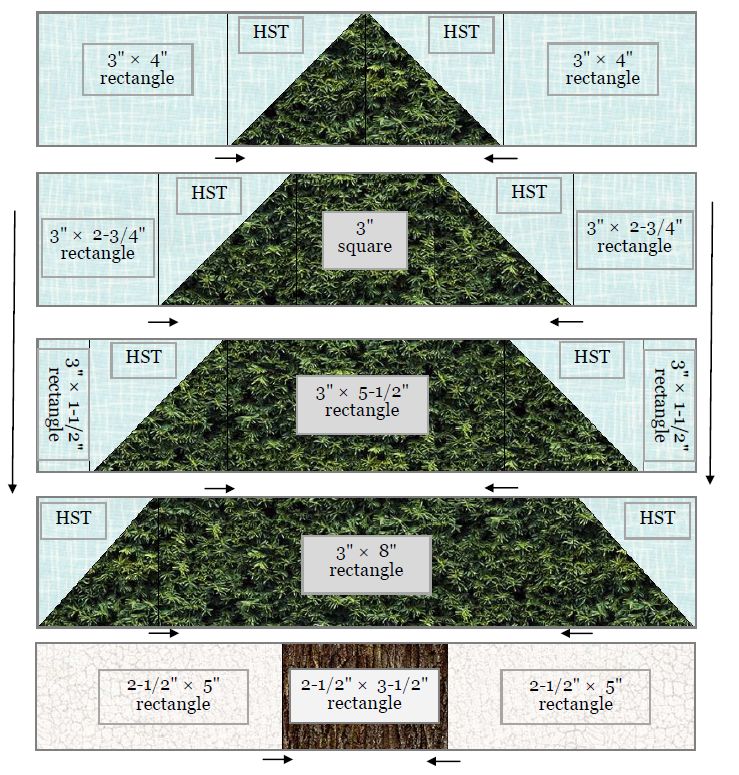
How to Make the Forest Tree Quilt Block
Before starting this project, I recommend that you press your fabric with spray sizing. It will make it easier to cut small pieces. Take the time to clean your machine, put in a new needle, and fill a few bobbins. When pressing, just hold the iron over a spot for a moment or two. This pattern assumes a perfect 1/4” seam.
You will need:
- Background (Sky) Fabric:
(1) 7″ square to make 8 HSTs
(2) 3″ × 4″ rectangles
(2) 3″ × 2-3/4″ rectangles
(2) 3″ × 1-1/2″ rectangles - Brown:
(1) 2-1/2″ × 3-1/2″ rectangle - Pine Needles
(1) 7″ square to make 8 HSTs
(1) 3″ square
(1) 3″ × 5-1/2″ rectangle
(1) 3″ × 8″ rectangle - Snow
(2) 2-1/2″ × 5″ rectangles
The “Magic Eight” Method of Making Half Square Triangle Blocks
This method works well when you need to make a lot of identically colored HST blocks. Here is an overview of the method. Make a test block first. (My personal preference is to cut the squares slightly too large so that I can square up the HST blocks later on. If you are sure of your 1/4″ seam, you can use 6-3/4″ blocks. )
Assemble:
(1) 7″× 7″ Background Square
(1) 7″× 7″ Pine Needles color Square
On the back of the Background square, draw 4 lines: one vertically through the center; one horizontally through the center and one on both diagonals. These will be your cutting lines.
Place the Background square and the Pine Needles color square right sides together. Sew 1/4″ on both sides of the diagonal lines.
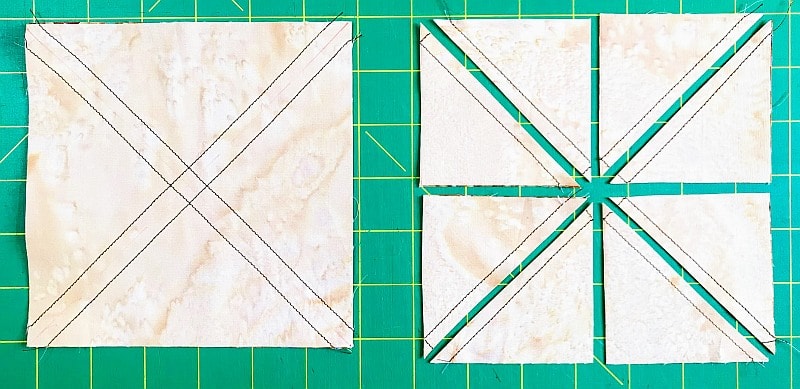
Press your sewn block and cut it apart on the drawn lines. If you cut it apart using a rotary cutter, take care not to move the squares with each cut. A rotating cutting mat will come in very handy. When you have all the blocks cut, you will need to square them up to 3″× 3″. Make (8).
Piecing Layout
Piece and press the block as shown below. When you are done, square it up to 12-1/2″.
Enjoy!
Please add moc.hsadparcs@sirk to your contacts list to make sure you get the confirmation message. Drag the confirmation message from the Promotion tab to the Primary tab if you use Gmail.
If you are already a subscriber, it’s okay to fill out this form. You won’t be put on the mailing list twice.
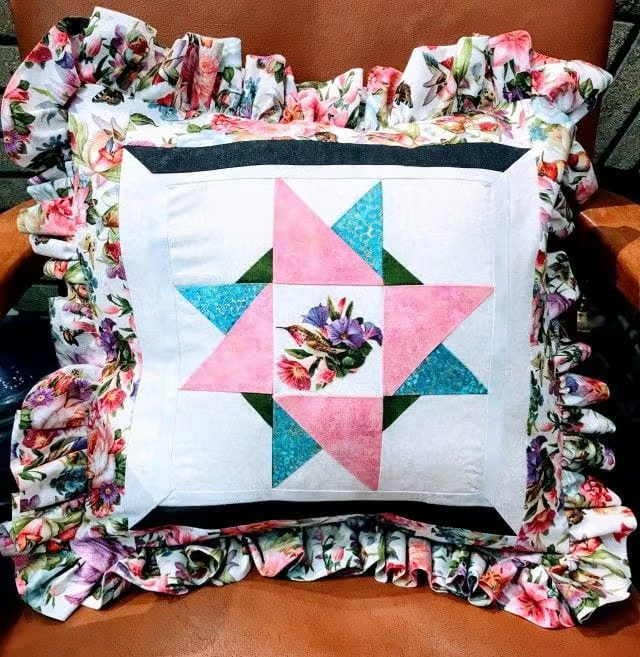
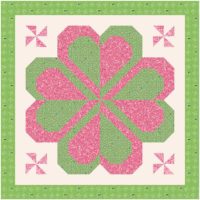
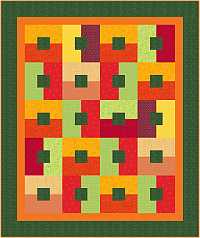
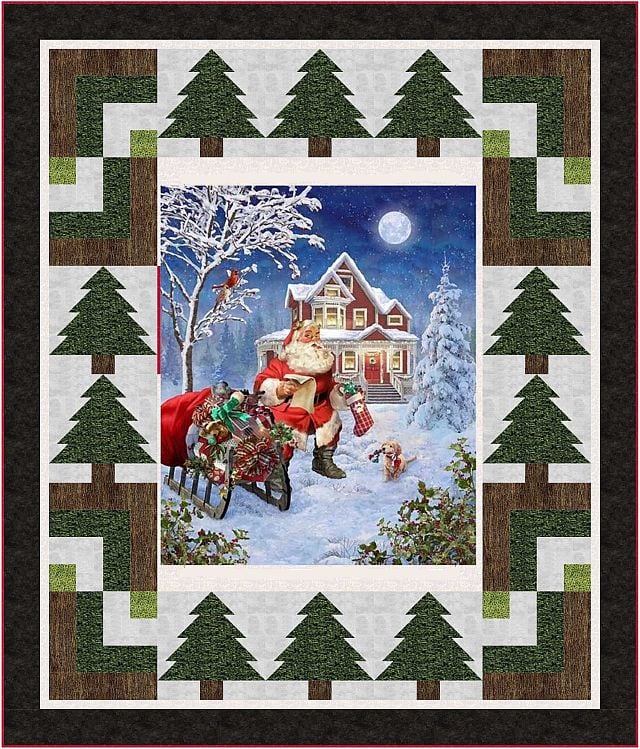
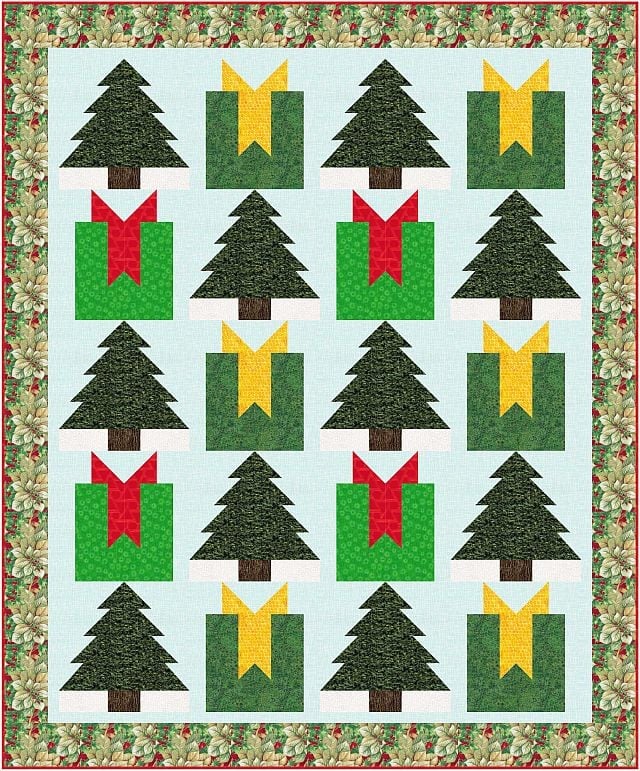
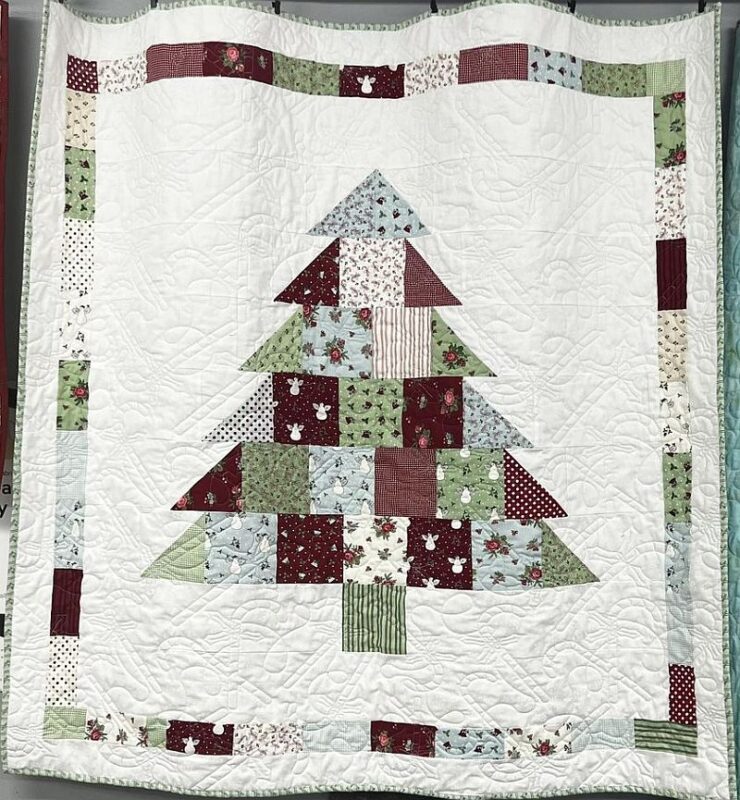
Here are some other ideas
No patterns on the ones below but if you click on the image, you will go to a page with more information.

Don’t forget to sign up for the newsletter! Once a week, I send updates on quilt-related information I have found while wandering the web. This might be an inspiring article, a tip or tutorial I have discovered (or written), and occasionally exclusive offers & discounts as well as immediate access to the secret page of free patterns, guides, and printables. You can follow my page on Facebook, or join the Make Believe Quilters group, too.