How to Make a Triangle On-Point Quilt Block
Note: This post may contain affiliate links. That means we may earn a commission at no additional cost to you if you purchase via our links. Not all links are affiliate links. I only recommend products I use and trust. As an Amazon Associate, I earn from qualifying purchases.
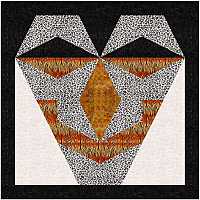
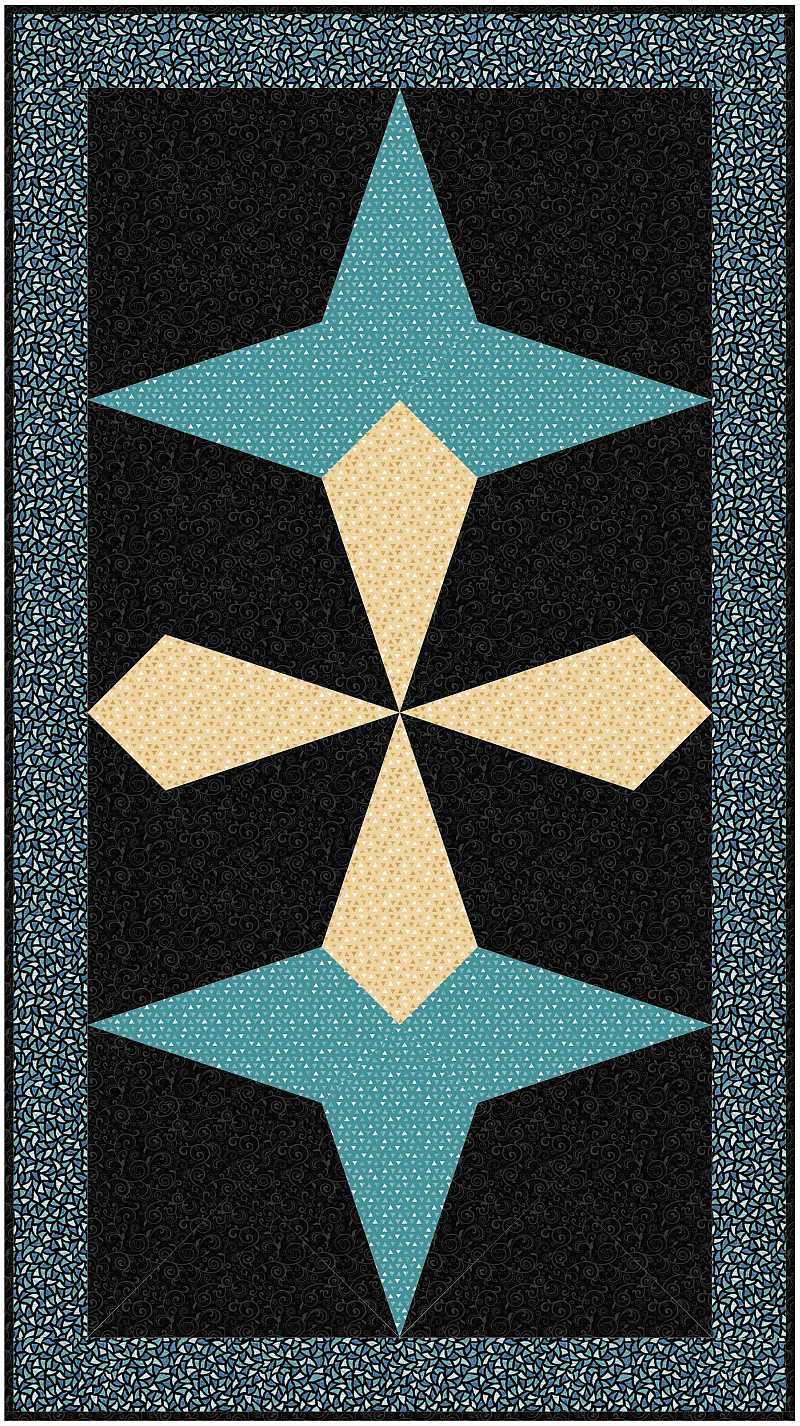
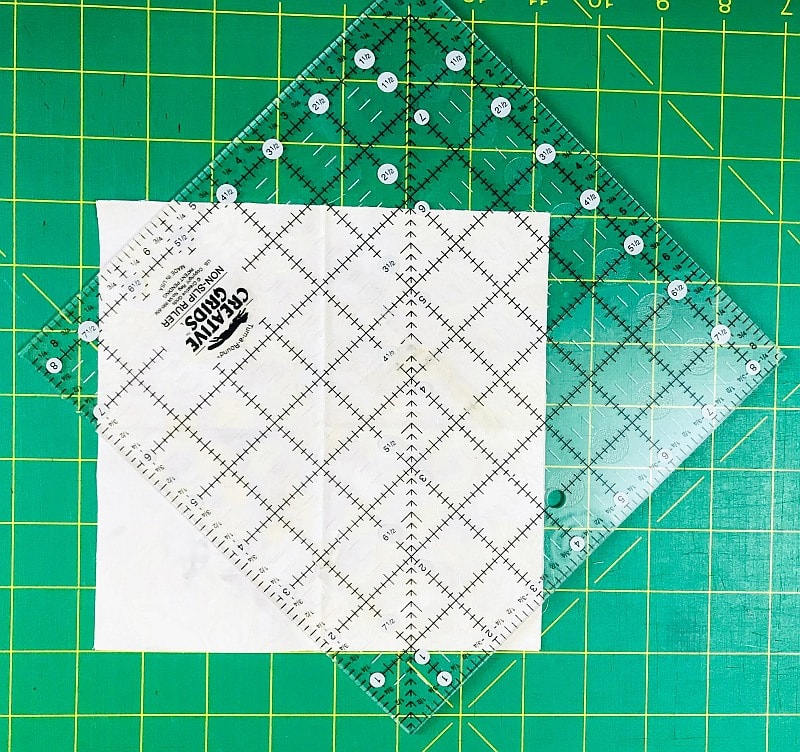
Not a block SET on point, but one that is constructed on point. These instructions are for a 6-1/2″ square block. Once you know the technique, it’s easy to make it in other sizes. Quilt-in-a-Day makes a ruler that will help with this block. You will see me use it later in the tutorial.
Start with the center triangle
Cut a 7″ square of the fabric you are using for the center. Fold it in fourths and press. This will help you mark the center of each side of the square.
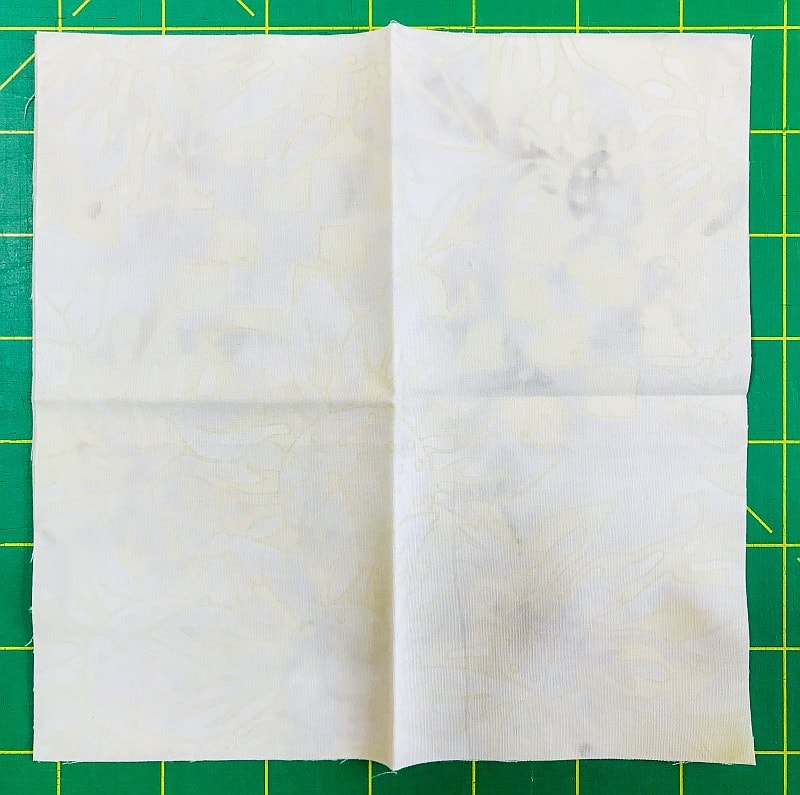
Cut from your mark to the opposite corner of the block. Discard the corner triangles or save them for another project.

Cut from the point to the center of the left side of the block 
Cut from the point to the center of the right side of the block.
Now cut the side pieces
These are NOT the same size as the pieces you just threw away. They need to be a little larger to accommodate the seam allowance.
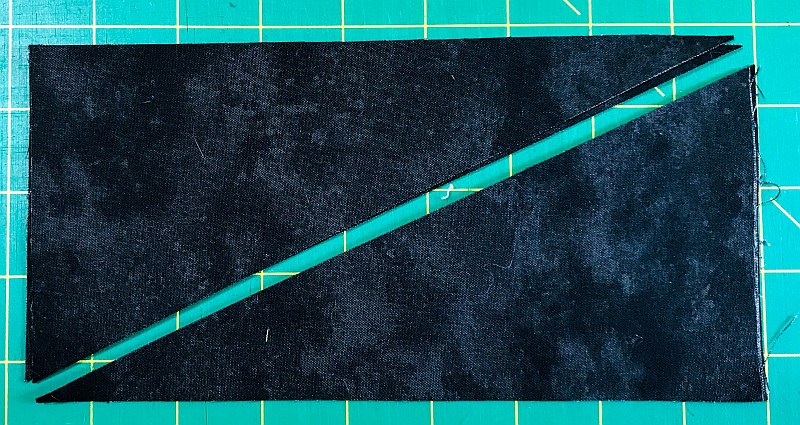
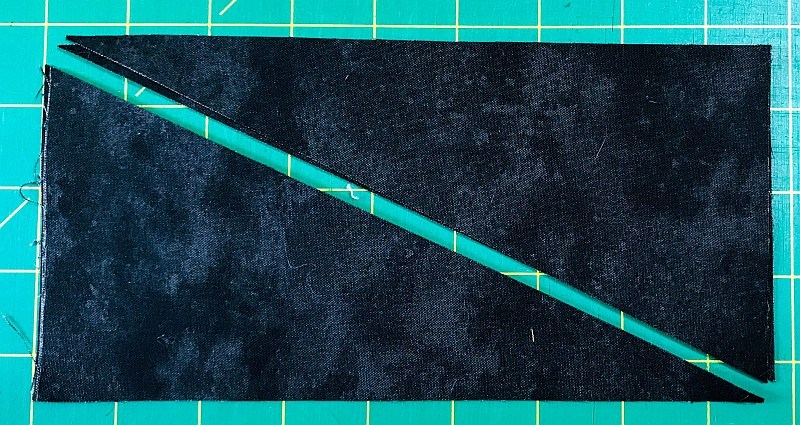
Cut two 4″ × 8″ rectangles on the diagonal as shown. These half-rectangles will be sewn onto the sides of the center that you just made. You will need one half-triangle from each group because of the angle — one for the left side and the opposite angle for the right side. (If you cut these in pairs, right sides together, you will automatically get the correct angles.)

This is the LEFT side of the block. One rectangle will make two left-sides. This is the RIGHT side of the block. One rectangle will make two right-sides.
Place the center point right sides together on the left side half rectangle. Slide it up by 1/4″. This gives you a little notch to show you where to begin your seam. Notice that the tail of the half-rectangle hangs over by a bit. That’s okay. You will trim it later when you square up the block. Sew this seam and press it to the half-rectangle.
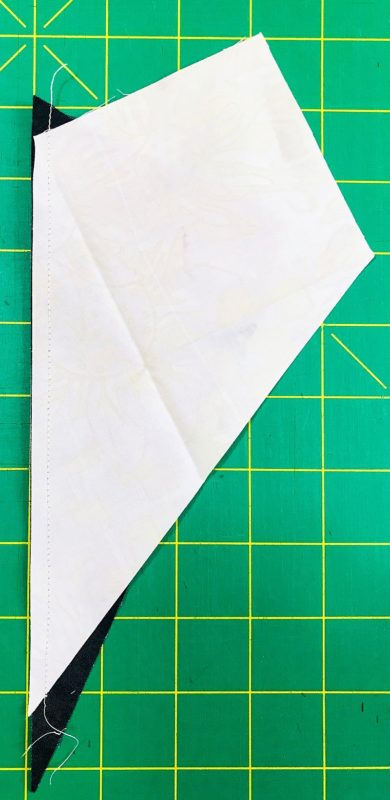
Repeat with the right side, pressing toward the center.

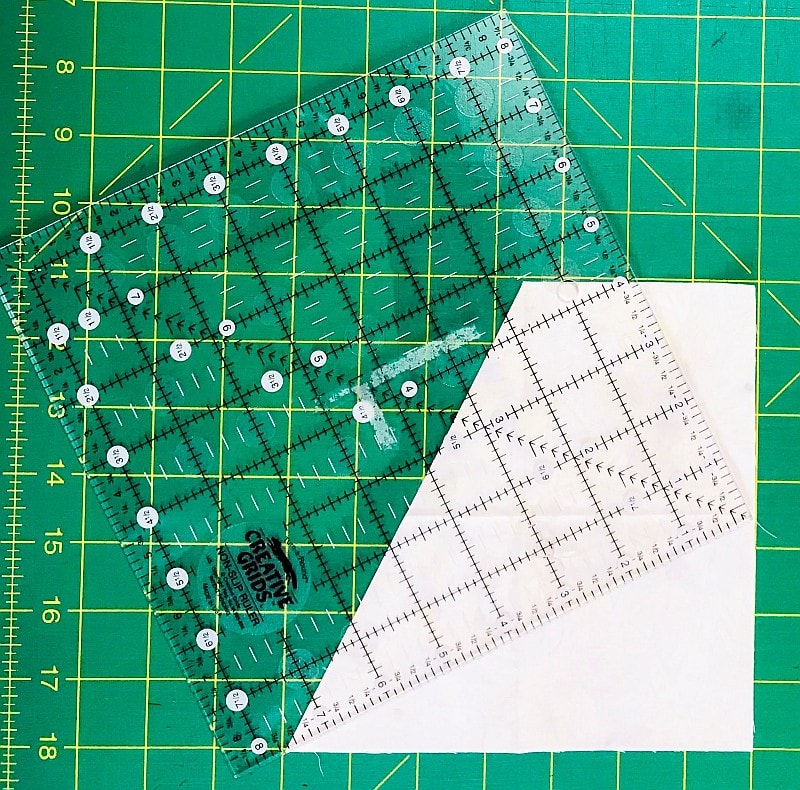
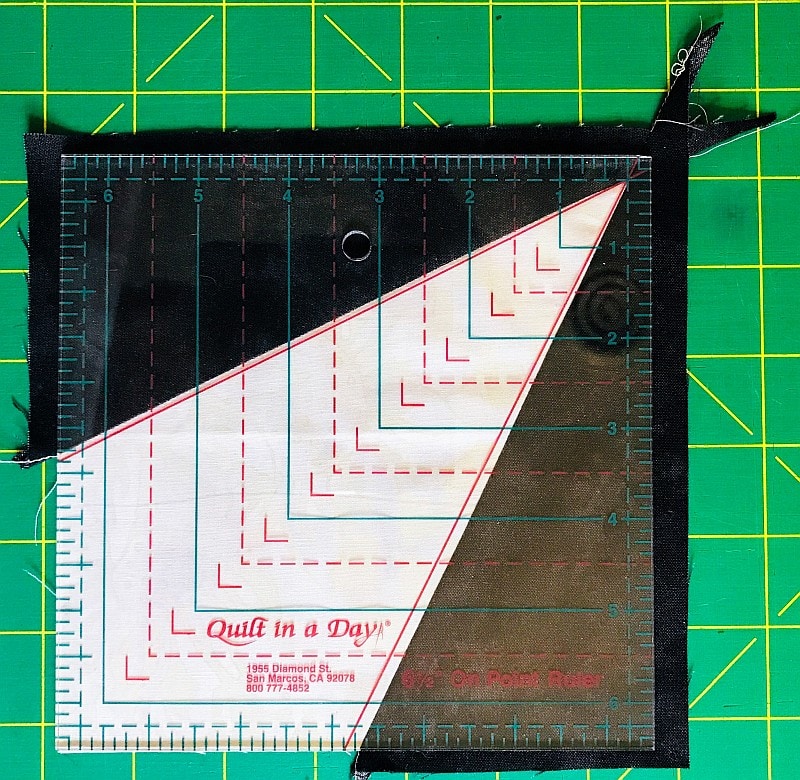
Square up to 6-1/2″, taking care not to cut off the 1/4″ seam at the point. Use a Quilt-in-a-Day 6-1/2″ On Point Ruler to square this up if you have one, or a 6-1/2″ square ruler if you don’t.
Use the form below to download and save this tutorial. It includes a paper-piecing template.
Please add moc.hsadparcs@sirk to your contacts list to make sure you get the confirmation message. Drag the confirmation message from the Promotion tab to the Primary tab if you use Gmail.
If you are already a subscriber, it’s okay to fill out this form. You won’t be put on the mailing list twice.