Linen Stories (Spring Linens) Tutorial
Note: This post may contain affiliate links. That means we may earn a commission at no additional cost to you if you purchase via our links. Not all links are affiliate links. I only recommend products I use and trust. As an Amazon Associate, I earn from qualifying purchases.
Here is a tutorial for making the quilt Linen Stories. This quilt is also known as Spring Linens. It’s the same quilt, just a different colorway.
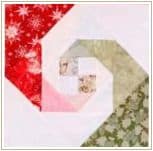
The idea for this quilt came from the tutorial I was working on for a Log Cabin quilt. I was trying to use a lot of colors, varying the intensity so the light ones were in the middle and they got darker as they moved to the outside. Kinda like the Swing Your Partner block.
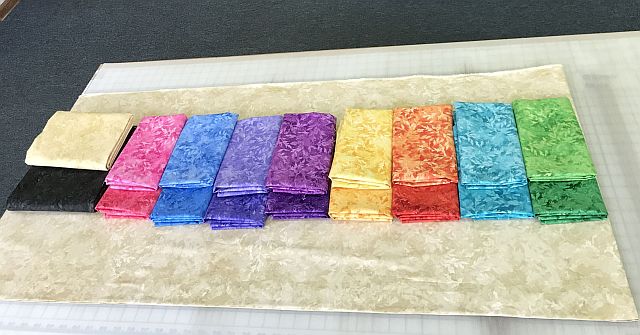
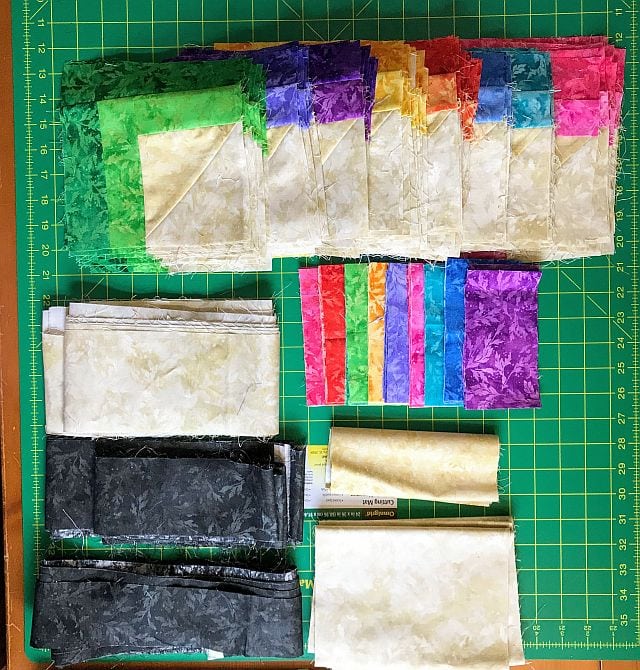
Here are the fabrics that I chose. Notice that there is a dark and light of each color. This doesn’t exactly match the Connecting Threads kit as I didn’t have those fabrics available at the time I made this tutorial.
The blocks in this quilt are surprisingly easy to make. They are simply strips around a center half-square-triangle-block, with the light strip on the inside and the dark strip on the outside. You will be cutting and recutting a LOT of strips for this project. A stripology or other strip cutting ruler will make this chore a little less tedious.
Making HSTs for the Linen Stories Tutorial
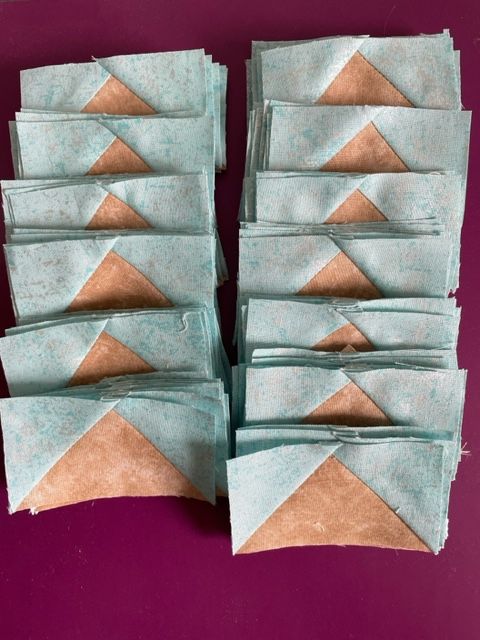
There are many different ways to make Half-Square-Triangle (HST) blocks. This is the traditional method.
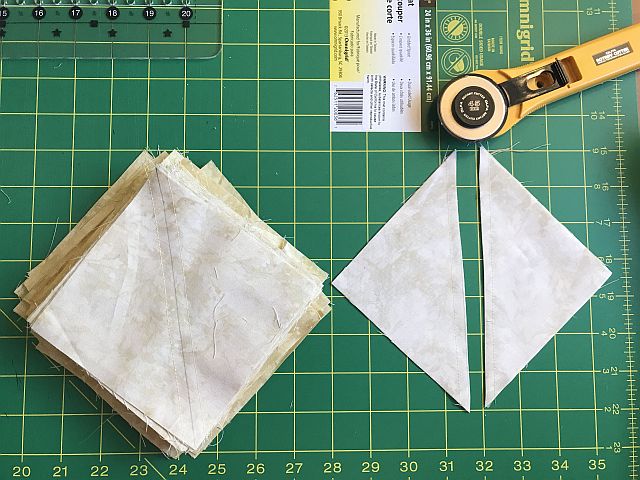
Start with two squares of fabric, a dark and a light, that are 7/8″ larger than the finished size of the HST that you are making. (I usually specify 1″ larger in the patterns that I write to give people a chance to square it up after it is made.) Draw a line on the diagonal of the light square, match it to the dark square, and sew 1/4″ on either side of that line. Cut on the drawn line.
If you prefer to draw both the center cutting line and the 1/4″ line, consider a Quick Quarter Ruler. It has an angled edge to help you draw a perfect diagonal line through the center of the ruler.
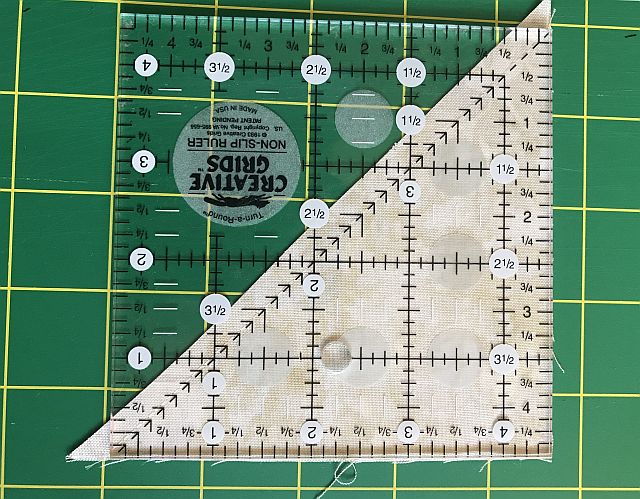
To square up the block, you can use a specialty ruler like the Quilt in a Day square up ruler or just place the 1/4″ line on a square ruler on the seam line and draw around the edges.
Or, you can press the block open and cut all the way around it. Remember to PRESS and not iron as you might a garment. You just want to make this block flat. A rotating cutting mat will make your life much easier as you won’t have to pick up the ruler, then the block, then reposition it before making the next cut.
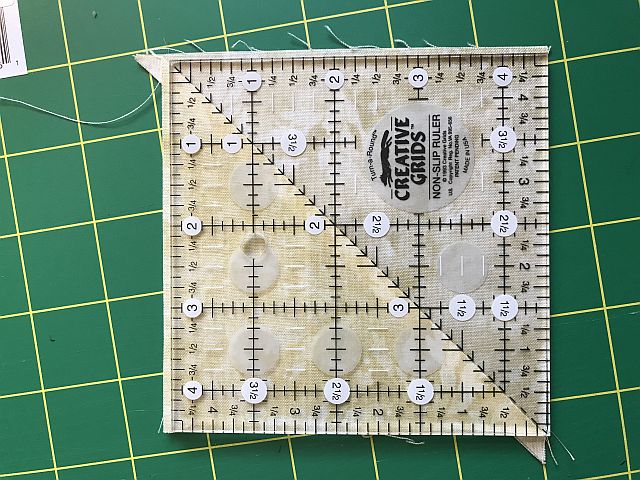
Now that you have the center of the blocks made, it is time to sew strips around it. You can see why I was influenced by a log cabin quilt:-))
Sewing the Block
You will first sew the strips in groups, then cut them the size of the HST. (The pattern goes into more detail.) Dig out that strip cutter again! Place a horizontal line along the seam line of the strip set before making any cuts. That will help you keep your cuts straight.
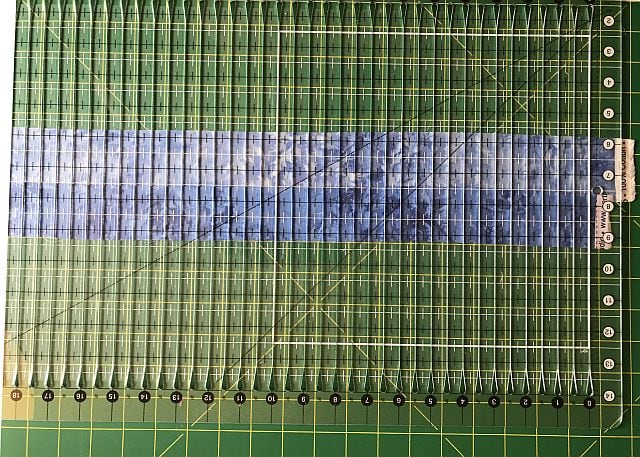
I admit I ran out of steam after this step. So much cutting! I do have an Accuquilt, but I wanted to write this tutorial without using it. And, yes, it did occur to me later that I simply could have omitted that step but I didn’t think of it at the time:-))
The next day I sewed all the side pieces to the HSTs, then the two-piece units to the bottom, then began adding the final side strip. This is a closeup of that process:
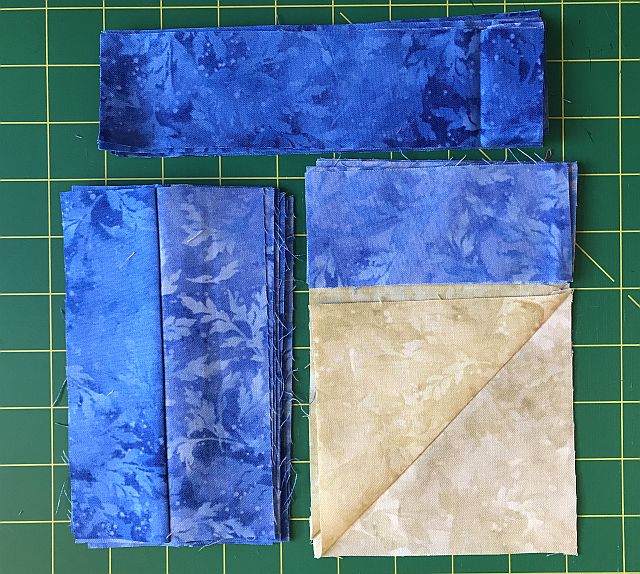
Accurate pressing is important in a quilt of this size. I love my Oliso – that bounceback feature saved my ironing board from my granddaughter more than once. I know it’s expensive, but it is so worth it to me. Did you know they also have a mini iron?
Here is the block from the back, showing how it is pressed.
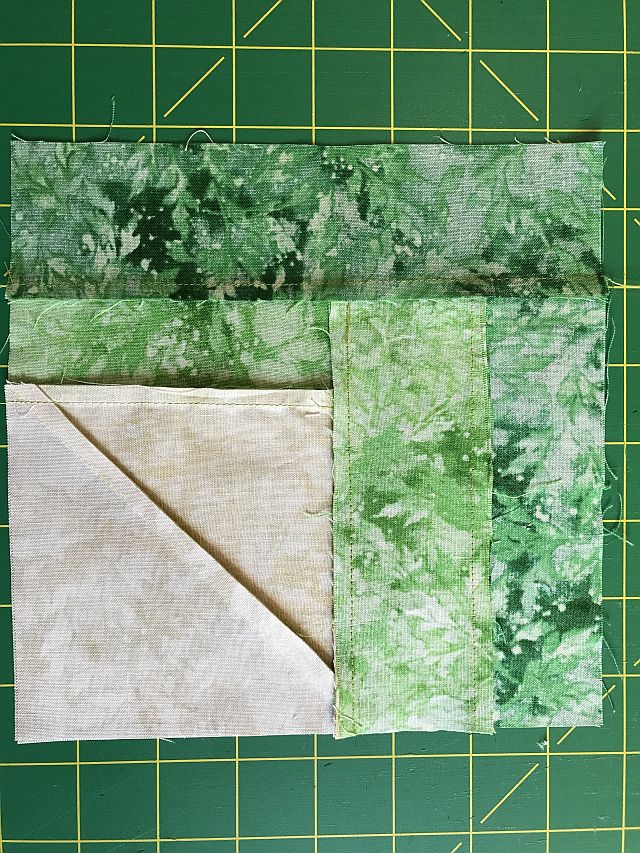
Here is where I was by the end of the day:
I don’t have any pictures of the last day of sewing. It was mostly trying to match the colors in the pattern to the colors that I was working on. I always recommend that quilters go through and cross off the pattern colors and write in their own. That saved me a lot of aggravation in this sewing session. Truthfully, by the end, I was just choosing colors randomly. It worked out just as well and I was happy.
The finished quilt
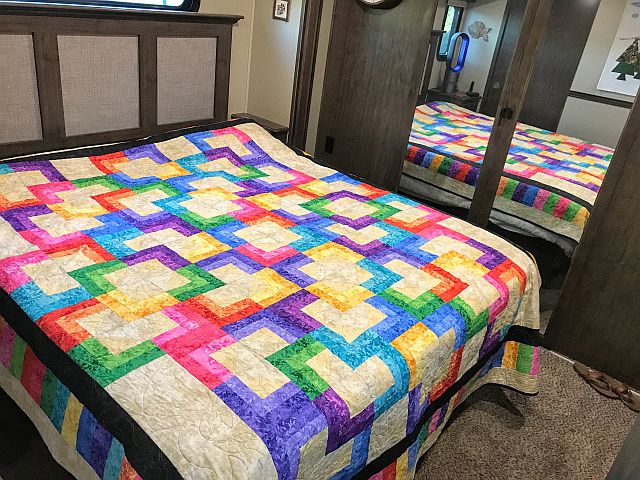
Here is what the finished quilt looked like on the king-sized bed in our fifth-wheel travel trailer. Pretty nice, eh?
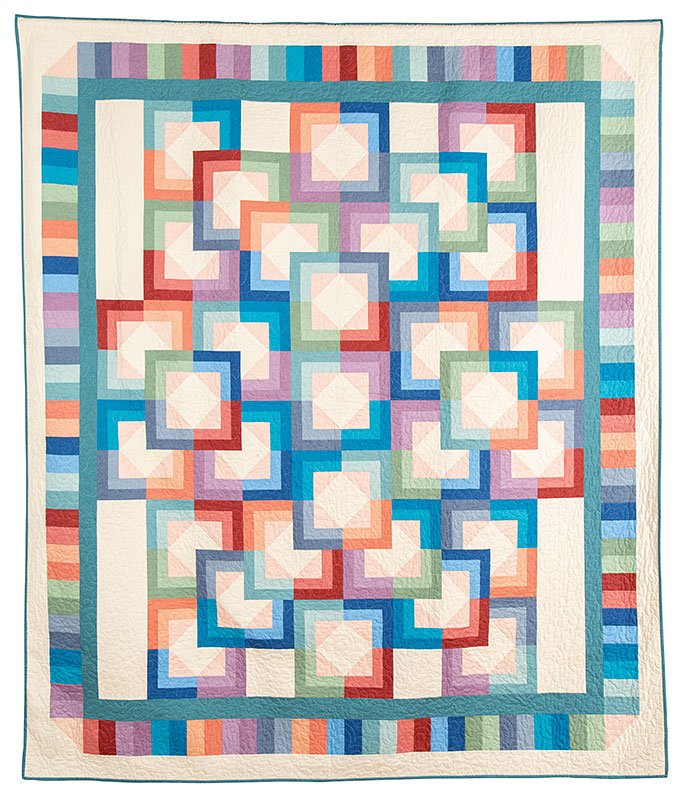
The elegant one below was made using a Connecting Threads kit.
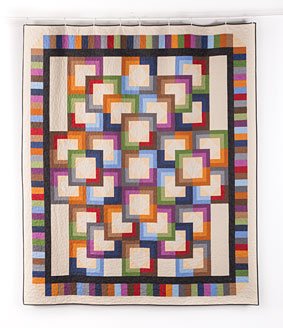
This is the Spring Linens coloring.
If you make this quilt, please send me a picture! I would love to see it on your bed. My email address is moc.liamg@sngisednoomebeohp Thanks!
Don’t forget to sign up for the newsletter! Once a week, I send updates on quilt-related information I have found while wandering the web. This might be an inspiring article, a tip or tutorial I have discovered (or written), and occasionally exclusive offers & discounts as well as immediate access to the secret page of free patterns, guides, and printables. You can follow my page on Facebook, or join the Make Believe Quilters group, too.


I love this quilt. After working on your latest mystery, I still have the final border to add, I started with strings. Why? Who knows, I sure don’t. Now I want to continue with the string blocks, don’t know what I will do with them, I’d love to attempt this quilt. I haven’t added that final border yet, for two reasons, 1, I didn’t think I had a stash piece that would be suitable, and 2, I was not sure if I wanted it to be any larger than it is. You had made some comments of concern about the simplicity of the pattern. No worries. mine looks great, and depending on what one chose for the centre, it is very versatile. Thanks again for that mystery day.
Well, thank you for those kind words. I am working on the summer mystery now – putting a couple options in it for size. It should be fun!