Mardi Gras Geese – March Block of the Month
Note: This post may contain affiliate links. That means we may earn a commission at no additional cost to you if you purchase via our links. Not all links are affiliate links. I only recommend products I use and trust. As an Amazon Associate, I earn from qualifying purchases.
Mardi Gras is a spectacular celebration that lasts from the 12th day after Christmas to the day before Ash Wednesday. It is a purple, green and gold carnival filled with parties, interesting parades, and best of all, King Cake.
Because it is a day of celebration, I am going to be showing you a Flying Geese technique and offering a pattern for not only the block but also a table runner!
Here is the one-seam dimensional flying geese technique
A flying goose block will always finish twice as wide as it is tall. Back when I taught the No Whining class on the Quiltbus (pre-internet!), I would use 3-1/2″ squares because they demonstrated well. 3-1/2″ plus
3-1/2″ in quilter math is 6-1/2″ because you subtract 1/2″ for the seam allowance. So my demo flying geese used 3-1/2″ squares for the background and 3-1/2″ x 6-1/2″ rectangles for the geese. If you would like to practice on scraps, that is the size I would suggest.
Here is the block you can make with (16) 3-1/2″ background blocks and (8) 3-1/2″ x 6-1/2″ rectangles.
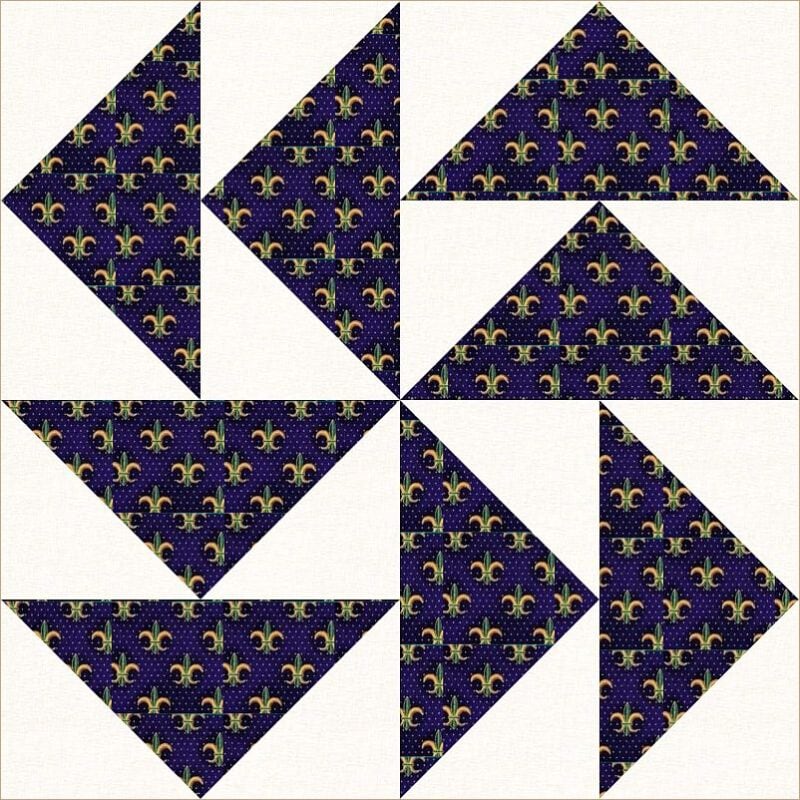
Yes, this is the same technique I used in the Faux Cathedral Window video in 2008.
Here I am using 2-1/2″ background squares and 2-1/2″ x 4-1/2″ geese rectangles so I can make the table runner.
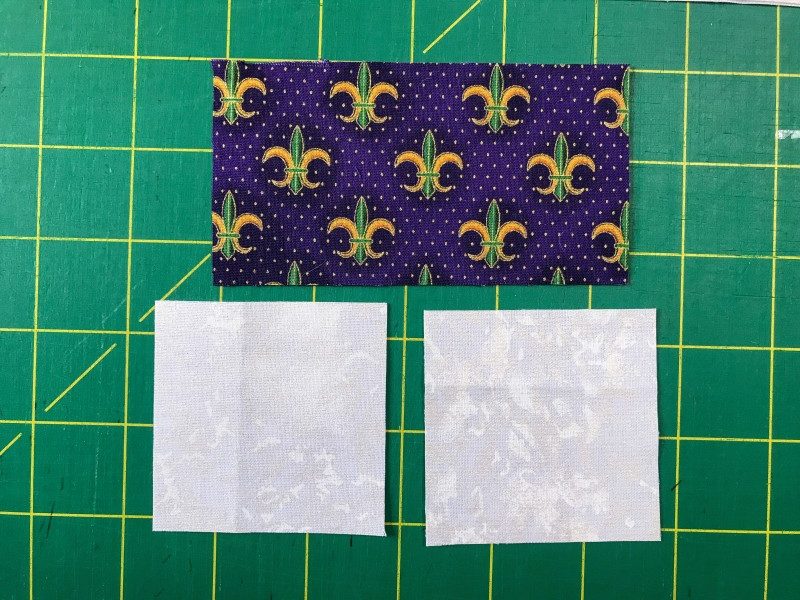
Fold the geese rectangle in half, wrong sides together. Place this rectangle along one side of square, right sides together.
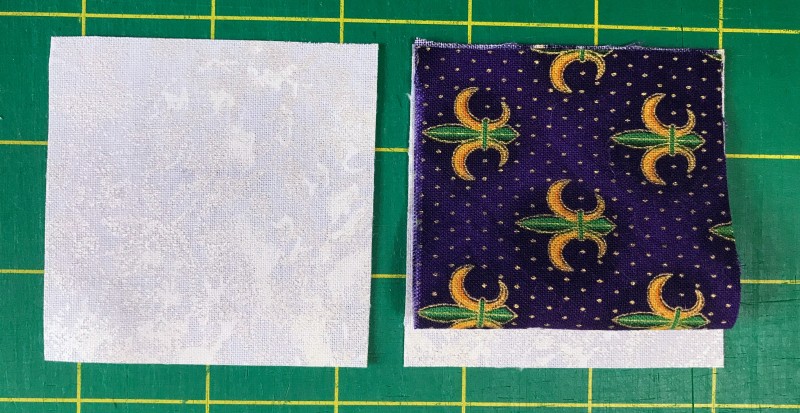
Place the remaining square on top of that grouping, right sides together, making a sandwich.
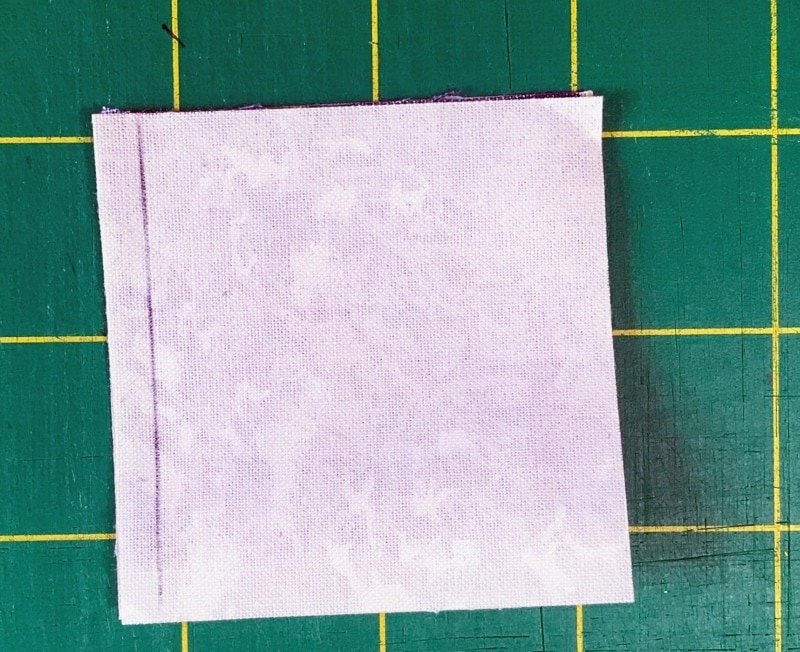
Now, every instinct in your quilter’s body is going to tell you to sew all four cut edges together. Resist that temptation! For if you do, you will end up with this:
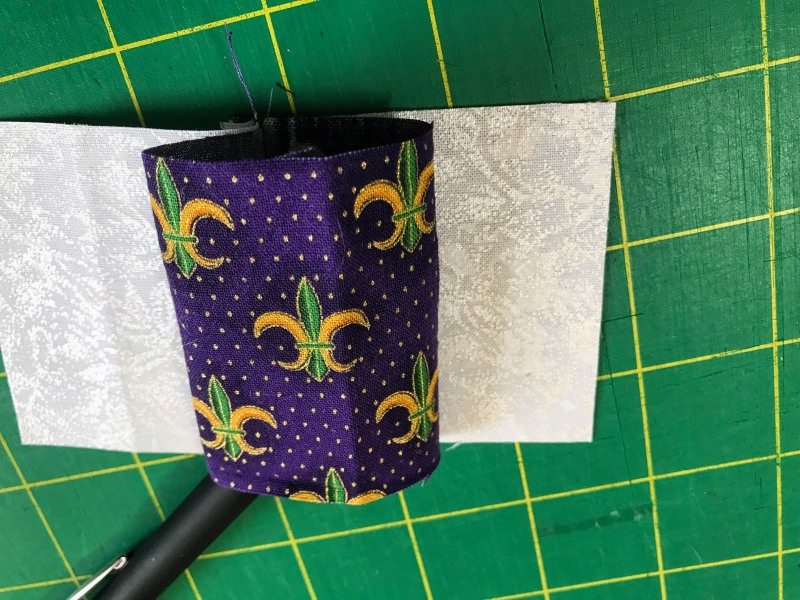
Pick out your seams and sew the sandwich again, this time sewing the seam alongside the fold. (Below, left.)
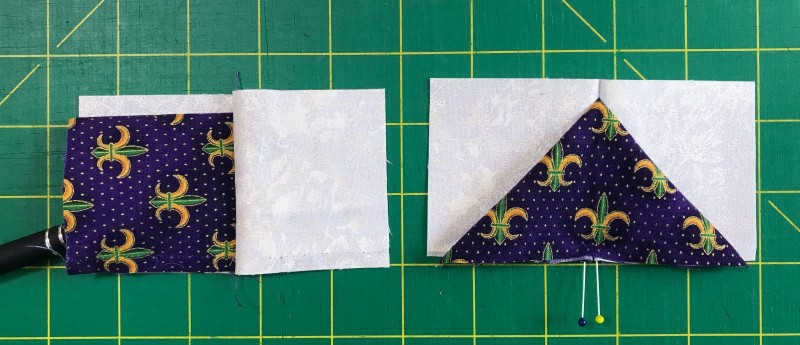
When you open up the block, you should see a one-seam dimensional flying geese quilt block.
Watch out for directional fabric
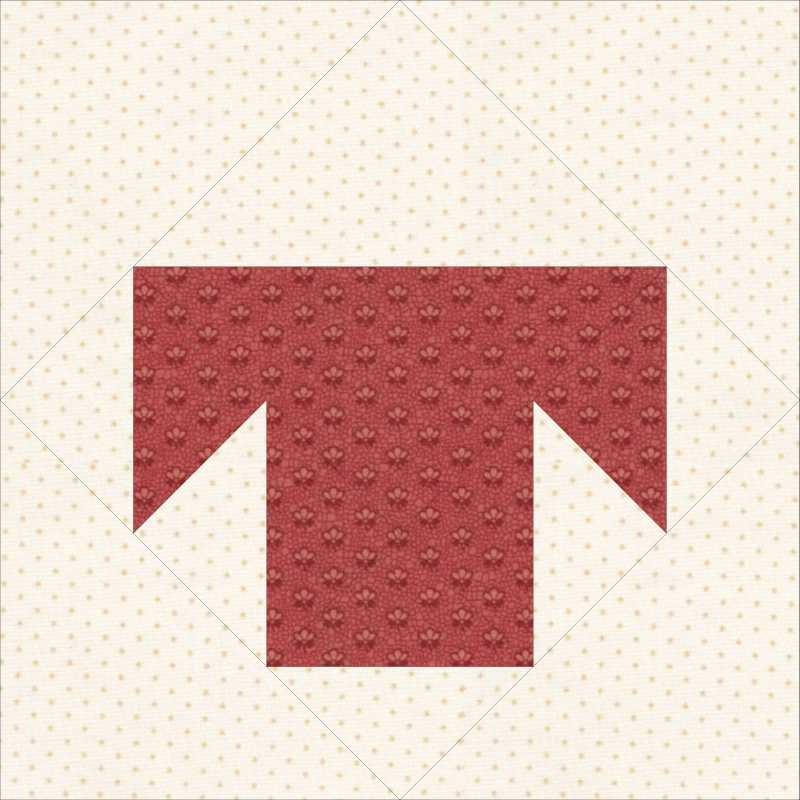
When I was working on this tutorial, I did not take into account the fact that the fleur-de-lis in the fabric was directional. If that happens to you, make sure you cut your rectangles so the design faces up.
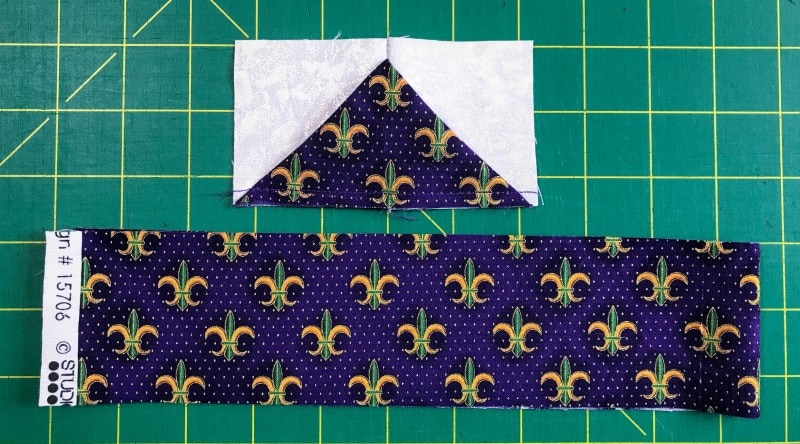
When you put your sandwiches together, double-check to make sure everything is going to come out correctly before investing in a seam.
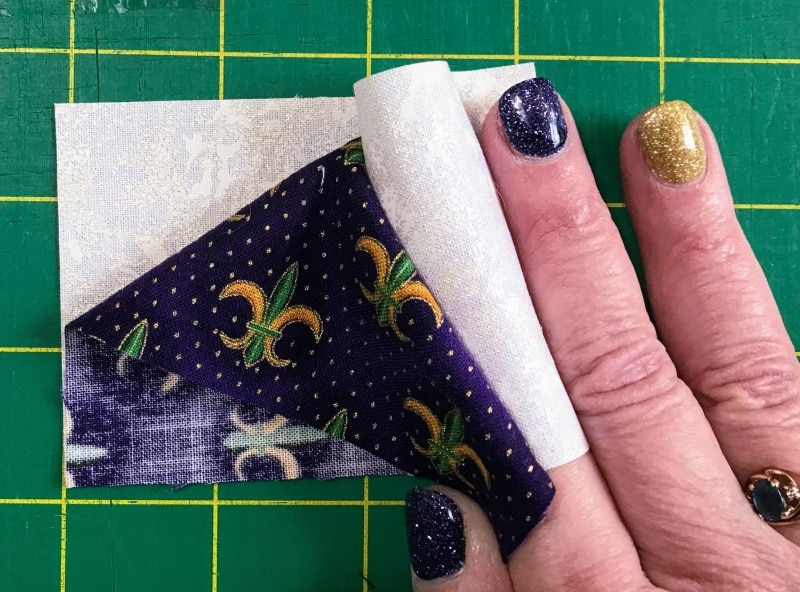
I made myself little packets and pinned them ahead of time.
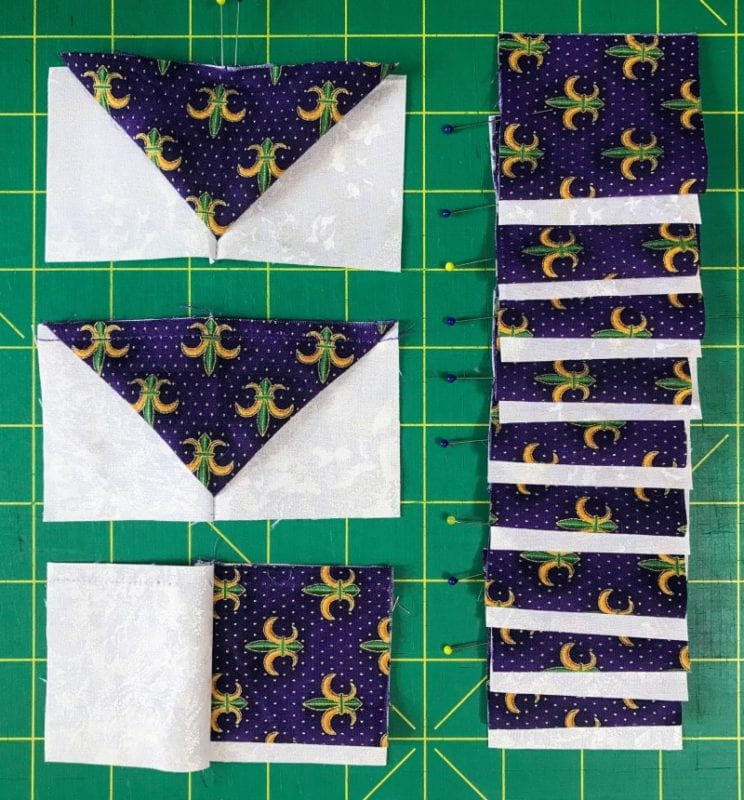
One thing you should NOT do: press these. You will lose the dimensional effect if you do.
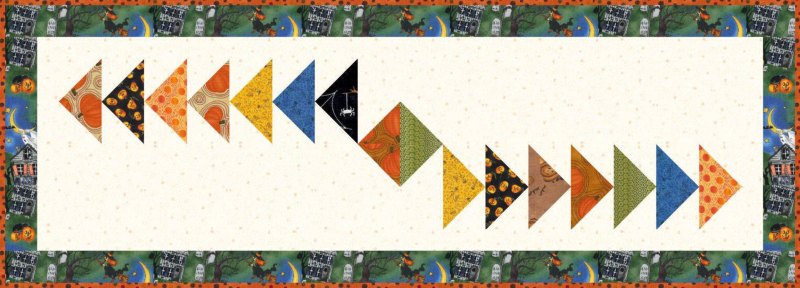
Making a Dimensional Flying Geese Table Runner
Here are the fabric requirements.
- (14) 2-1/2″ × 4-1/2″ rectangles of a dark fabric
- (4) 2-1/2″ × 2-1/2″ squares of a dark fabric
- (28) 2-1/2″ × 2-1/2″ background squares
- (2) 4-1/2″ × 2-1/2″ background rectangles
- (2) 4-1/2″ × 12-1/2″ background rectangles
- (2) 4-1/2″ × 4-1/2″ background squares
- (3) 1-1/2″ wide × Width of Fabric strips of background
- (3) 2″ wide × Width of Fabric strips of Outer Border
Following the directions above, make (14) Flying Goose blocks.
Draw a diagonal line on the back of (4) 2-1/2″ × 2-1/2″ squares of dark fabric. Place this square on one corner of a 4-1/2″ × 4-1/2″ background square. Sew on the line and trim the excess. Make (2) and press to the dark.
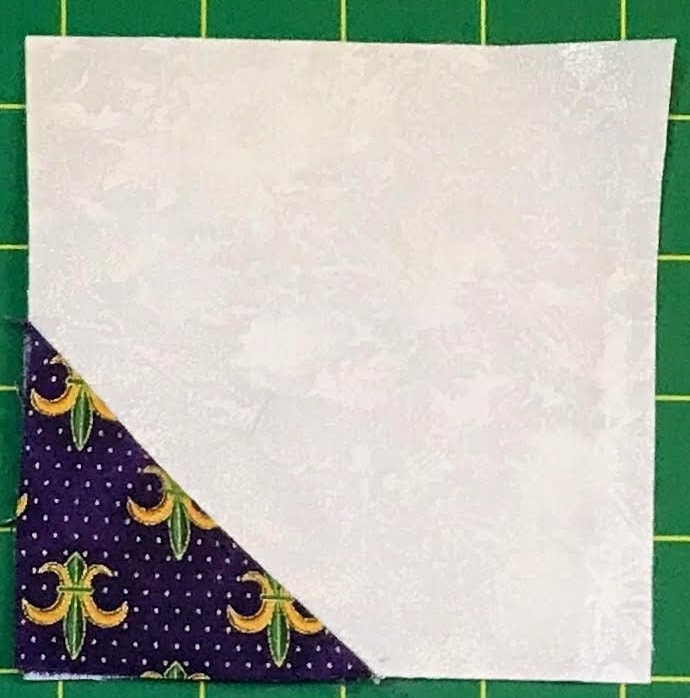
Repeat this process with the (2) 4-1/2″ × 2-1/2″ background rectangles, taking care to match the angle shown below. Press to the rectangle. Sew a Flying Goose block to one side of those triangles as shown. Make (2).
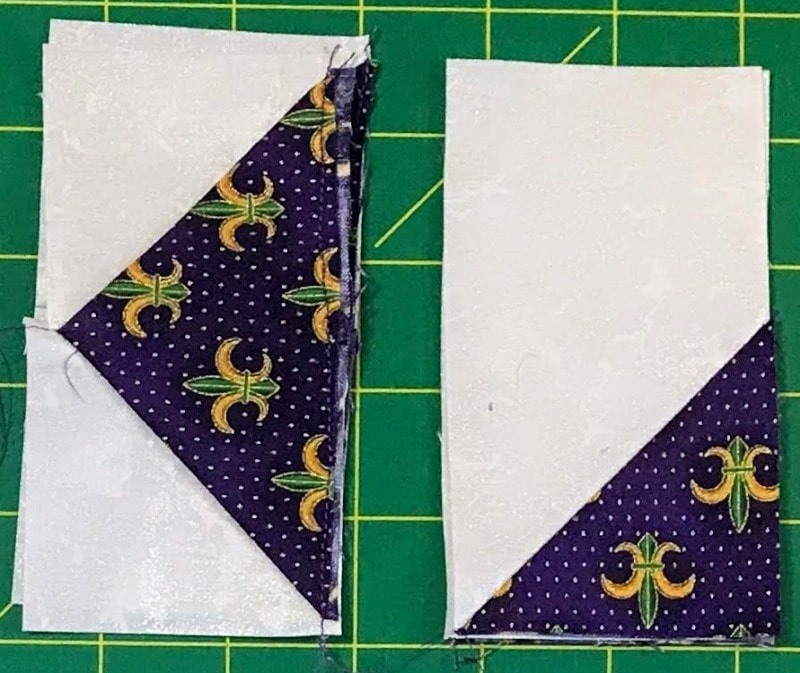
Sew the remaining Flying Geese blocks into (2) groups of five.
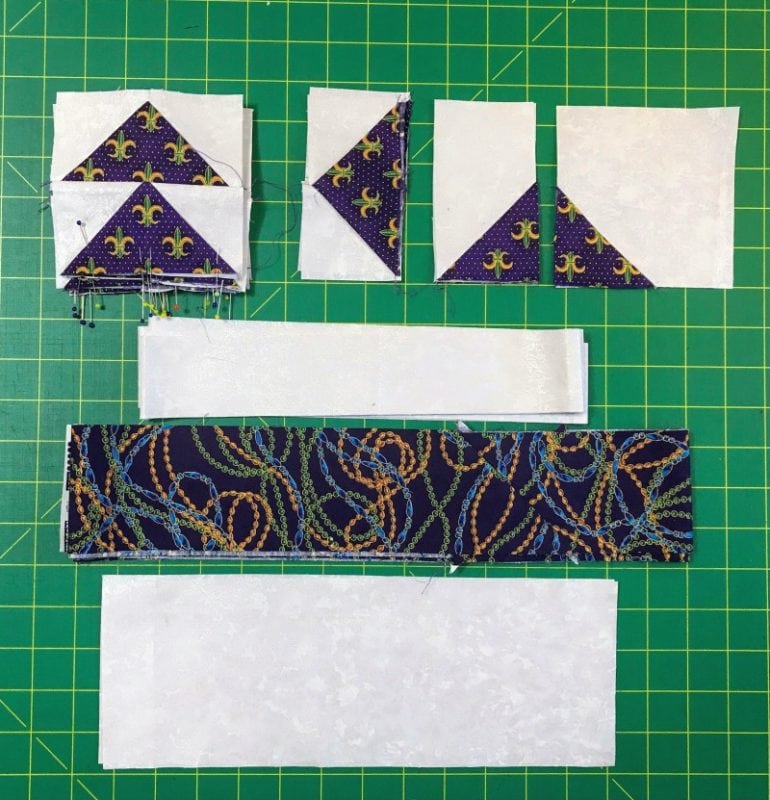
Using the units you just made and the 12-1/2″ × 4-1/2″ background rectangles, make (2) rows like the one below.

Sew the two rows together, reversing one row. Press.
From the 1-1/2″ wide background fabric, cut (2) rectangles 8-1/2″ long. Sew these to both ends of your new top and press to the border. Cut (2) rectangles 36″ long and sew these to the top and bottom. Press to the border.
From the 3″ wide Outer Border fabric, cut (2) rectangles 10-1/2″ long. Sew these to both ends of your new top and press to the border. Cut (2) rectangles 37-1/2″ long and sew these to the top and bottom. Press to the border.
You are done! Batt, quilt, bind and enjoy!
Subscribers get the above pattern for free!
Please add moc.hsadparcs@sirk to your contacts list to make sure you get the confirmation message. Drag the confirmation message from the Promotion tab to the Primary tab if you use Gmail.
If you are already a subscriber, it’s okay to fill out this form. You won’t be put on the mailing list twice.
Don’t forget to sign up for the newsletter! Once a week, I send updates on quilt-related information I have found while wandering the web. This might be an inspiring article, a tip or tutorial I have discovered (or written), and occasionally exclusive offers & discounts as well as immediate access to the secret page of free patterns, guides, and printables. You can follow my page on Facebook, or join the Make Believe Quilters group, too.


this is wonderful. thanks for sharing. happy valentines day.