Mug Rug Gift Pattern
Note: This post may contain affiliate links. That means we may earn a commission at no additional cost to you if you purchase via our links. Not all links are affiliate links. I only recommend products I use and trust. As an Amazon Associate, I earn from qualifying purchases.
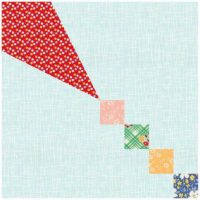
This free mug rug pattern is my gift to you. It can be used to make a mug rug, along the side of a placemat, or even in a table runner. It’s fast, fun, and easy to make! To get the free pattern, fill out the form below. To print this entire page, use the green Print Friendly button at the very bottom of this page.
How to Make the Mug Rug Gift
What is a mug rug? It’s an oversize coaster that you put on the table to hold your beverage and a small snack. It’s not quite as big as a placemat – it can range from 4″ to 10″ and any shape that suits your creativity. Its primary job is to look cute and provide you with sustenance during those long sewing sessions.
Fabric Requirements
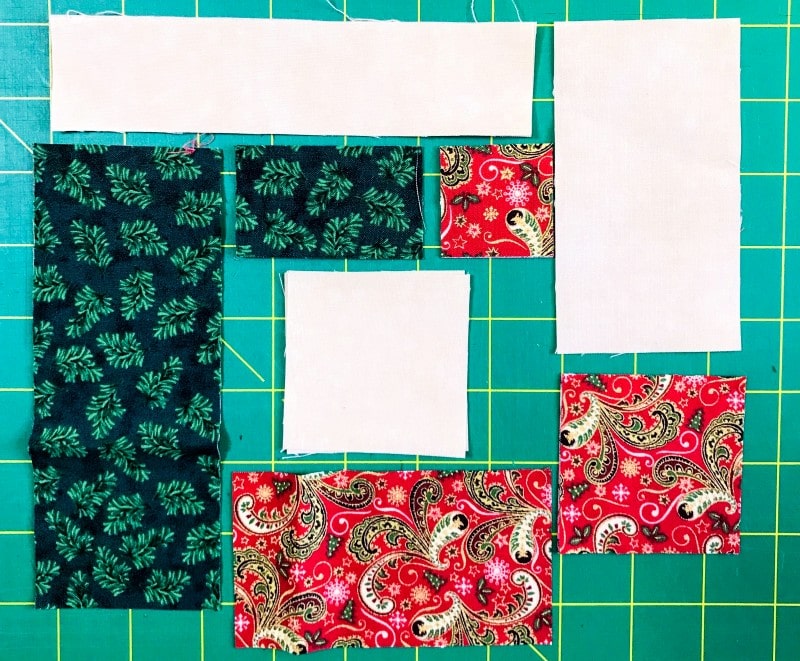
- Background: (2) 2-1/2″ squares; (2) 1-1/2″ x 6-1/2″ rectangles; (1) 2-1/2″ × 4-1/2″ rectangle.
- Red: (2) 2-1/2″ squares; (1) 2-1/2″ × 4-1/2″ rectangle; (2) 1-1/2″ squares
- Green: (2) 2-1/2″ × 6-1/2″ rectangles; (2) 1-1/2″ × 2-1/2″ rectangles
- You don’t NEED the Quilt-in-a-Day Mini Rulers, but they will make things easier for you:
The Traditional Method of Making Flying Geese
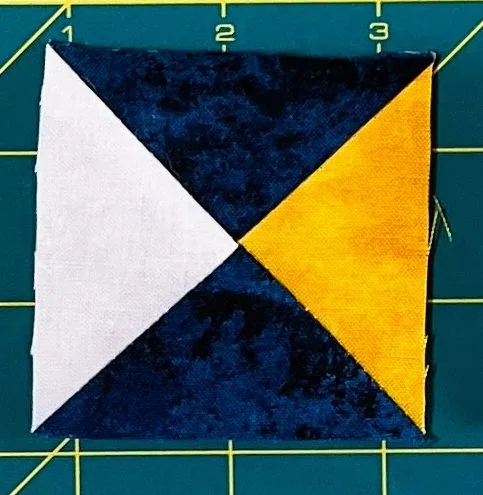
A flying goose quilt block is always twice as wide as it is tall. That makes it easy to figure proportions. While there are methods of making four flying geese at a time, I am showing a more traditional method because you only need two small blocks.
To make the larger flying goose in this pattern (the bow), use the 2-1/2″ × 4-1/2″ background rectangle and both 2-1/2″ red squares.
Step One: Draw a line on the diagonal on the wrong side of the sky square (shown in red below.) Lining up the corners of the square with the edges of the goose rectangle (shown in cream below), pin carefully and sew on the drawn line.
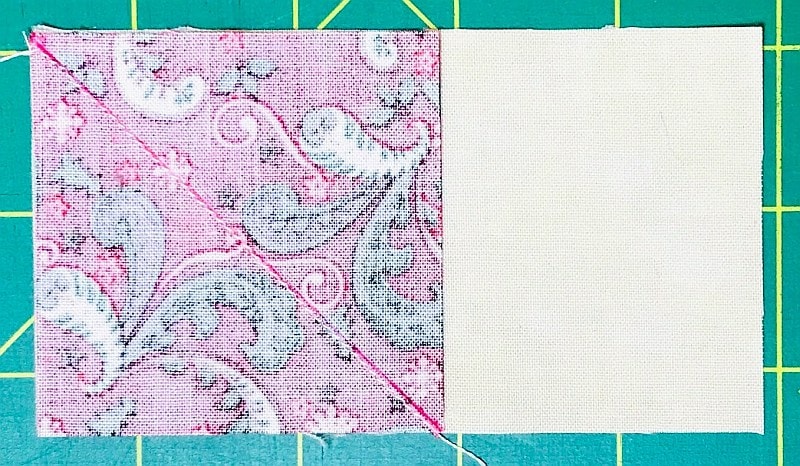
Cut off the excess and press.
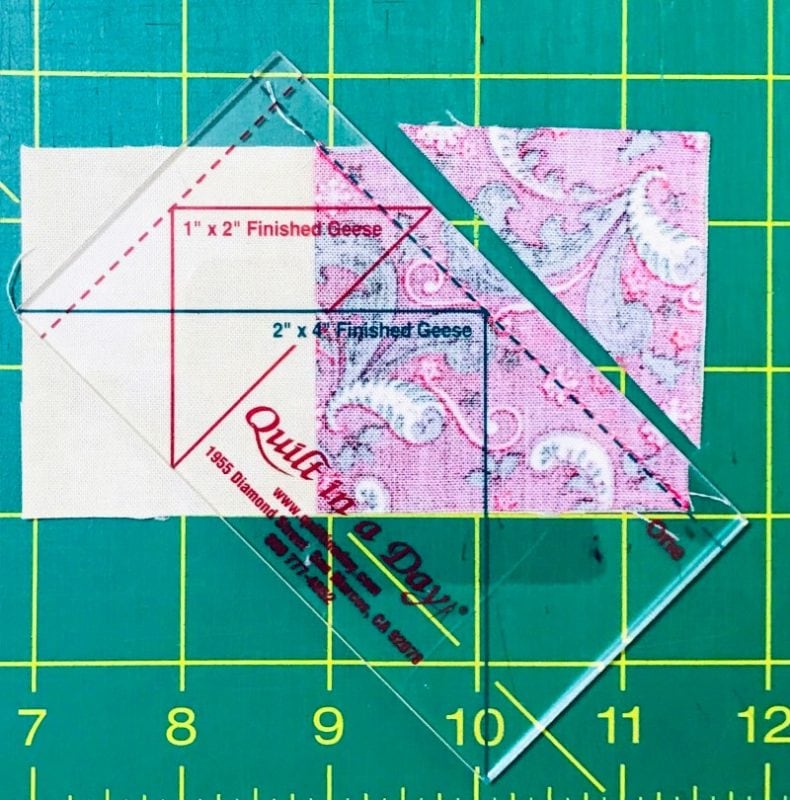
Step Two: Do the other side, overlapping the first square. Press and trim all loose dog ears.
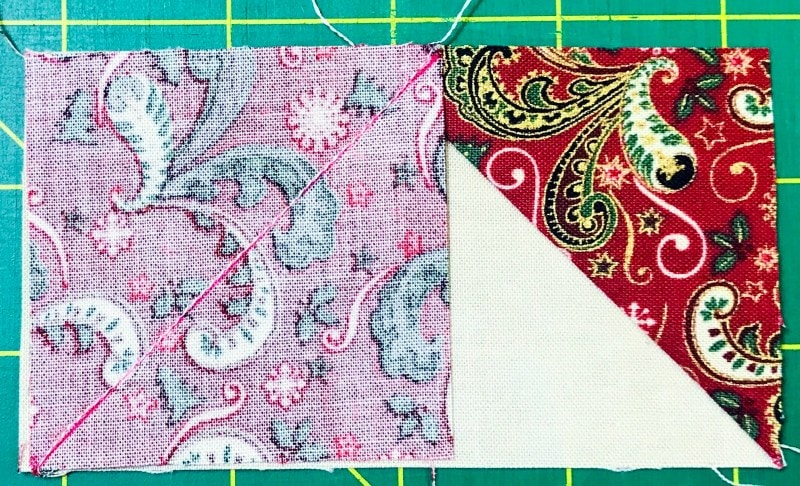
Press and square up to 2-1/2″ × 4-1/2″.
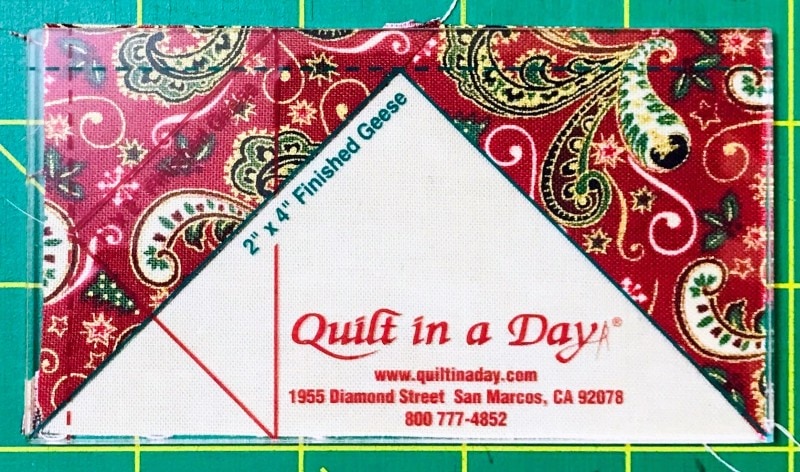
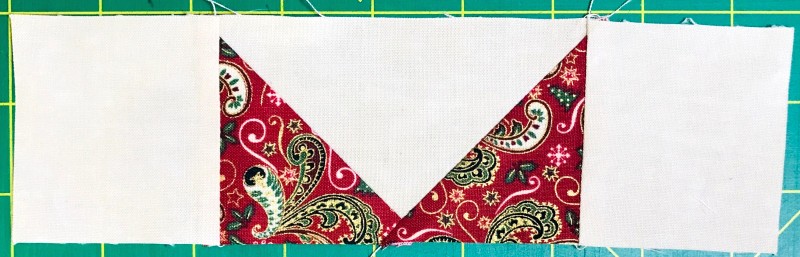
Sew a 2-1/2″ square to both sides of the unit. Press to the dark. It should measure 2-1/2″ × 8-1/2″.
To make the smaller flying goose in this pattern (the ribbon), use one of the 1-1/2″ × 2-1/2″ green rectangles and both 1-1/2″ red squares and follow the directions above.
Press and square up to 1-1/2″ × 2-1/2″.
Sew the second 1-1/2″ × 2-1/2″ green rectangle to the bottom of the small flying geese unit. Press to the green rectangle and square up to 2-1/2″.
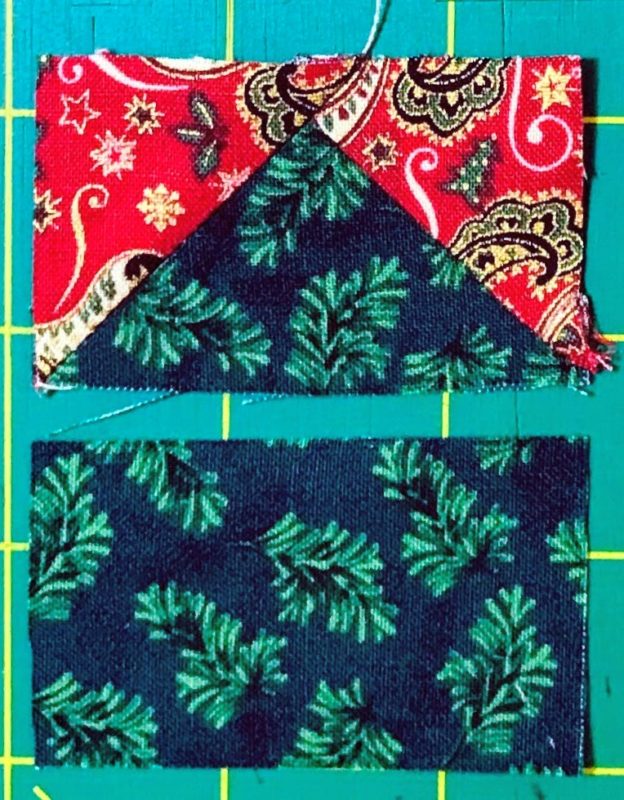
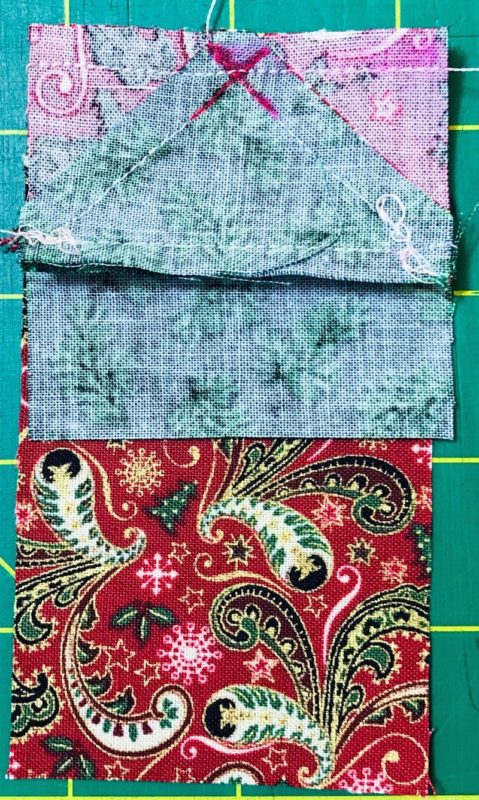
Sew the block you just made to one end of the red rectangle. Sew THROUGH the X made by the seams of the Flying Goose block. That will help keep your points sharp. (I darkened the X with a pen in the picture.)
Creating the Mug Rug
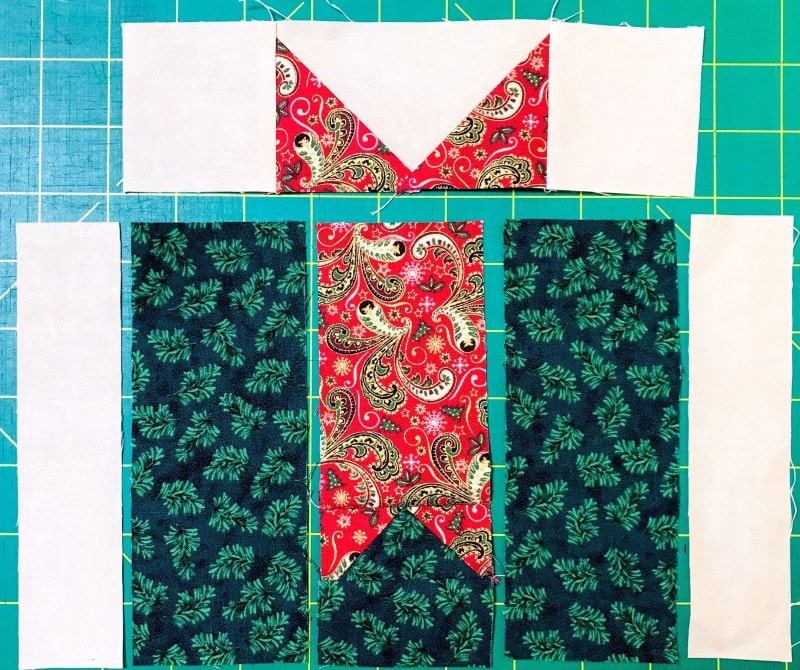
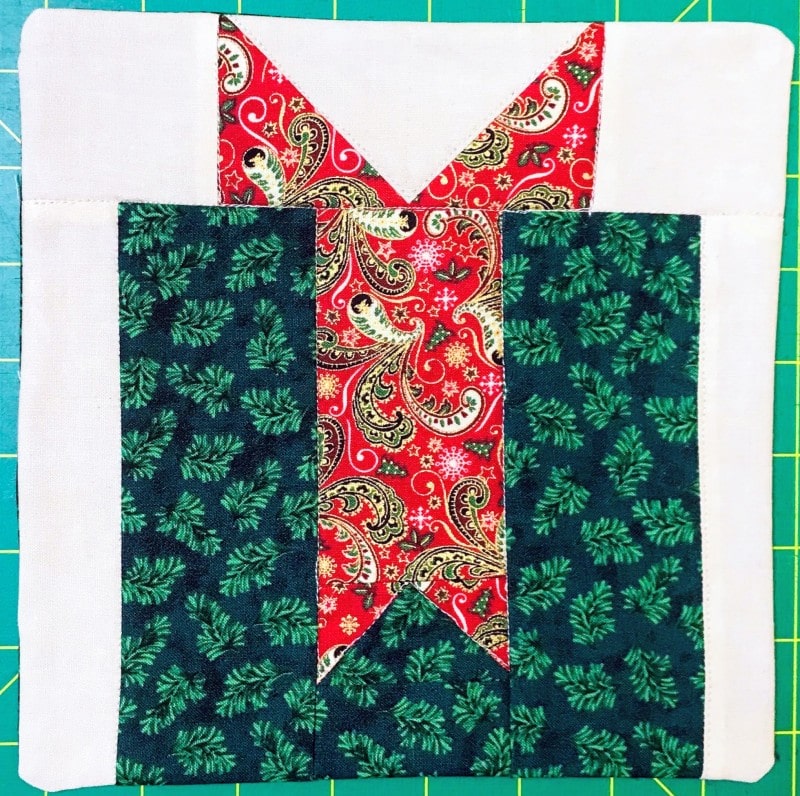
Sew the gift in columns. Press to the center. This unit should measure 6-1/2″ × 8-1/2″. Then sew the ribbon on top and press to the block again. The whole block should measure 8-1/2″ × 8-1/2″.
Bonus Idea: Quilting the Mug Rug Gift
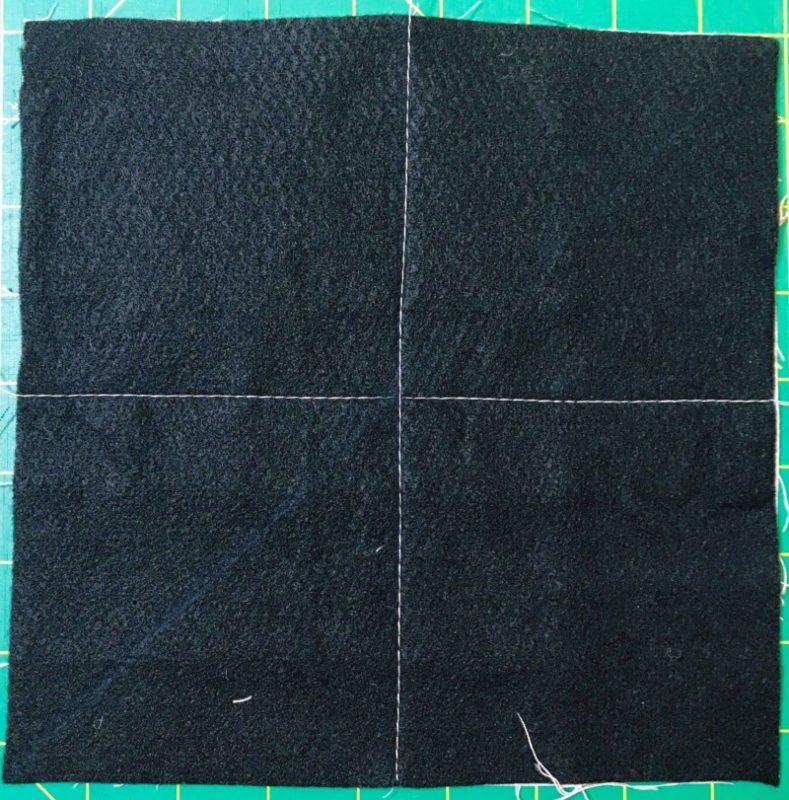
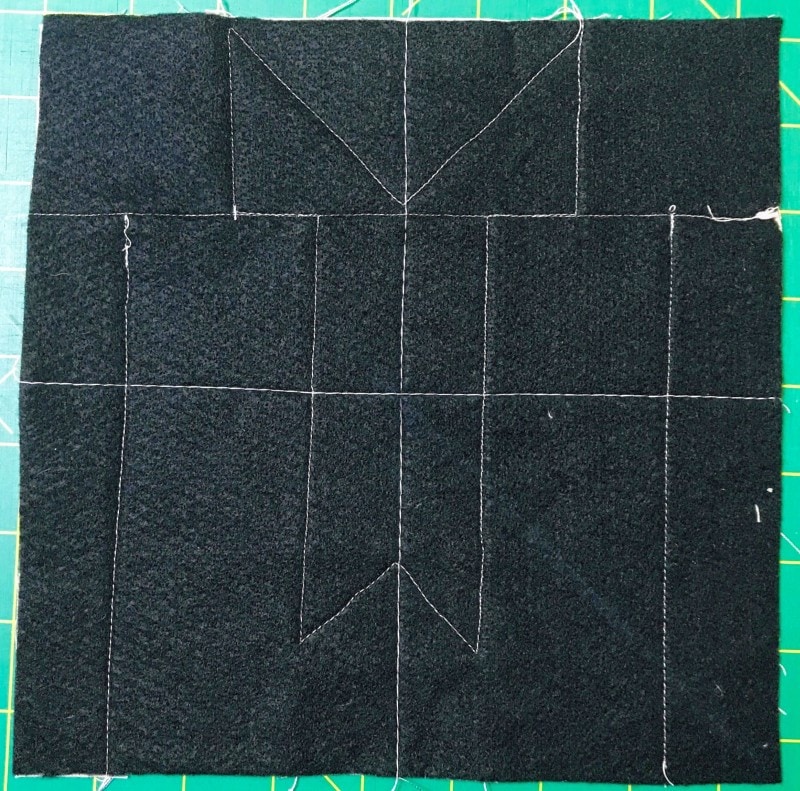
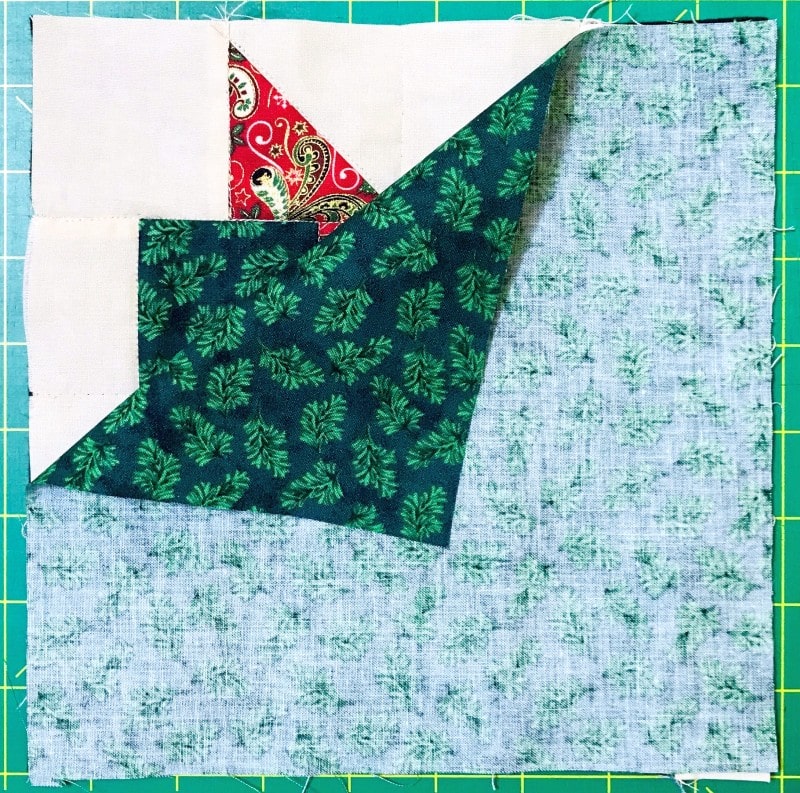
I decided to experiment with quilting this single block. I used black batting so you could see my quilting. It’s not perfect, but it was great for a tryout.
Please add moc.hsadparcs@sirk to your contacts list to make sure you get the confirmation message. Drag the confirmation message from the Promotion tab to the Primary tab if you use Gmail.
If you are already a subscriber, it’s okay to fill out this form. You won’t be put on the mailing list twice.