
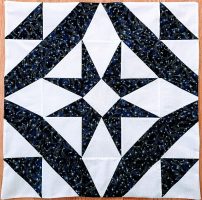
Are you ready to finish your Midnight Star Table Topper? Here is how I did it with no batting. This kind of finish is sometimes called a knife-edge finish and the quilt it makes is a summer quilt. That’s because there is no batting in it.
This is a Four-Part Series of Tutorials.
- How to Make HSTs using Magic
- Making Square in a Square Block
- Using the V Block Ruler to make Triangle in a Square Blocks
Assemble:
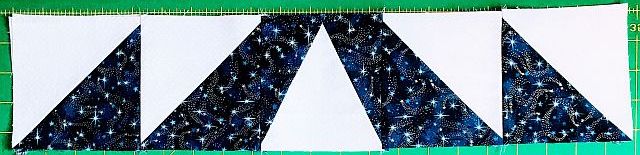
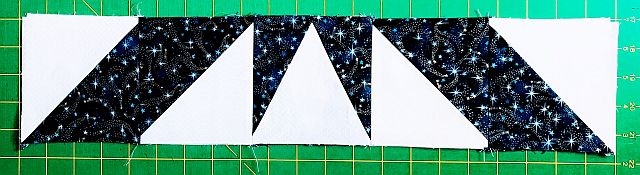
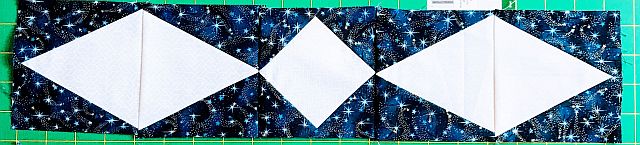
- (1) Square in a square block
- (8) Triangle in a square blocks
- (16) HST blocks.
Sew your blocks in rows as shown below. The first and last rows are sewn identically, but the block seams are pressed in opposite directions. The second and fourth rows are identical as well, but again the block seams are pressed in opposite directions.
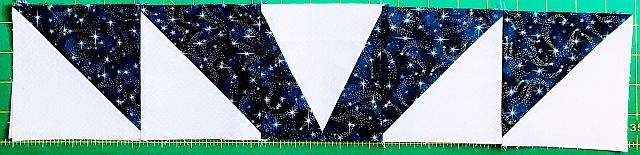
Sew your rows in order. Note that the fourth and fifth rows will have to be rotated to make the design. Because of the way you have pressed your seams, they should just nestle at each intersection.
If they don’t, that’s a big clue that you are using the wrong row, or have it turned upside down. Use pins to encourage this behavior if necessary. Press. Your quilt top is done! Your top should measure 20-1/2″ x 20-1/2″.
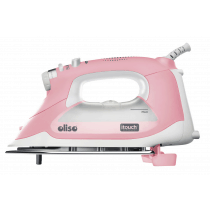
When you press a block, you don’t move the iron at all. I use and recommend the Oliso Smart Iron. Just touch the iron handle and it lowers, ready to press. Take your hand off and it lifts off the board. And yes, you can turn off that feature on the back of the iron.
But I like not lifting that heavy and HOT iron up on its heel and worrying about tipping. Plus it has a 30-minute shut-off, a 12-foot cord, a flat pressing core, and an easy-to-fill tank in the center you can refill while you work. It’s expensive, but it is worth it for the self-lifting feature alone.
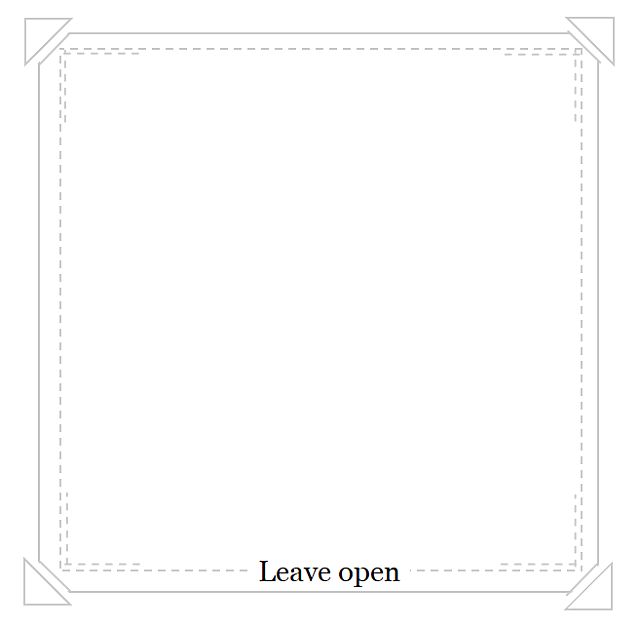
A Knife Edge Finish
This method is a great finish for a quilted item that does not need batting, like a table topper or wall hanging. You could also use batting that was very thin, like a piece of flannel. This method is sometimes called the “Pillowcase Method.”
This quilt top finishes 20-1/2″ x 20-1/2″. Cut a piece of backing fabric this exact same size and pin it right sides together to the quilt top. Using a 1/4″ seam sew all the way around the outside of the block, leaving a 2″ section open. Backstitch on each corner.
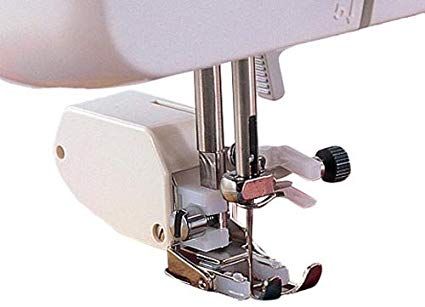
Use a walking foot (sometimes called an even feed foot) if you have one. Your feed dogs will try to pull the bottom fabric through the machine slightly faster than the fabric on top.
A walking foot will prevent this. If you don’t have one, pin carefully and ease to fit if necessary.
Clip the corners of the packet. This will help reduce bulk when you turn it inside out. Turn the packet inside out and gently push the inside corners out using a tool like a point turner or a Purple Thang. Turn the seams of the open side of the packet in, pin in place, and press. Take care not to roll the backing to the front—this is a crisp edge. Hand-sew or machine stitch the opening. Your quilt is done!
The Midnight Star Table Topper pattern with all the tutorials is available free to you as an instant download.
Please add kris@scrapdash.com to your contacts list to make sure you get the confirmation message. Drag the confirmation message from the Promotion tab to the Primary tab if you use Gmail.
If you are already a subscriber, it’s okay to fill out this form. You won’t be put on the mailing list twice.
Have another tip to offer? Send it to me or reply below and I will add it here.
Don’t forget to sign up for the newsletter! Once a week, I send updates on quilt-related information I have found while wandering the web. This might be an inspiring article, a tip or tutorial I have discovered (or written), and occasionally exclusive offers & discounts as well as immediate access to the secret page of free patterns, guides, and printables. You can follow my page on Facebook, or join the Make Believe Quilters group, too.

Thank you for sharing this pattern. It’s great to have instructions for all these methods and a pattern to use them. Being able to reference this info will be a great help in future projects. Thanks again!
Sending you an email.