Color Challenge: The Buff-Breasted Sandpiper
Note: This post may contain affiliate links. That means we may earn a commission at no additional cost to you if you purchase via our links. Not all links are affiliate links. I only recommend products I use and trust. As an Amazon Associate, I earn from qualifying purchases.
I would like to take a moment to thank OyVey Quilt Designs for donating the fabric I am using in this tutorial. It is from her new fabric line, Mosaic Masterpiece by Hoffman International. Ask for it at your local quilt store!
Supplies you will need
- The usual suspects: Sewing machine, fabric, and assorted quilting notions.
- I love Creative Grid rulers. I would recommend that you buy the square 4-1/2″ and the square 6-1/2″ ruler at the very least. You will use it in this pattern and in hundreds of others until you rub all the ink off.
- Here are the fabrics I used:
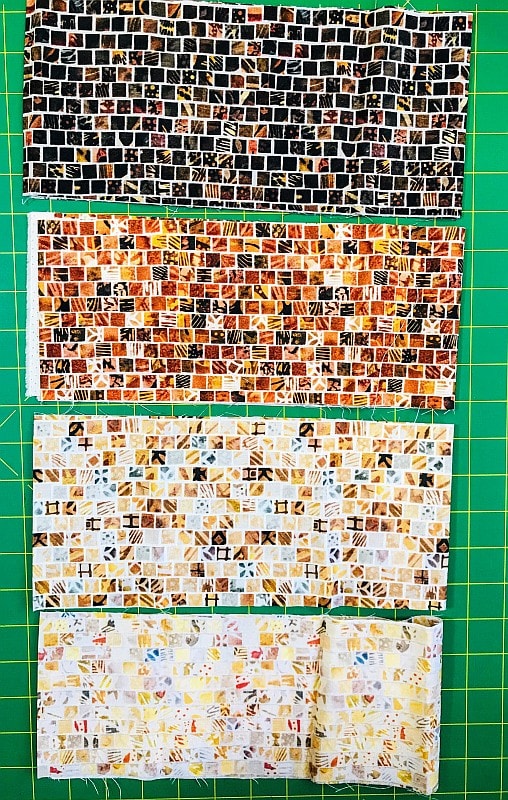
Before starting this or any other project, wash and press your fabric. If you like the behavior of crisp fabric as you cut, sew, and press your project, try a little spray sizing when you press it. Take the time to clean your machine, put in a new needle, and fill a few bobbins. Unless the pattern tells you otherwise, you should always assume that the seam in any quilting pattern is 1/4″ wide.
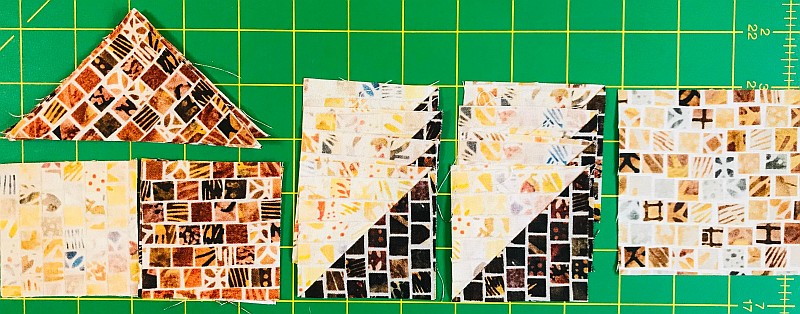
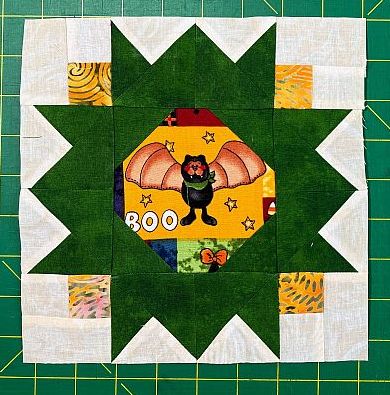
This block uses (1) Square-in-a-Square block, (4) HSTs and some setting squares. Below are generic instructions for the Square-in-a-Square quilt blocks.
How to Make a Square-in-a-Square Quilt Block
There are many different methods of making a Square in a Square block. This is a traditional method.
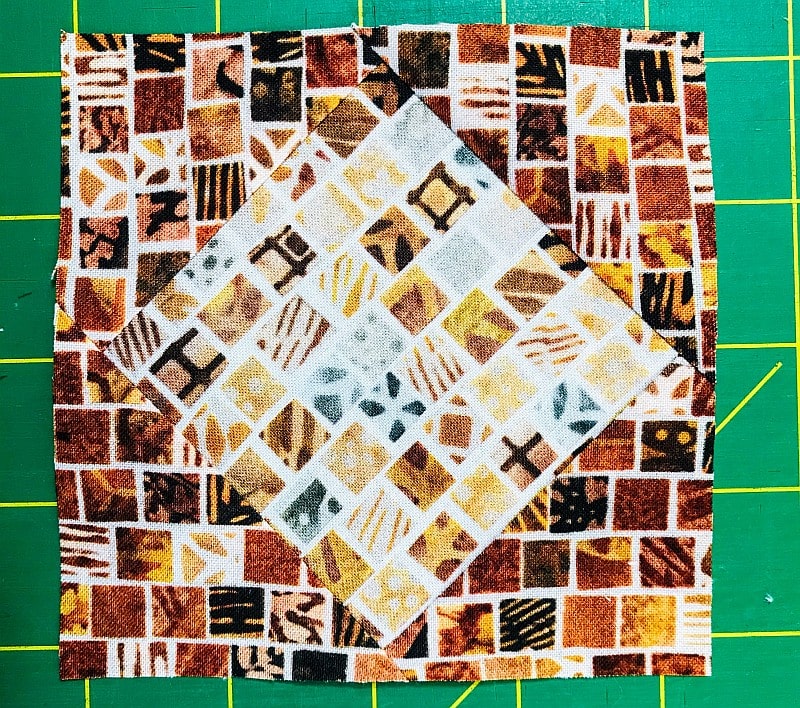
A square-in-a-square block is basically a square set on point. The center square is the block that is being placed on-point and the four corners are the corner setting triangles.
These corner setting triangles should have their edges on the straight of grain. To make these triangles, you cut a square on the diagonal.
There is a formula for this! To find the size of the square that you will cut on the diagonal, start with the finished size of the center square. Divide this number by 1.414 and add 7/8″. That’s 0.875 if you are using a calculator. Round the final number up a little. You will be squaring up this block when you are done, so this gives you a little wiggle room.
Cut two of these blocks to make the four corners.Your block on-point will be the finished size of the center square multiplied by 1.414. If you are guestimating, use 1.5 times the size of the center square. It will come close.
This Square-in-a-Square block has a 3-3/8″ square for the middle. The four triangles are cut from a 3-3/8″ square, too. This makes a Square-in-a-Square quilt block that is too large and needs to be squared up.
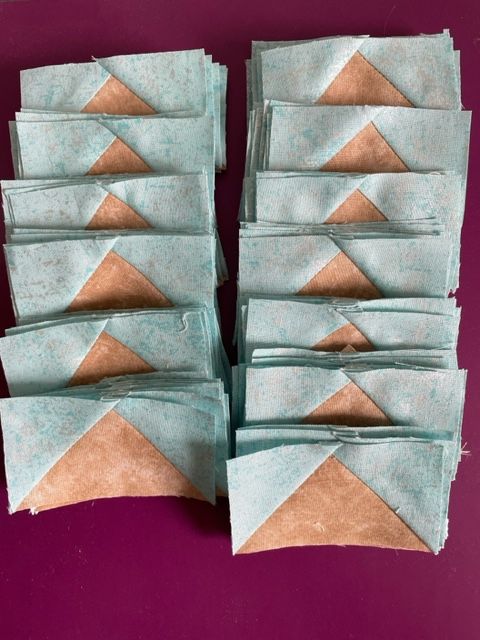
In this block, I am making HSTs that finish at 2″, so I will start with 3″ squares. Remember, I will have to square them up to 2-1/2″ square later. I cut (4) squares out of the dark and (4) squares out of the light.
How to Create and Square Up a Half Square Triangle (HST) Quilt Block
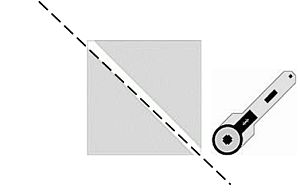
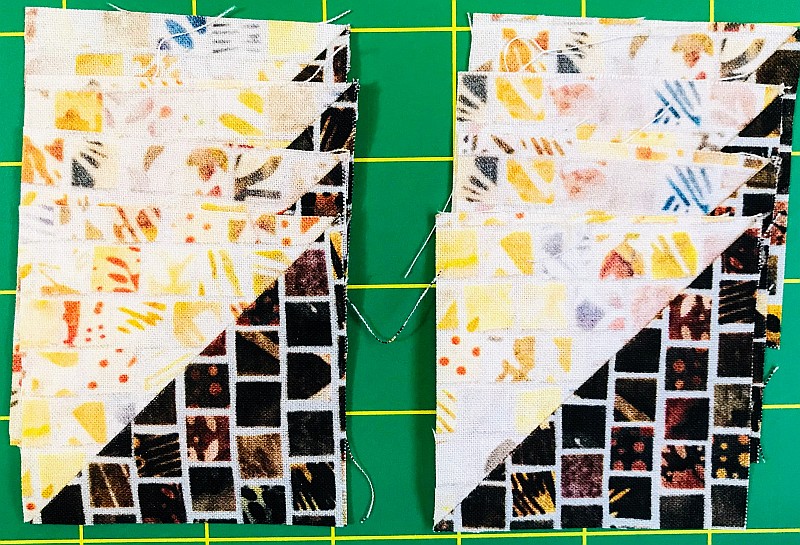
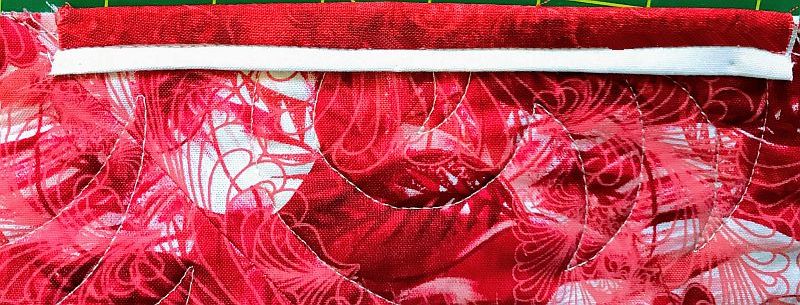
The Traditional Method of making Half Square Triangle Blocks (HSTs) is to place two identical squares right sides together. These squares should be 7/8″ larger than the finished size of the final HST. Draw a diagonal line on the back of one square. Sew 1/4″ on both sides of the line. Cut on the line and press to the dark.

You will have made two identical Half Square Triangle (HST) blocks. My personal preference is to cut squares 1″ larger than the finished size of the final HST and square it up to the correct size after pressing.
There are two ways you can square up your block.
You can place a square ruler so the diagonal line is directly over the seam and just cut two sides. Quilt-in-a-Day has a Square Up Ruler that uses this method.
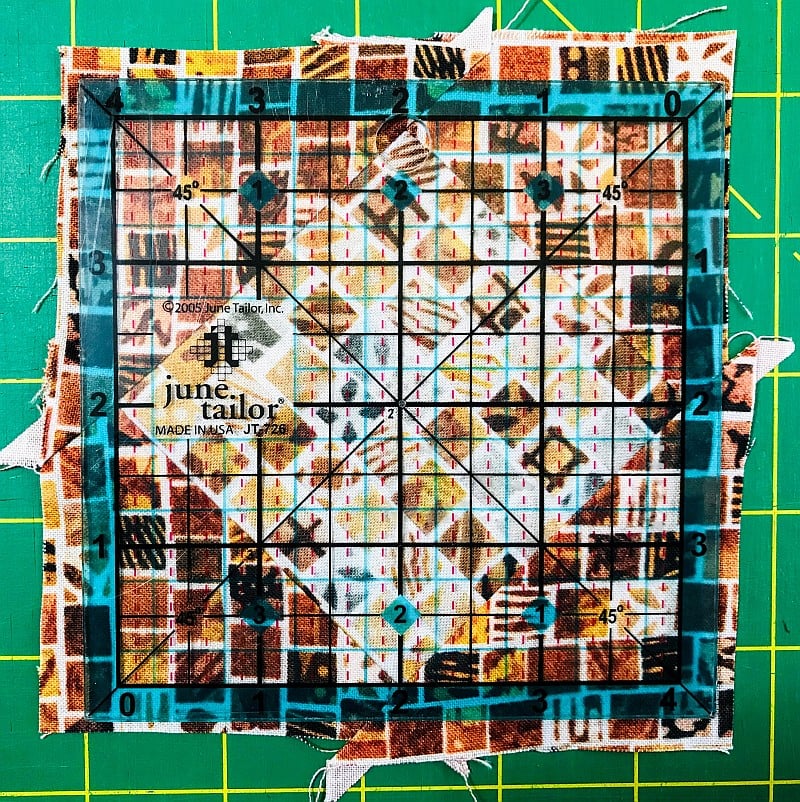
Or you can press open the block (pressing to the dark) and square it up using a ruler the same size as the block you are making. A fussy-cut ruler with lines on both diagonals will be very helpful with this.
Making Multiple HSTs using the Magic Eight Method
If I was going to make multiples of this block, I would use the Magic Eight method. But since I am only going to make one as a test block, this method works just fine.
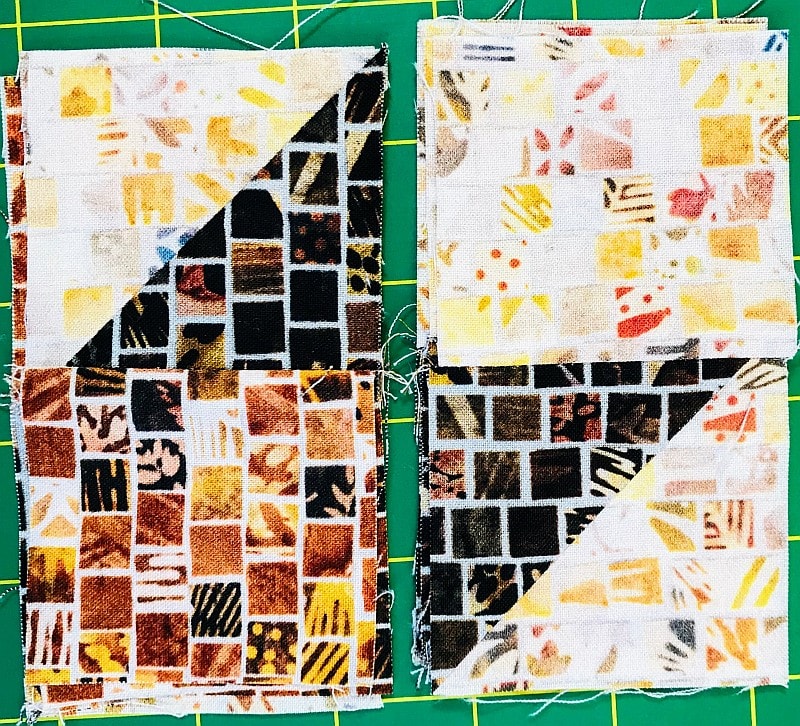
These 2-1/2″ HSTs are sewn side-by-side with a 2-1/2″ setting block. Press to the setting block. Alternate colors to make a four-patch. Press and square up to 4-1/2″ if necessary.
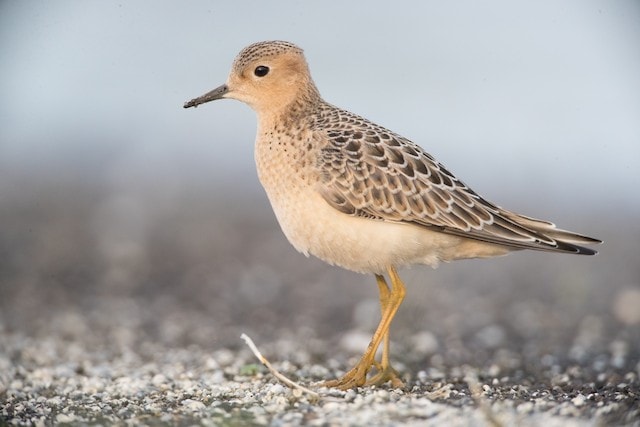
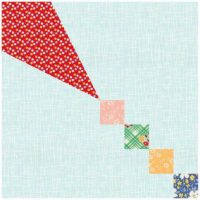
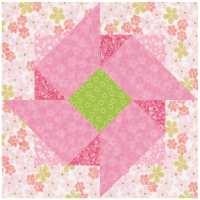
Time to put it all together according to the pattern. It’s supposed to look like this bird – what do you think?
I only had enough fabric to make one block, but I mocked up what it would look like in a quilt. Really pretty, I think!

Please add moc.hsadparcs@sirk to your contacts list to make sure you get the confirmation message. Drag the confirmation message from the Promotion tab to the Primary tab if you use Gmail.
If you are already a subscriber, it’s okay to fill out this form. You won’t be put on the mailing list twice.

The November block in your coloring would make a stunning quilt
Love Cheryl’s fabrics, your block is gorgeous!
Love the block. It would make a smashing pillow!
I love your block and I am so jealous that you have that fabric! I love it and need to get some now that it is out and about.