All Kinds of Square! A Square-in-a-Square Quilt Block Tutorial, Part One
Note: This post may contain affiliate links. That means we may earn a commission at no additional cost to you if you purchase via our links. Not all links are affiliate links. I only recommend products I use and trust. As an Amazon Associate, I earn from qualifying purchases.
How many different ways are there to make a square-in-a-square quilt block? So far, I have found 10 different methods for making this versatile block, also known as the diamond-in-a-square quilt block. Set it on point a second time and it becomes the economy quilt block. Here are the first three.
Just a quick note: I am not going to talk about the Square-in-a-Square ruler in this tutorial. I do show several other rulers – not because they are my favorite rulers, but just because I thought you might like to see different rulers in action. I am also using white thread because it shows up well in photographs, not because it matches the project.
A Square in a Square block is basically a square set on point, so all the tips that apply to setting a quilt or block on point also apply to a Square-in-a-Square block. There is a technique sheet download at the bottom of the page.
This is Square in a Square Tutorial Part One
Here is Square in a Square Tutorial Part Two
Here is Square in a Square Tutorial Part Three
Method # 1: Triangles on the Square
I tend to think of this as a traditional method, but there are several others that can wear that hat, as you will see.
The center square is the block that is being placed on-point and the four corners are the corner setting triangles.
These corner setting triangles should have their edges on the straight of grain. To make these triangles in Method #1, you cut a square on the diagonal.
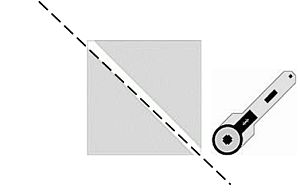
To find the size of the square that you will cut on the diagonal, start with the finished size of the center square. Divide this number by 1.414 and add 7/8″. That’s 0.875 if you are using a calculator. Round the final number up a little. You will be squaring up this block when you are done, so this gives you a little wiggle room. Cut two of these blocks to make the four corners.
Your block on-point will be the finished size of the center square multiplied by 1.414. If you are guestimating, use 1.5 times the size of the center square. It will come close.
You don’t have to memorize this! I have a Free Downloadable Cheat Sheet available for you. I know it’s tempting, but please don’t copy it and share it with your friends. Ask them to visit this blog so they can see the rest of the tutorial. They may prefer another method. It is at the bottom of this page.
For this method, you will need:
- (3) 3-1/4″ Center squares
- (6) 3″ Corner Squares, cut on the diagonal to make (12) triangles.
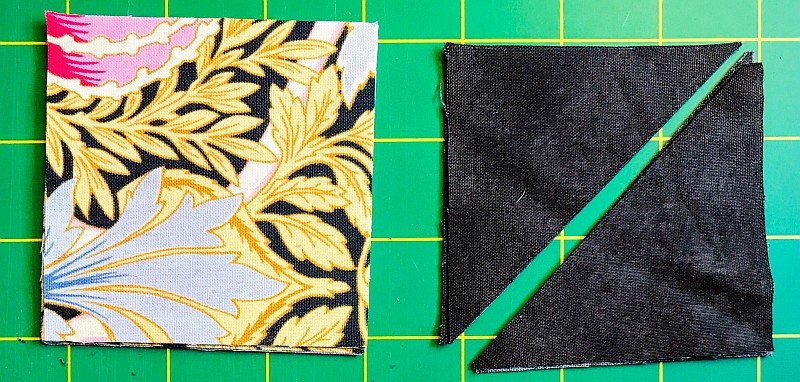
Press all the quilt pieces in half so you can mark the center. Yes, you can guess at the center after some practice, but for now, let’s take our time.
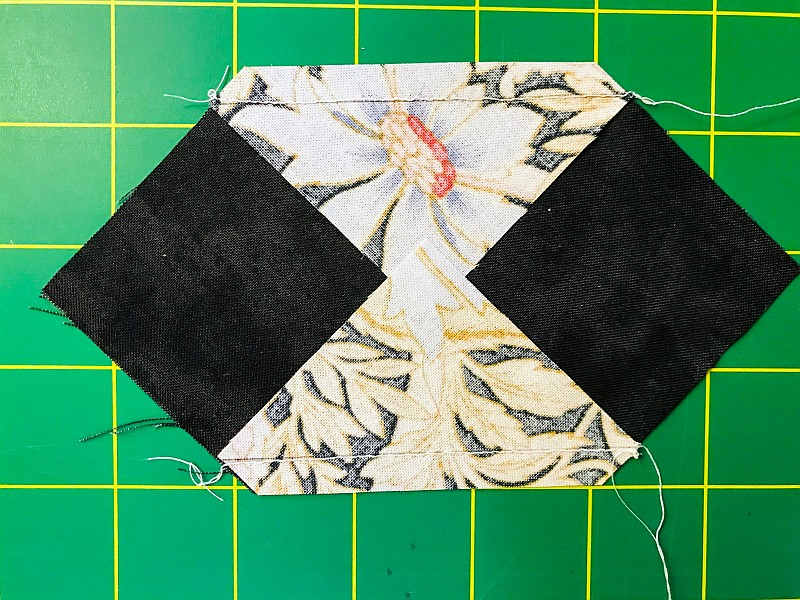
Pin a triangle to opposite sides of a 3-1/4″ Center square, matching the center of the square with the center of the triangle.
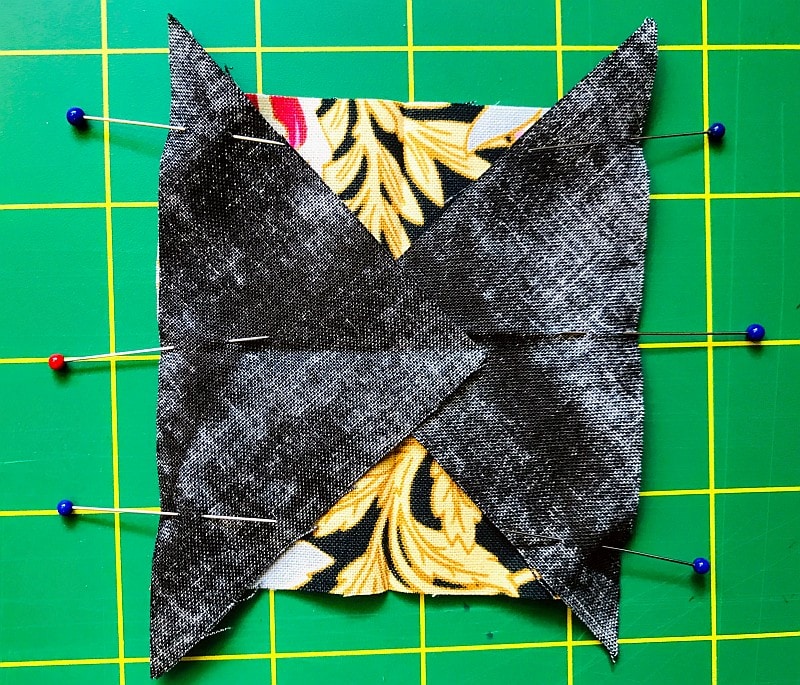
I will stop for a moment and recommend the Clover 232 pins that you see in these pictures. They are strong, straight and sharp but they don’t cost so much that you will stress over losing a few. These are the best pins (IMHO) for putting together small pieces because they go through all the layers of fabric without distorting it.
Sew the two triangles to the block using a 1/4″ seam. Press them open.
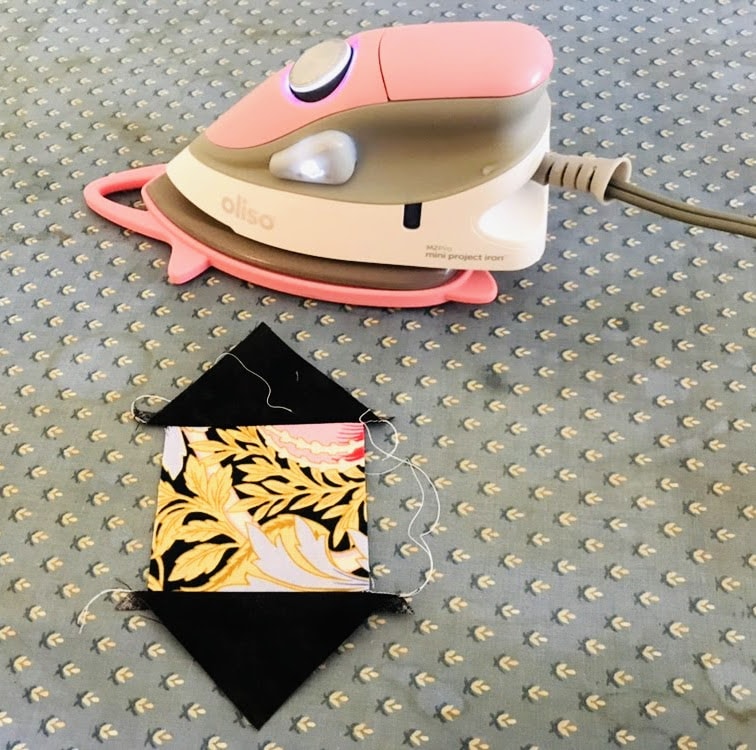
Yes, that’s my brand new Oliso Mini Project Iron. It’s a great travel iron. The pink “solemate” that it rests on is a trivet on one side and a cover on the other. I do like it for keeping close to your sewing area, but I would recommend putting it on an outlet or power strip that has a switch so you can easily turn it on and off. This iron gets HOT and has no automatic turn off.
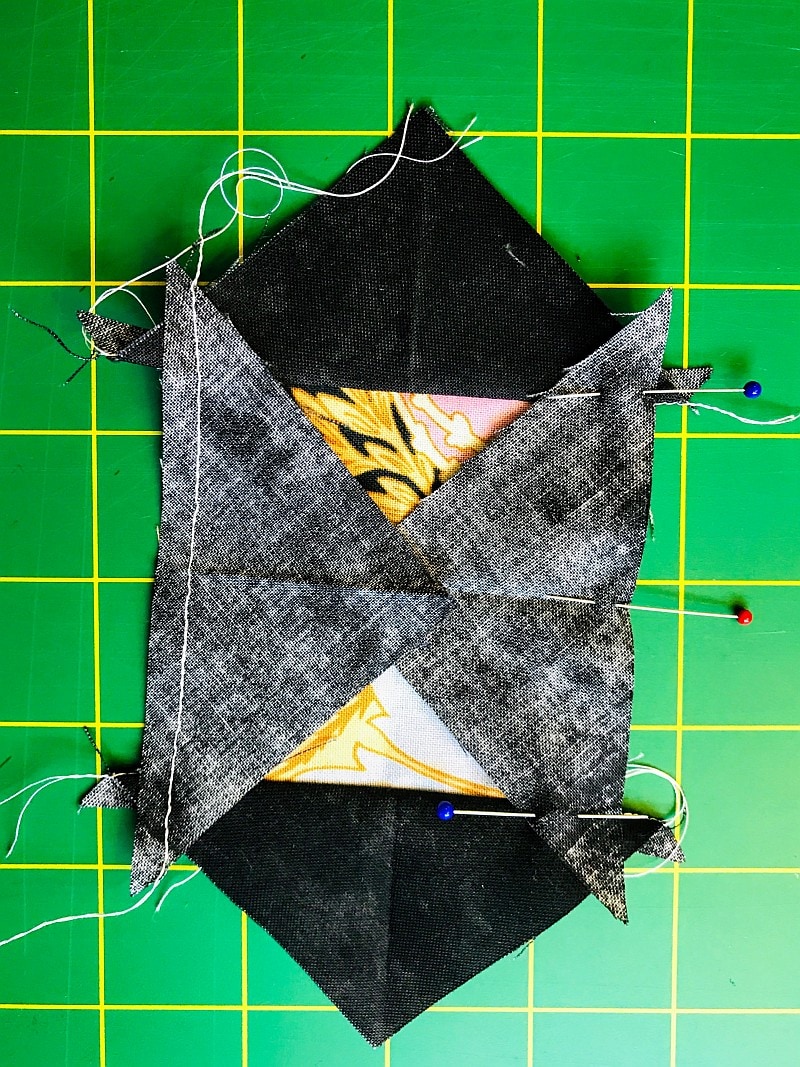
Sew a triangle to the remaining two sides of the Background square, again matching the center of the square with the center of the triangle. Don’t forget to pin! Press to the triangle.
Press it open, then square up the block to 4-1/2″ x 4-1/2″, taking care not to cut off the points.
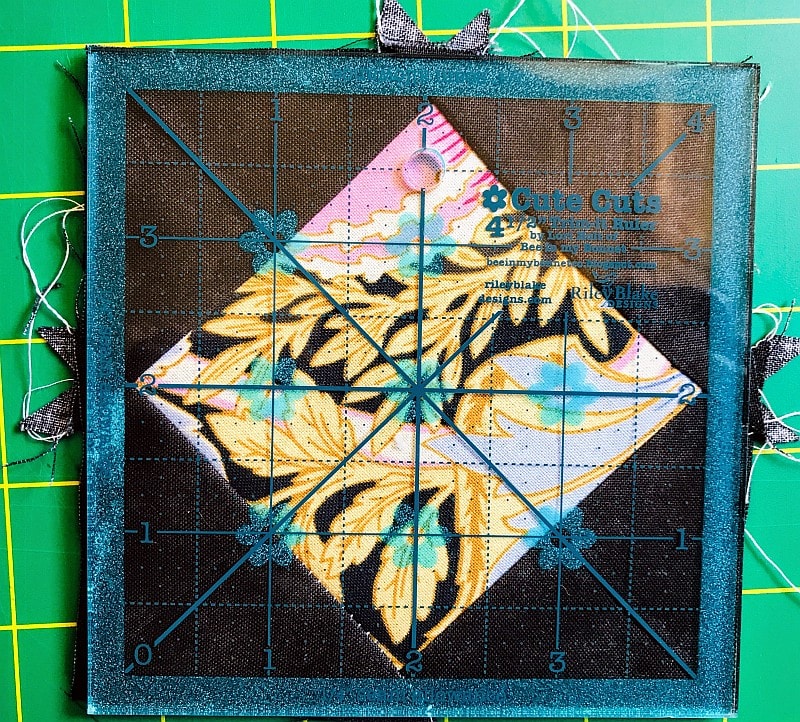
I am a big fan of the Quilt-in-Day Fussy Cut Rulers, but I couldn’t find my 4-1/2″ square. I do wish they had hanging holes in that set! The ruler that I used above is from the Riley Blake Cute Cuts Set. It’s a little more expensive but you get more sizes and that frosted quarter-inch edge makes it easy to square up a block without cutting off the center points.
Make (3) of these blocks.
Method # 2: Squares on the Square
This is also a traditional method of making a Square in a Square quilt block. In this method, you sew squares on to the corners of the center square, then trim.
The center square that you will cut is the same size as the unfinished square-in-a-square block.
The four corner patches are half the size of the finished block, plus 1/2″ for the seam allowance.
For this method, you will need:
- (3) 4-1/2″ Center squares
- (12) 2-1/2″ Corner Squares
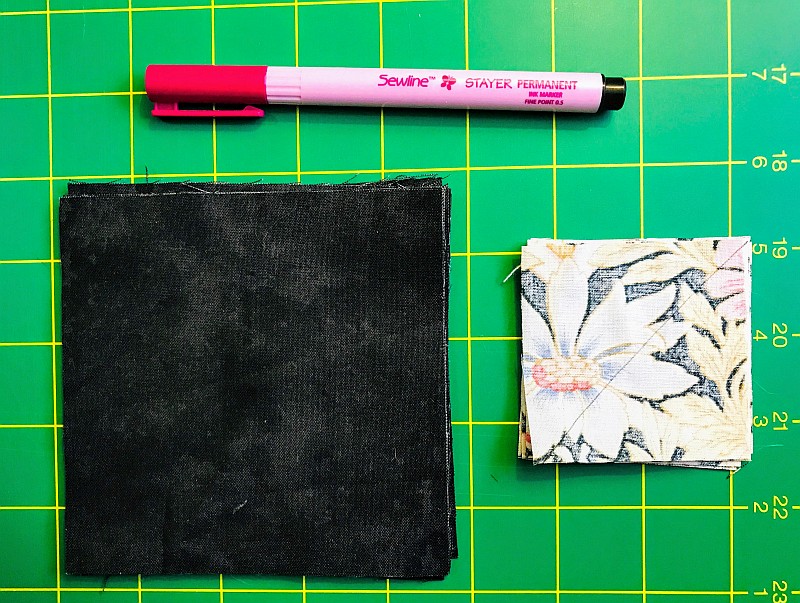
Draw a line on the diagonal of the corner squares. This will be your sewing line. You may find a mechanical pencil to be helpful. The pink pen I am using is the Sewline Permanent pen. It’s meant for making labels, but it has such a nice fine point that I use it in place of a pencil.
Place a corner square on opposite corners of the center square so the drawn line connects the two sides of the center square.
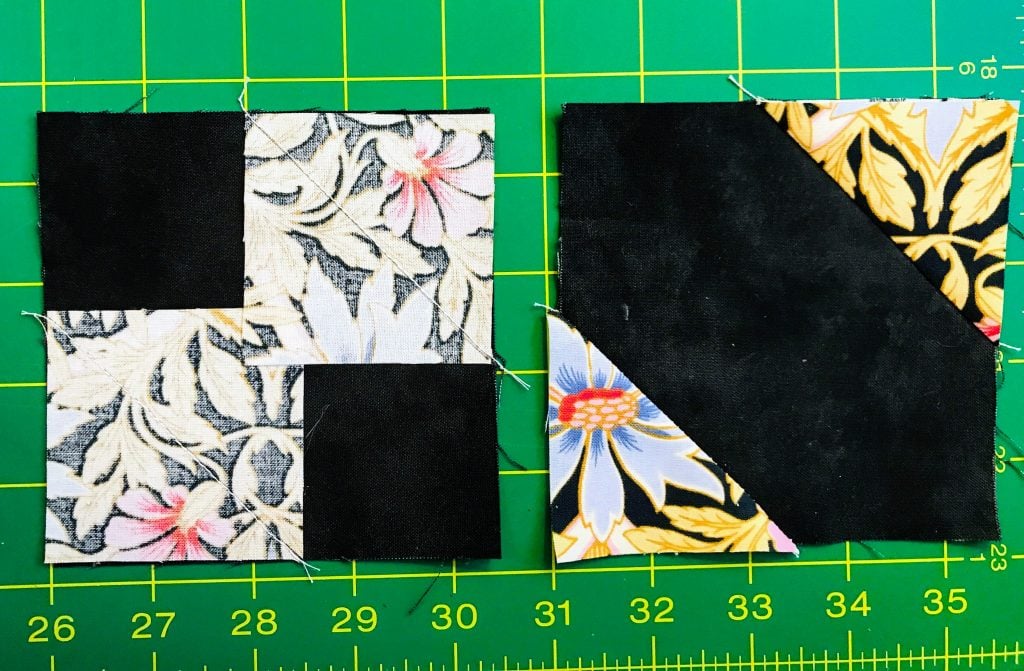
Sew on the drawn line and press the square up to the corner. If the edges meet, you have done it right. Unfold the square and trim it 1/4″ away from the sewn line. Press this block seam before trimming that 1/4″ seam. That’s a dressmaking tip called “setting the seam” and it does help you get a crisp block join.
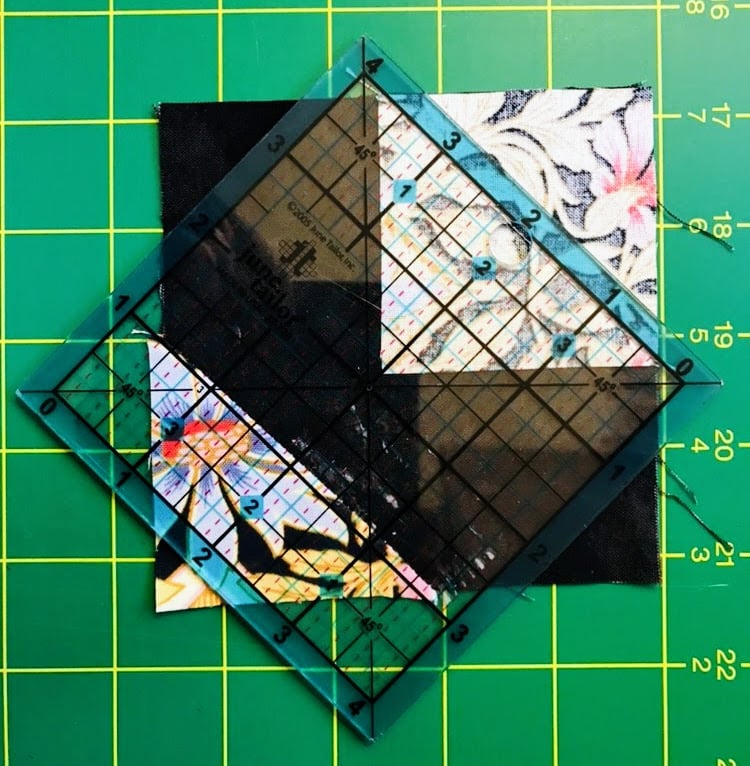
The ruler in this picture is the June Tailor 4-1/2″ square ruler. I like it because it has a very clear 1/4″ mark so you can cut a perfect seam allowance.
Your block should look like this before you sew squares on the remaining two corners.
Sew the remaining two corners to the block. Finger press. If they look right, trim the seam and press to the corner. In theory, this quilt block should already be squared up, but double-check it anyway.
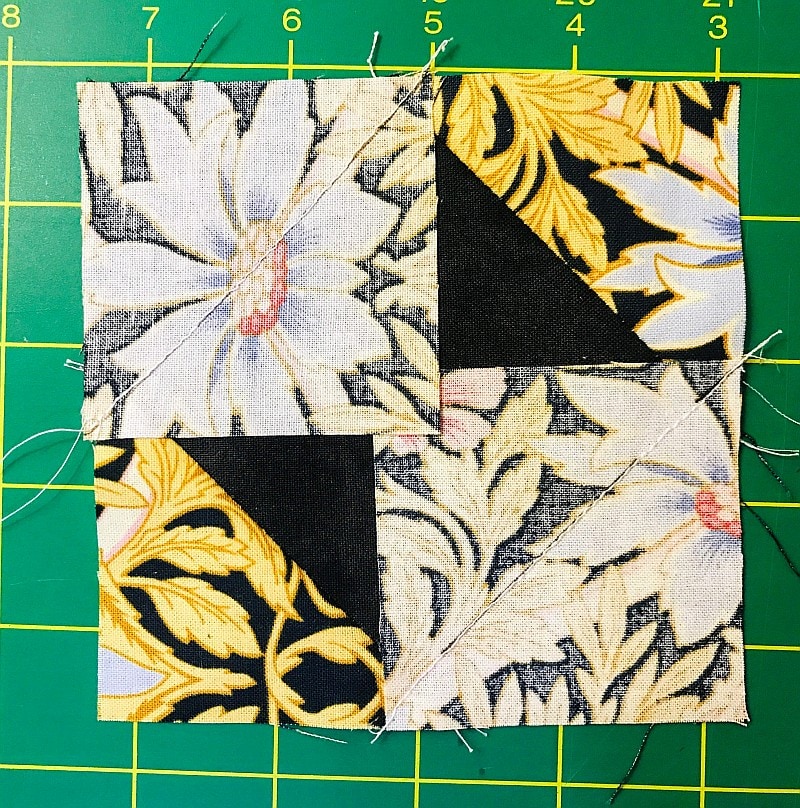
Make (3) of these blocks.
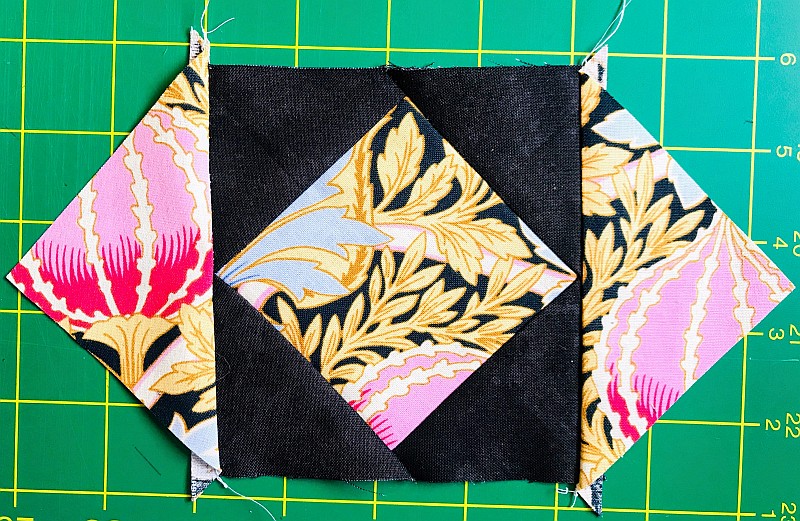
Method # 3: Cutting a Bias Square
This is the same method of sewing triangles on to a center square, but to create those triangles, you will cut a square of fabric on both diagonals. This puts the bias edge of the fabric on the outside of the block BUT sometimes that really doesn’t matter. If you decide to do that, use lots of Best Press and no steam in your iron.
For this method, you will need:
- (6) Blocks that you just made
- (1) 5-1/4″ Pink Square
- (2) 5″ Black Squares
Wait, are we making something? Yes, indeed!
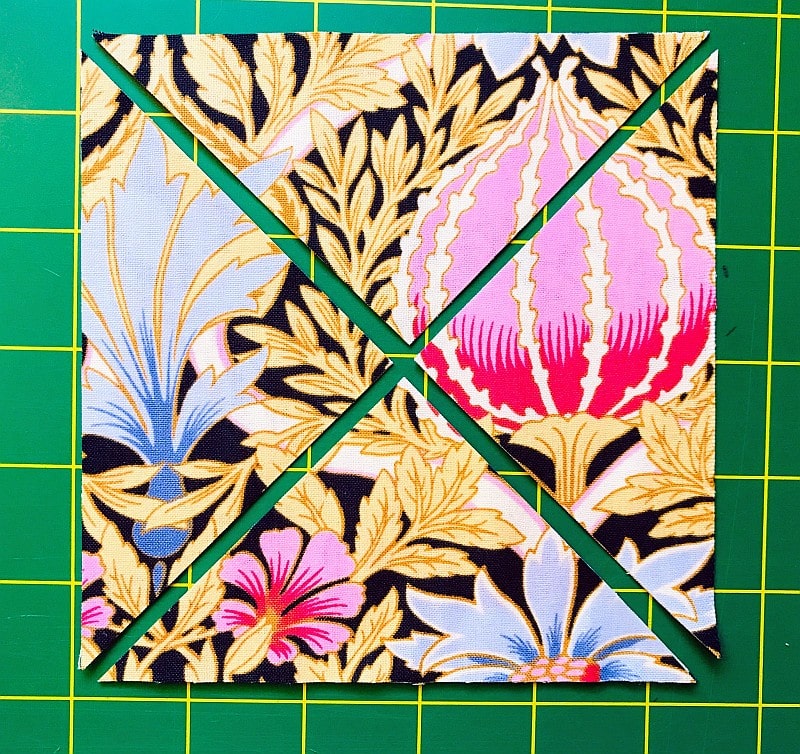
Let’s start by cutting the 5-1/4″ square on both diagonals. (Kris’s note: although the math says 5-1/4″, I thought this was slightly too small. I think I would make it 5-1/2″ next time and cut off the excess when I squared it up.)
Just as you did in Method # 1, sew a triangle to two sides of a 4-1/2″ square-in-a-square block that has a pink center. Take care to match the center of the triangle with the center of the block. Pins are your friends.
Press and add the other two corners.
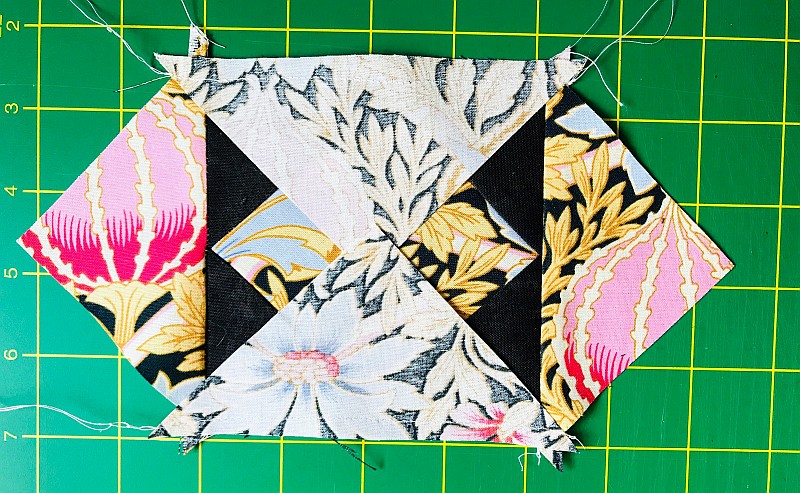
Press again, using spray starch. This is an odd block to square up because it finishes 6-1/8″ x 6-1/8″. I think that if you just straighten the edges, you will be okay.
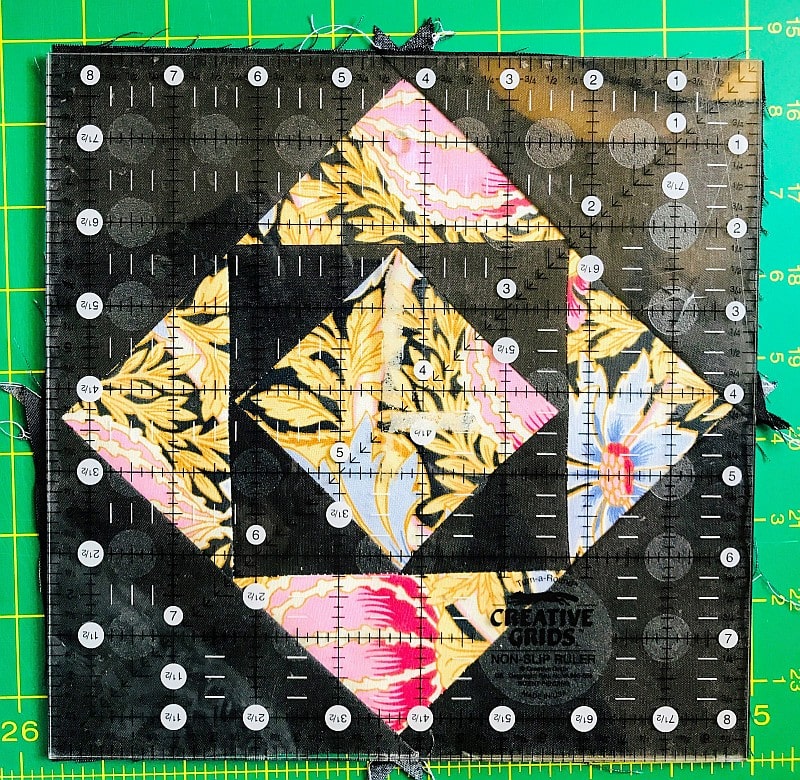
Cut the (2) 5″ black squares on the diagonal to create (4) triangles. Following the instructions in Method # 1, create another square in a square block. This is called an Economy block, and it should finish 8-1/2″ square. Press and square up.
The ruler I used above was a Creative Grid Square ruler.
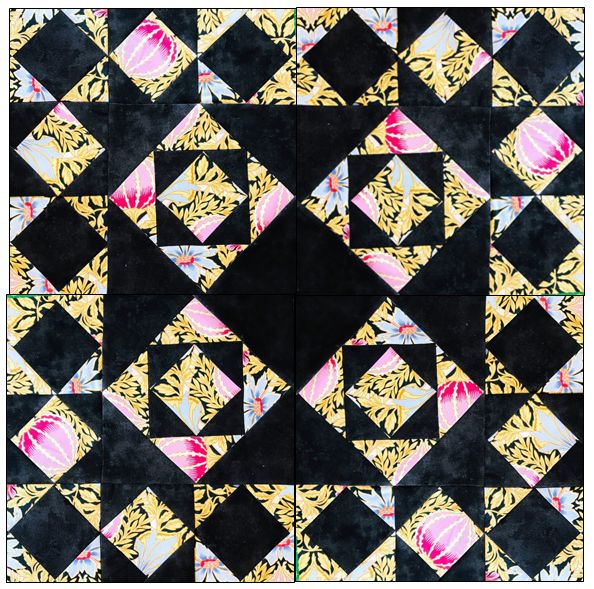
Now, let’s put it together.

This is a graphic of the four blocks put together.
This is Square in a Square Tutorial Part One
Here is Square in a Square Tutorial Part Two
Here is Square in a Square Tutorial Part Three
This tutorial is part of a Back-to-School Blog Hop. If you haven’t seen the other tutorials yet, you can check them out here:
- 5 Reasons to Say Woo Hoo! to School Glue
- 7 Ways to Use a Laser on Your Sewing Machine
- Accurate Stitch-and-Flip Corners
- Basics of ruching (a vintage fabric manipulation technique)
- Choosing quilting designs for your quilt
- Finishing your quilt with prairie points
- Fussy cutting tips and techniques
- Getting Started with English Paper Piecing
- Getting started with Hand Quilting
- How to solve loops in free motion quilting
- Joining Binding the Easy Way
- The Magic of Glue Basting
- No-Marking: Know your sewing machine
- Pre-assembling Fusible Applique
- Say YES to Y-seams
- Using Leaders and Enders
- Ways to stop your ruler from slipping while cutting
Please add moc.hsadparcs@sirk to your contacts list to make sure you get the confirmation message. Drag the confirmation message from the Promotion tab to the Primary tab if you use Gmail.
If you are already a subscriber, it’s okay to fill out this form. You won’t be put on the mailing list twice.


I didn’t know there were so many ways. I like the first one best. Thank you for such a great tutorial. Jayree
Thanks!
Wow, that’s mind boggling! I think I’ll stick with 1, 2, and 3. I do like the blocks you put together, and that works with my step-by-step brain the best. At some point, I will try a couple of the other methods to see what I think. Thank you!
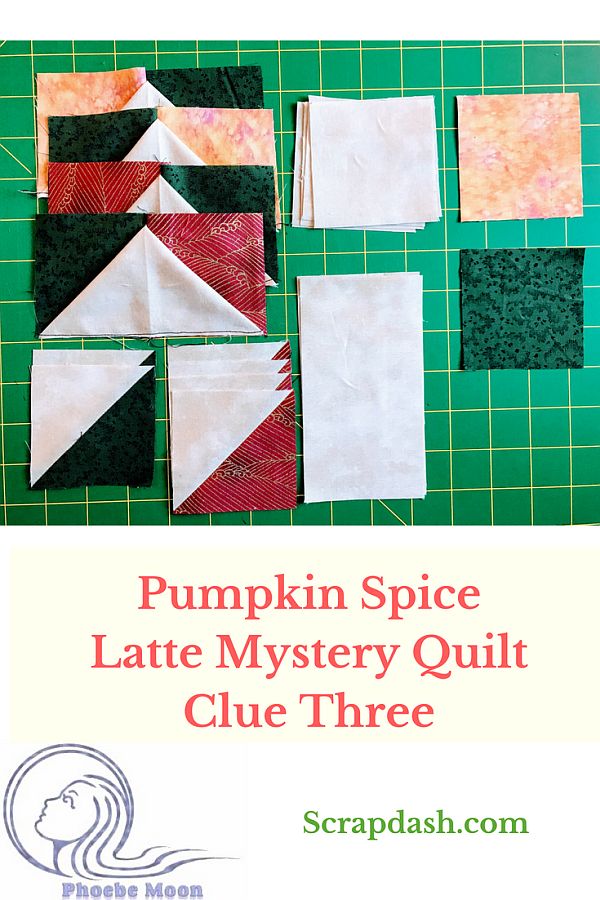
Wow! I want to get my fat quarter you sent and play with these! I still need to finish the mystery quilt, but it has been such fun as each clue was revealed.
Ten ways to make this block – who knew? I’ll be back to see the other seven and then play with some material to see if I can finally get it done right the first time without ripping it out. I swear if there was a reward for doing things wrong, I am a sure winner. Thank you for the cheat also. I would never remember the odd numbers needed for the math!
Could you mention how the placement of the straight of grain affects the stretch of the block, and is also dependent on whether or not a block is set-on-point. I am working on the Rhapsody-in-blue (McCall’s Quilting June 1999 issue) quilt pattern by Lynn Dash. This on-point block seams very stretchy (from side to side) even though I have placed my straight-of-grain on the outside edge, all the way around the block.
That is an excellent point! I’ve never had a problem that I have attributed to bias stretch, but maybe I simply didn’t recognize it as such. I will pay much closer attention – and use more spray starch – next time.
I have tried the square on square method and found that inspite of cutting and sewing carefully my block comes out one eighth less on one side. Could you advise. My 4 1/2 block was a cotton sheeting and the small blocks a cotton print. Thanks
It seems odd that it is only on one side. Let me make two suggestions: 1) cut your side squares just slightly bigger. You have to square it up one way or the other, having something slightly too large shouldn’t be an issue. 2) Try making your seam the tiniest bit smaller. Even one or two threads might make a difference. You are working with fabric that’s two different weights, so that might even things out.