Years ago, my husband and I took a long trip in our RV. We drove from Albany NY to the Grand Canyon, did the “Grand Circle”, then came back again by way of the southern US. We broiled in the West and got chased by no less than 4 hurricanes in the South, but that is a long story for another day. Being basically a New Englander (and my husband a midwesterner), we were stunned by the beauty of the American SouthWest. So DIFFERENT than what we were used to! This block celebrates some of the mountains we saw on our journey.
Be Sure to see the other designers at the bottom of this page.
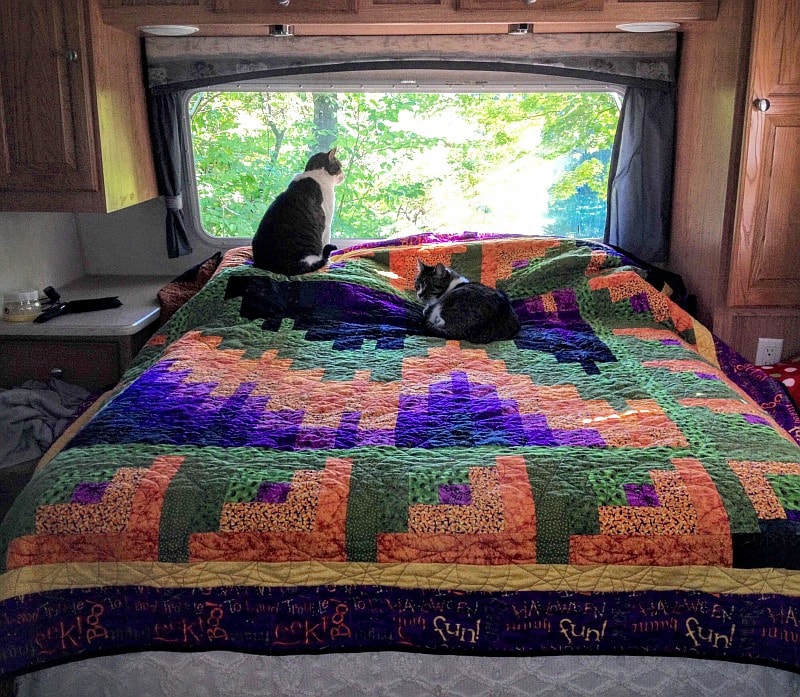
But wait! First let me show you a few pictures from our trip.
Well, enough reminiscing.
How to Make a Delectable Mountains Quilt Block
Start with:
Sky Fabric:
(1) 8-1/2″ square
Tree Fabric:
(1) 8-1/2″ square
Road Fabric
(1) 5″ × 12-1/2″ rectangle
The Traditional Method of Making Half Square Triangle (HST) Blocks
The Traditional Method of making Half Square Triangle Blocks (HSTs) is to place an 8-3/8″× 8-3/8″ dark square right sides together with an 8-3/8″× 8-3/8″ light square. Draw a diagonal line on the back of one square. Sew 1/4″ on both sides of the line.
Cut on the line and press to the dark.
You will have made two blocks that measure exactly 8″× 8″ square. My personal preference is to cut the original squares slightly too large (8-1/2″) and square up the HST to 8″ later on.
To Make The HSTs for the Mountain
Following the directions above, use the 8-1/2″ Sky square and the 8-1/2″ Tree square to make (2) 8″ square HSTs. Square these up if necessary.
Place them right sides together, alternating colors. The seams should just touch as they face in opposite directions along the diagonal. Keeping the two blocks together, cut them every 2″.
You will have (8) two-part strips. Because you cut two mirror-image blocks at the same time, the strips will also be a mirror image of each other.
Gather your strips and sew them in this order:
Press the seams open, or press them all in the same direction. Your mountain rectangle block should measure 8″ × 12-1/2″.
Sew the 5″ × 12-1/2″ road rectangle to the bottom of your mountain rectangle block. Press to the dark. You are done!
Now it is time to embellish.
What are you going to put on that road? A car, perhaps, or a group of bicyclists? Look through your fabric stash for ideas—you might be able to fussy cut just the perfect motif.
I am using the Accuquilt Camper pulled by the Cute Car with a dinosaur looking on curiously, but if you don’t have these dies, look for motifs in coloring books. If you have your own RV, trace a picture of that. Maybe make the “road” out of water fabric and show your RV by a lake. Whatever you decide, enjoy!
Please add moc.hsadparcs to your contacts list to make sure you get the confirmation message. Drag the confirmation message from the Promotion tab to the Primary tab if you use Gmail. @sirk
If you are already a subscriber, it’s okay to fill out this form. You won’t be put on the mailing list twice.
Have another tip to offer? Send it to me or reply below and I will add it here.
Don’t forget to sign up for the newsletter! Once a week, I send updates on quilt-related information I have found while wandering the web. This might be an inspiring article, a tip or tutorial I have discovered (or written), and occasionally exclusive offers & discounts as well as immediate access to the secret page of free patterns, guides, and printables. You can follow my page on Facebook, or join the Make Believe Quilters group, too.