Quilt Tutorial: Storm at Sea Quilt Block
Note: This post may contain affiliate links. That means we may earn a commission at no additional cost to you if you purchase via our links. Not all links are affiliate links. I only recommend products I use and trust. As an Amazon Associate, I earn from qualifying purchases.
To print this tutorial, click the green Print Friendly button at the bottom of the page. If that doesn’t work, try Ctrl + P
(or Flower + P) to bring up the printer dialog box.
How to Make a Storm-at-Sea Quilt Block
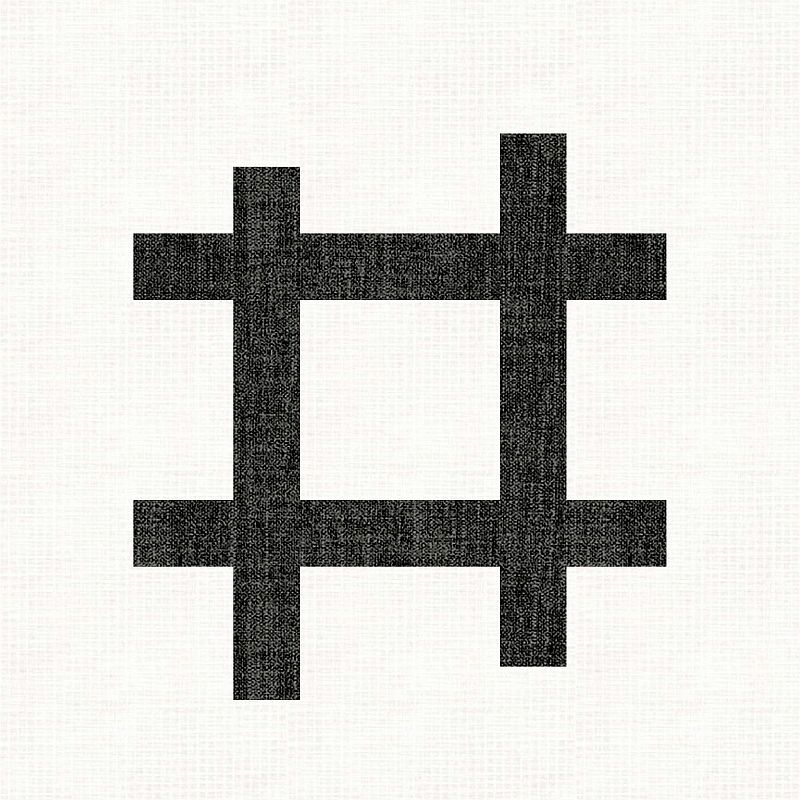
Well, as it turns out, there are two types of Storm-at-Sea blocks. The original seems to have been designed by Eveline Foland for the Kansas City Star during the newspaper circulation wars following the depression. (That’s actually when most quilt blocks were designed and/or named.) Here is that block:
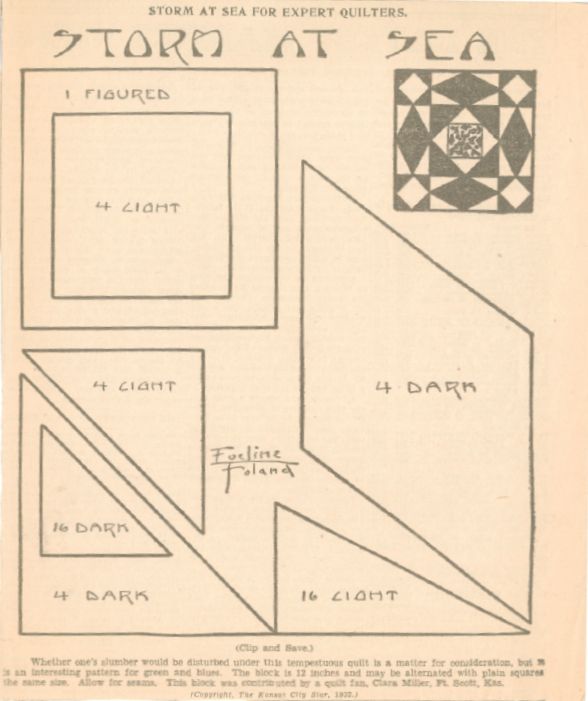
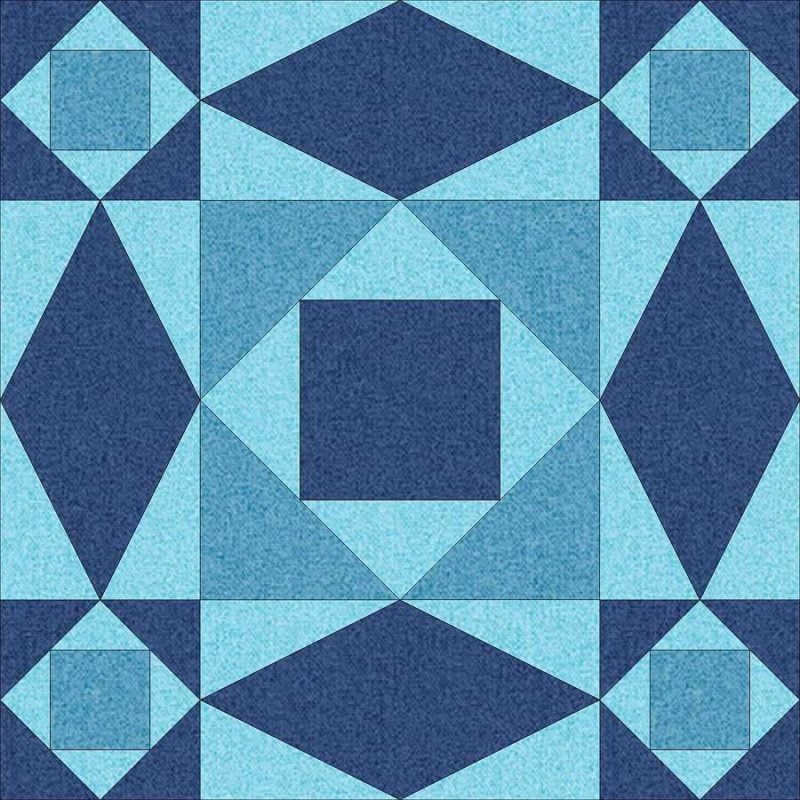
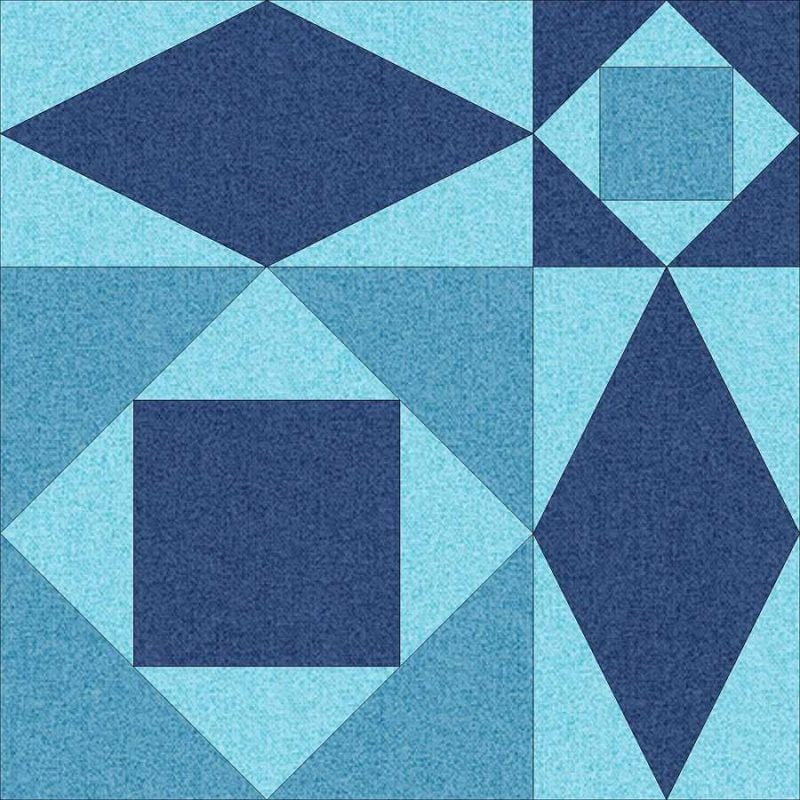
As you can see, it has two borders, like the picture on the left below.
Each type of block makes a unique design when used in multiples. Here is my Pinterest board showing the variety of different Storm at Sea colorations.
The Storm at Sea block consists of two blocks in different sizes:


I found a number of different methods of making this block, but I am only going to show you a few on this page. I will do another tutorial next month. Here are links to other sites that offer information on the other methods.
- Accuquilt BOB
- Quilt-in-a-Day Triangle-in-a-Square and Fussy Cut ruler set
- Marti Michell #8065 Template Set (watch the video here)
- Traditional Templates to trace onto cardboard or plastic
- Diamond Rects Ruler and Square Squared from Studio 180
- TriRecs or VBlock Trimmer and the Square on Square Tool
- Paper Piecing (Read The Seven Deadly Sins of Paper Piecing here.)
Using Accuquilt to Make the Storm at Sea Quilt Block
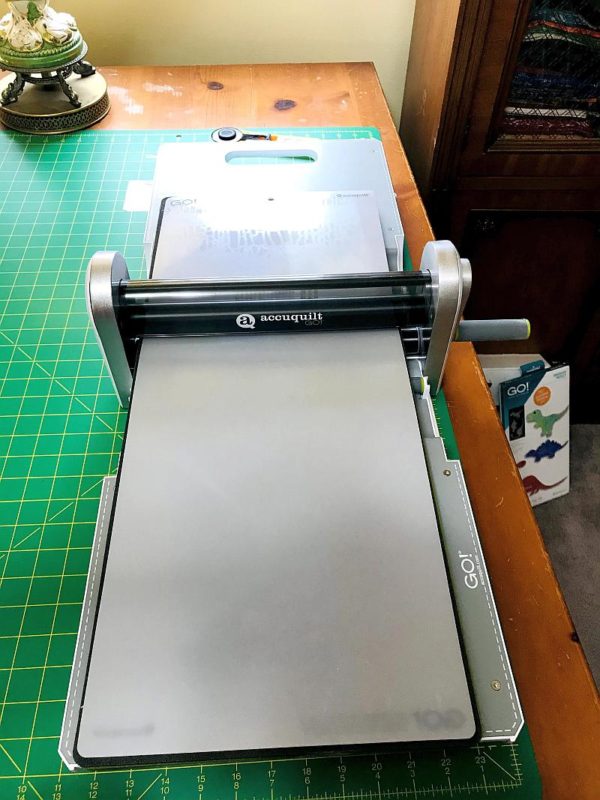
Accuquilt is a machine that uses dies to precisely cut fabric. It’s a relatively expensive machine – I always tell people to watch for sales. There are literally hundreds of dies of all sorts of shapes and sizes.
My favorites tend to be the applique motifs. Just pre-fuse the fabric and run it through the cutter.
They also come in boxes called Qube’s which contain all the sizes you would need for straight cuts. This is a terrific time saver – and hand saver, particularly if you have trouble gripping a rotary cutter or keeping fabric from moving while cutting. You can cut up to six layers at a time.
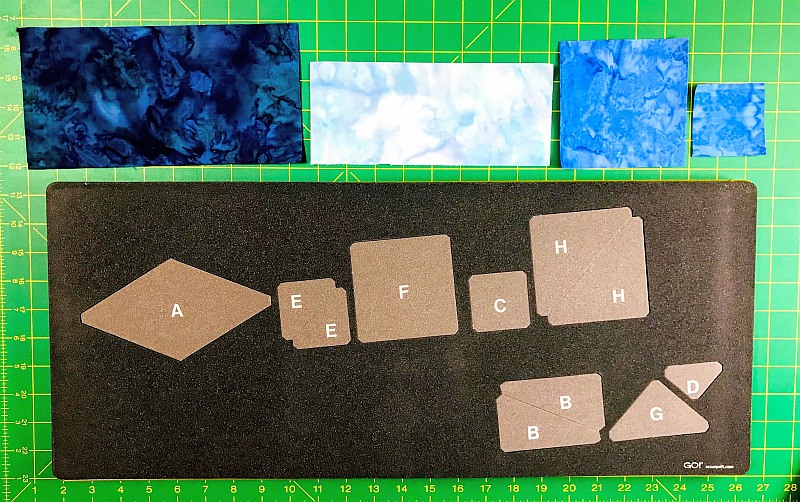
The Storm-at-Sea die is a Block on Board (BOB) die. That means that all the pieces you need to make a block are in one die. This particular BOB die is quite large.
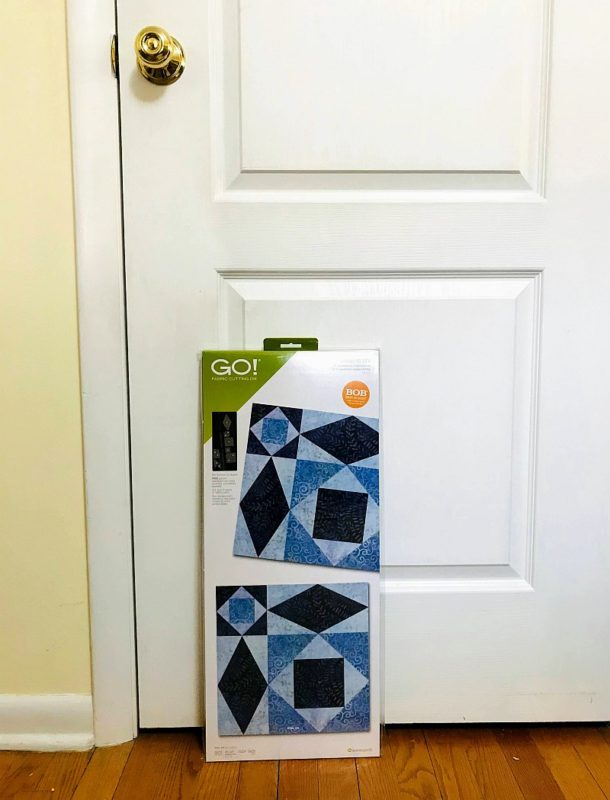
It only makes the block without the second sashing border in a 9″ size, but it is easy enough to double up on the fabric you need to add that border. This would make it a 12″ square block. The instructions that come with the package tell you how to cut and position the fabric you need for one block.
If you don’t have an Accuquilt cutter
Read over this section anyway. Accuquilt is merely cutting the template pieces for you. If you don’t have an Accuquilt but would still like a ruler template, I recommend the Marti Michell #8065 Template Set which will help you cut the exact sizes you need for other sizes of blocks.
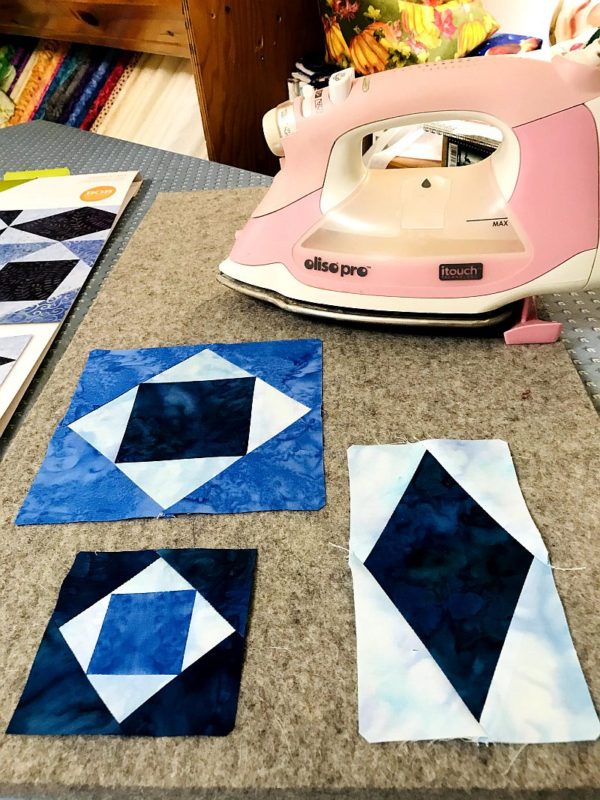
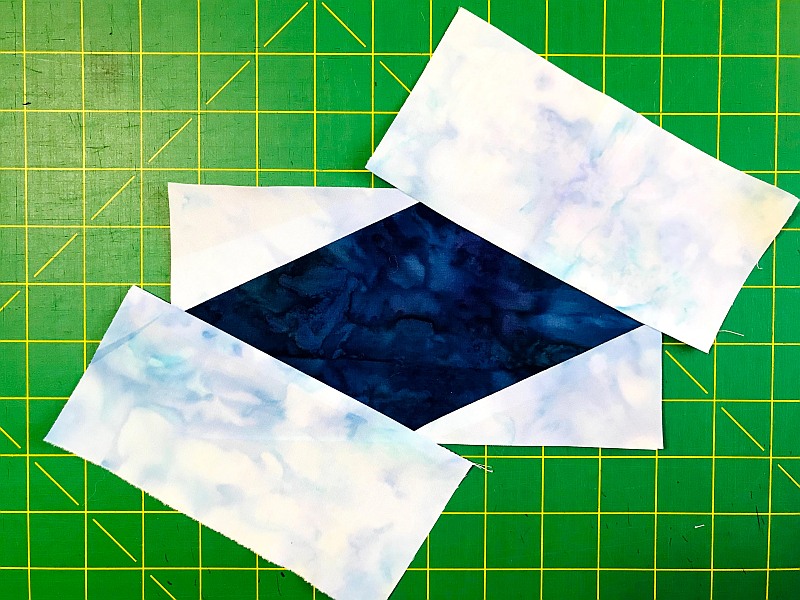
Making the Elongated Triangle (or parallelogram)
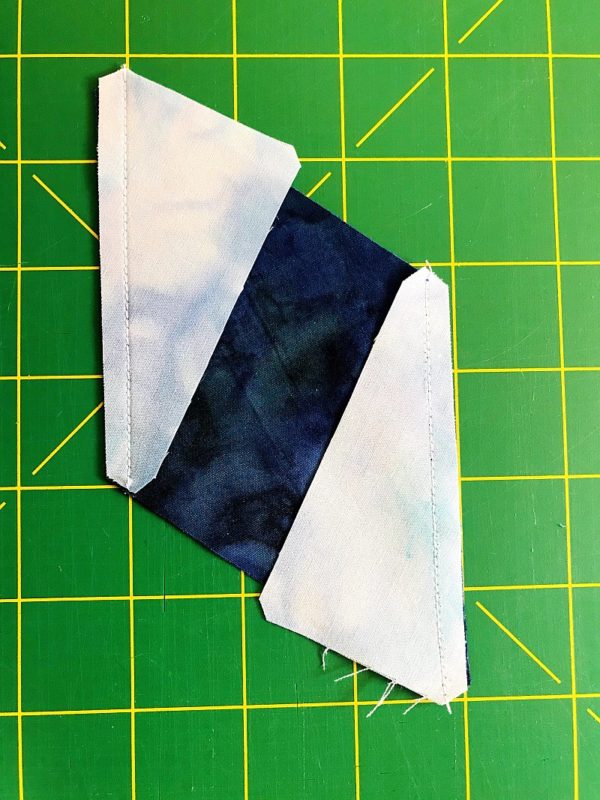
Start by sewing the half-rectangle pieces to opposite sides of the center parallelogram. The Accuquilt die has the edges already clipped so you have an exact stitching line with no dog ears. Despite this, I struggled with this block. It just didn’t look right to me. I kept going though.
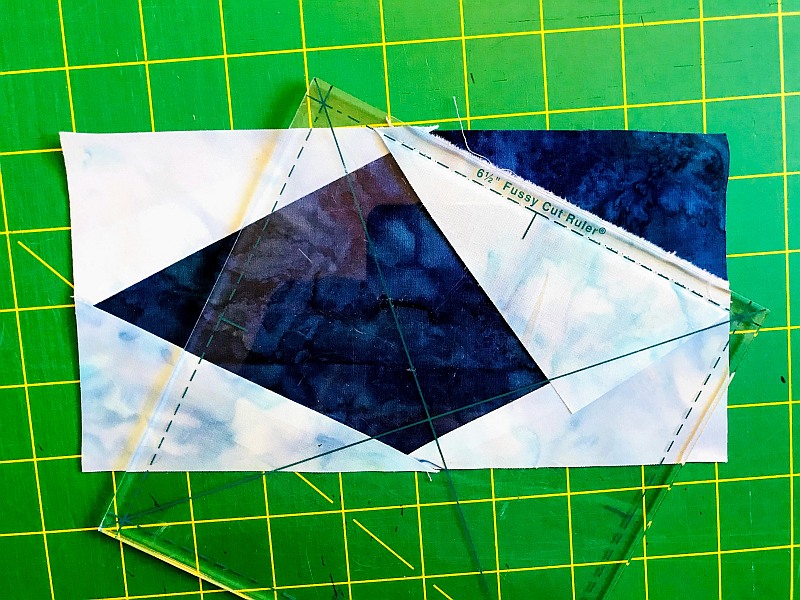
Here is the second seam, which you sew AFTER the first two pieces have been pressed. Now it looks really odd. But when you fold it over and press it, it all straightens out.
Making the Economy Block
An Economy Block is actually a Square-in-a-Square block that has been set on point a second time.

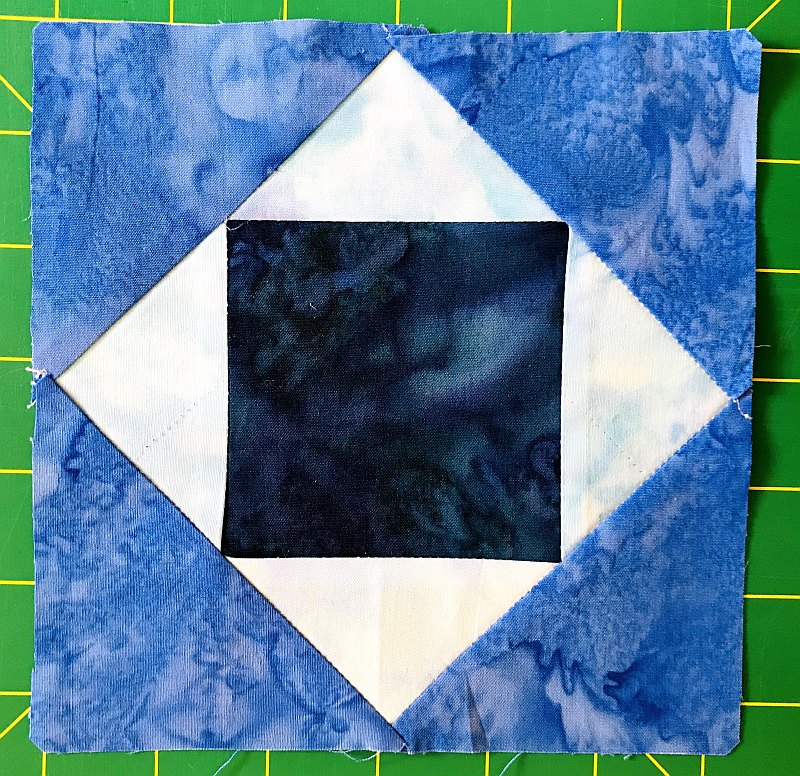
Another benefit of the Accuquilt die is that your blocks always end up perfect, so there is no need to square them up. All you need to do is press.
Paper Piecing the Storm at Sea Block
Honestly, I think paper piecing the elongated triangle is actually one of the easiest and most accurate ways of making it. If you have Electric Quilt, you can easily print the size template you need. Let me show you. Click here to download a practice template.
One caveat: I am not a professional paper piecer. This is just a quick overview. For more details read The Seven Deadly Sins of Paper Piecing.
Foundation piecing is a method of sewing fabric to paper or fabric. It’s a little tricky because you have to place the fabric right sides together on the front using placement lines that are on the back. You either look through the paper (a bright light is helpful) or you make really large seams and trim them later. That is what I did.
After you have sewn the two pieces of fabric together along the placement line on the back, you go to the front and flip the smaller piece over the seam and press. You really should trim at that point, but I forgot. No matter, you CAN go back and do it later, but it’s not as easy.
Here’s a tip: always use a very small stitch and a large needle when paper piecing. It will help to perforate the paper so it pulls away easier when you are done.
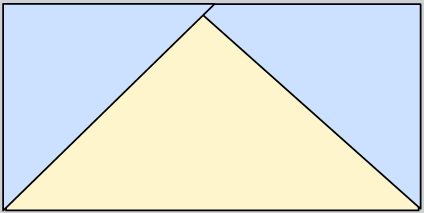
I started with the paper template, a 4-1/2″ x 8-1/2″ dark blue rectangle and (4) 3-1/2″ x 6-1/2″ light blue rectangles, which turned out to be much too large. Better safe than sorry, though.
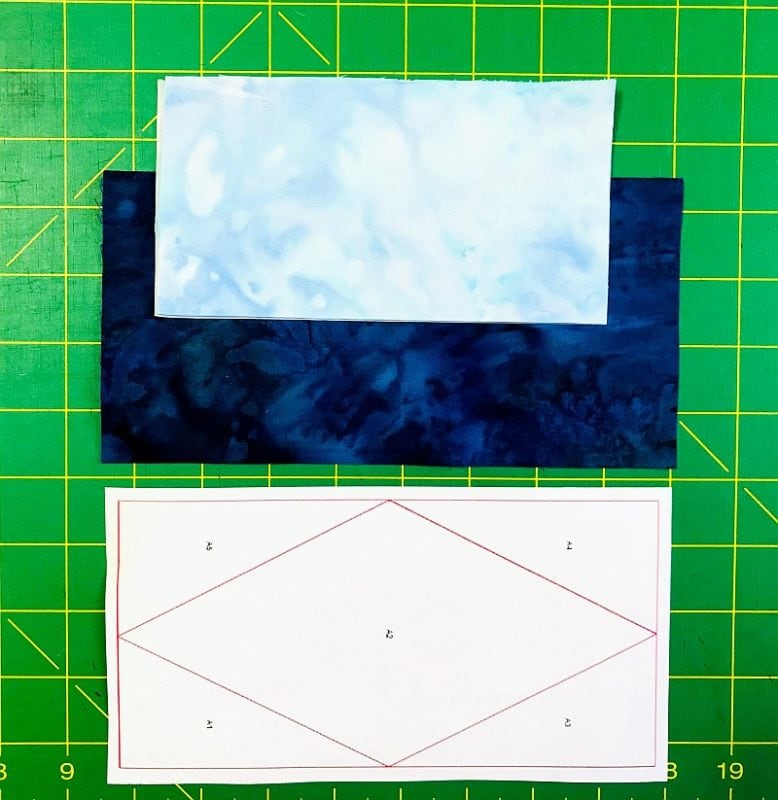
I placed the dark blue rectangle right sides up on the back of the template. I guessed at the placement of the light blue and pinned along the sewing line. When I looked at the front fabric, I saw that my guess was good and I made my first seam.

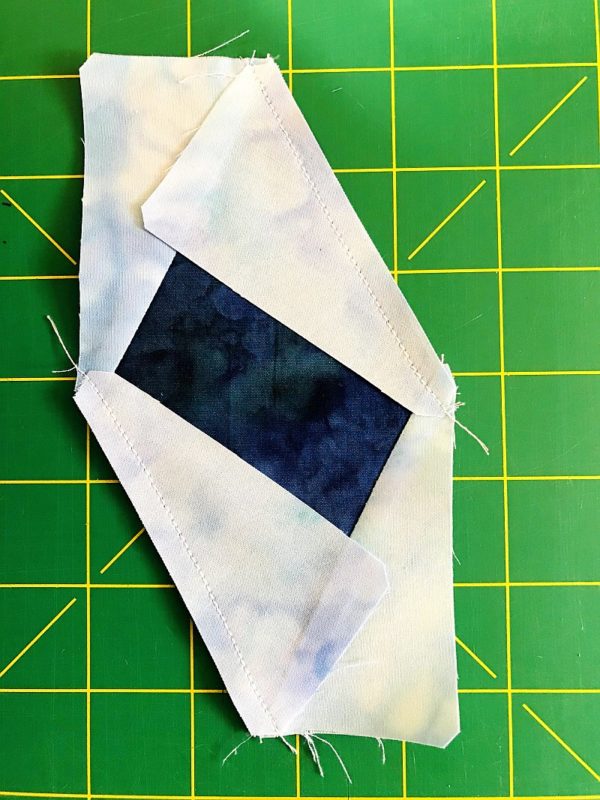
The next step is to flip over the light blue on the front and press. As you can see, the light blue piece I used was too big.
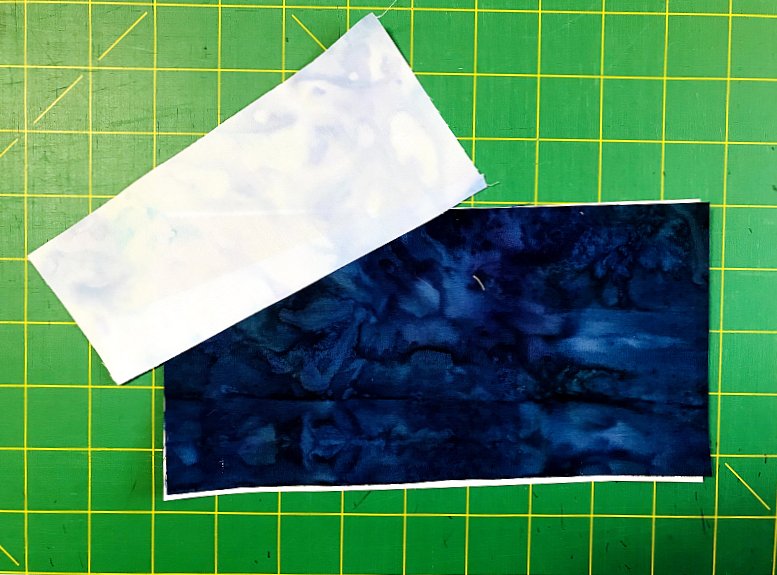
I added the piece to the opposite side, then I cleaned up the edges of the block by cutting along the sides of the paper template. This is the point where I should have folded the light blue and the paper out of the way and trimmed the seam allowance to 1/4″ but I did not. Instead, I sewed on the other two corners.
Here’s another tip: instead of using really, really thin pins, consider using a water-soluble glue stick to hold your pieces in place.
Then I pressed the block again, cut the light blue even with the paper template, ripped off the paper from the back, and remembered that I was supposed to trim the seams. Argh! No matter, it can still be done. You just have to pick out a few threads where one seam crossed another.
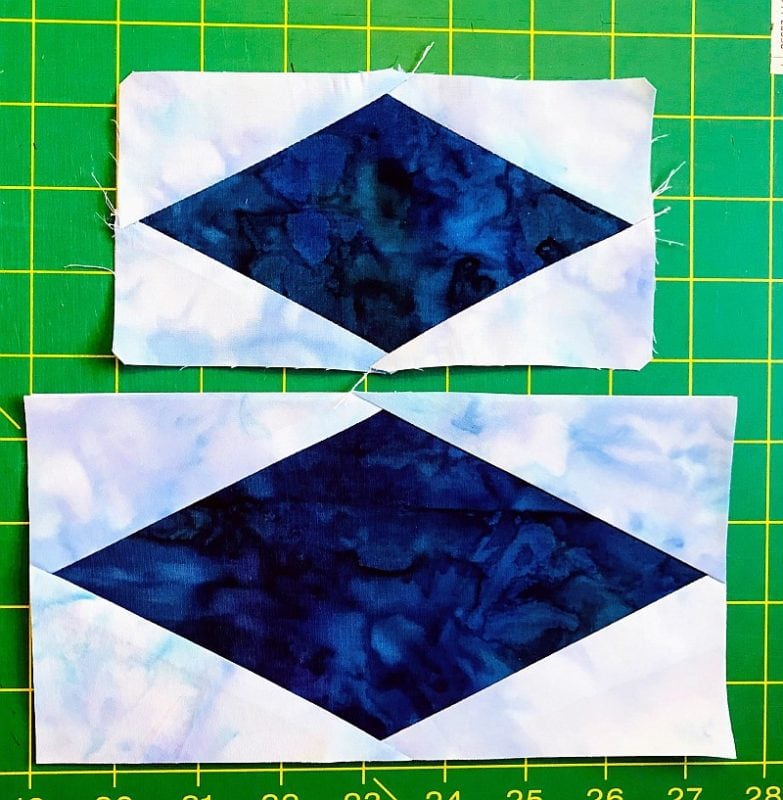
And here is that block, under the Accuquilt block. (Yes, they are different sizes.) If you are going to do a whole Storm at Sea quilt with paper piecing, I would recommend that you print your templates on water-soluble paper. It is *so* much easier than ripping paper and possibly weakening seams.
Two More Methods for Making the Storm-at-Sea Quilt Block
Don’t forget to sign up for the newsletter! Once a week, I send updates on quilt-related information I have found while wandering the web. This might be an inspiring article, a tip or tutorial I have discovered (or written), and occasionally exclusive offers & discounts as well as immediate access to the secret page of free patterns, guides, and printables. You can follow my page on Facebook, or join the Make Believe Quilters group, too.

Great tutorial for these two methods. Thanks for sharing
I love the Storm at Sea block and have made a couple, but pretty much by rotary cutting. Also, I make my blocks huge so I don’t have to work so hard. I call it a Tsunami, haha! I think it’s a beautiful design.
I also love the Storm at Sea quilt blocks. Thank you for the tutorials.
Love the storm at sea quilts! A moment of confession though I have never made one..
I love the look of storm at sea quilts, but have never attempted any of the blocks except the economy one. Thanks so much for all the instructions.
This was a great tutorial for Storm at Sea…thank you! Someday I’ll be giving this a try with my Accuquilt Storm at Sea cutter. Thanks for hopping with us!
Great tutorial. I really like your fabric choices. And that is a very large looking die :).
Great tutorial. You can’t beat the SAS BOB die.
I’ve always admired storm at sea blocks, but I have never made one. Thanks for sharing your tutorials!
Great tutorial for the Storm at Sea in various methods! I have the BOB for Storm at Sea that I need to use to complete a long-neglected UFO. Thanks so much for sharing!
My masterpiece quilt (in my opinion) was a Storm at Sea variation for my Navy son. I loved doing it in grays and navy blues with a red and black compass rose block – he was a navigator. It’s a design with so many possibilities. I’ve been looking forward to seeing what your research found!
Wonderful tutorial! That quilt will be beautiful!
Having those AccuQuilt dies for the Storm at Sea was brilliant. Thanks, too, for helping us see all the work involved even with the cutter.
Great information and tutorials. Storm at Sea is so perfect for Salt and Sand. Thank you!
I absolutely love Storm at Sea. All the different methods to accomplish it makes it so versatile! Thanks for sharing all the information.
Thank you for the pattern for paper pieced diamond piece. That would make it a lot easier for me anyway. I love paper piecing.
Such a detailed tutorial on the construction of this block is a wonderful gift. Thank You
What a great tutorial! I did them with a group – thought paper piecing would help with accuracy – I was wrong. The die is the definite way to go. If you don’t mind, I’d love for you to link up at my tips/tutorials for the month…there is still time!
Thank you for the tutorial and the links to other methods. I’ll check these out as the square in a square has always given me trouble.
I’ve never done a storm at sea block or quilt… I think I’d like using the Go! die if I do make it one day! xx