Comparing Quarter-Inch Feet
Note: This post may contain affiliate links. That means we may earn a commission at no additional cost to you if you purchase via our links. Not all links are affiliate links. I only recommend products I use and trust. As an Amazon Associate, I earn from qualifying purchases.
I decided to compare quarter-inch feet for my sewing machine while making the HSTs for a broken dishes quilt block.
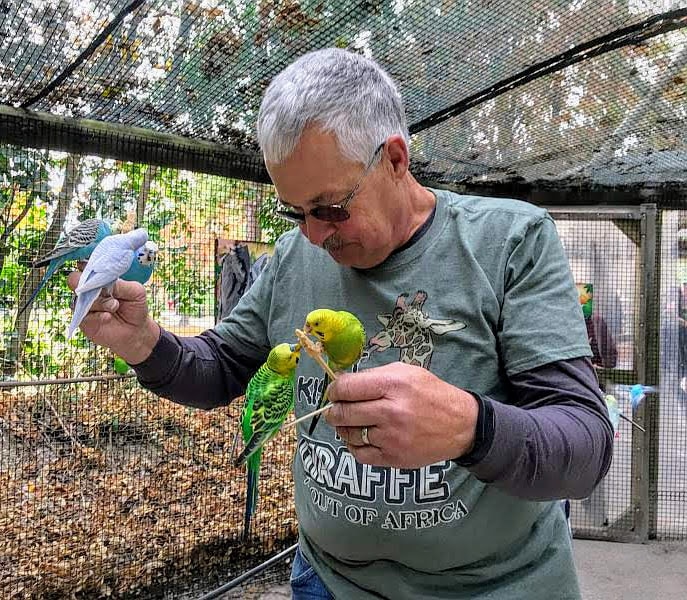
When this colorful blog hop was announced, hubby and I had just been to the zoo. There was a Budgie enclosure there, and the zoo sold sticks with seeds attached that you could feed them. They were voracious! And so much fun. Of course, I had to choose the month that featured Green.
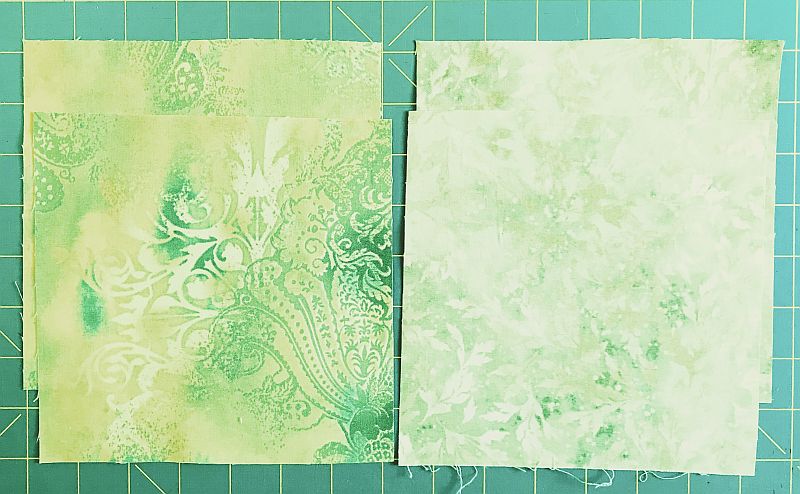
Supplies you will need
- The usual suspects: Sewing machine, fabric, and assorted quilting notions.
- I chose two lime greens from my stash and, honestly, I am a little disappointed. There is not enough contrast. If I were to make a whole quilt, I would definitely pick different fabrics. Still, this block won’t go to waste – I will make a mask from it:-))
- I love Creative Grid rulers. I would recommend that you buy the square 6-1/2″ ruler at the very least. You will use it in this pattern and in hundreds of others until you rub all the ink off.
Before starting this or any other project, wash and press your fabric. If you like the behavior of crisp fabric as you cut, sew, and press your project, try a little spray sizing when you press it. Take the time to clean your machine, put in a new needle, and fill a few bobbins. Unless the pattern tells you otherwise, you should always assume that the seam in any quilting pattern is 1/4″ wide.
Making the Half Square Triangle Blocks (HSTs)
To make the HSTs for this block, you start with a square that is 7/8″ larger than the size of the finished HST block. The block will finish at 6″ so I should cut two blocks 6-7/8″ square. In real life, I cut them 7″ square and square up the resulting HST later.
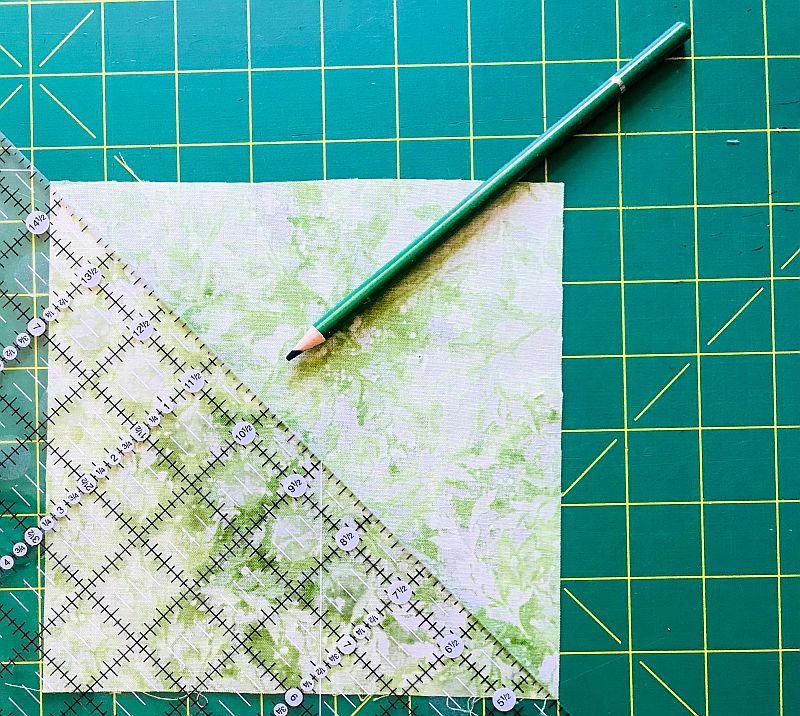
Draw a diagonal line on the back of the two lighter squares. This will be your cutting line. I am using a drawing pencil in the picture. I like mechanical pencils because of the thin lines they make, but a pencil that is made for drawing writes a little smoother. (If you buy them at Blicks, you can get money back with Rakuten.)
Sew 1/4″ on either side of the line. Since I happened to be making masks when I started this project, I had the smaller 1/4″ foot on my machine. I needed that really thin side. But I would normally use the 1/4″ foot that had a little guard – the one that came with my Janome.
Let me stop for a moment and tell you about my new machine. I bought it for myself last Christmas as I wanted a lighter machine that I could piece with – not necessarily to quilt with. I liked the Janome 4120DC-T because it had everything I needed, including auto-cut and the ability to cut without a pedal. It came with all the quilting tools, too.
So I thought, “Why not test the two feet to see which gives you a better quarter-inch seam?”
Comparing quarter-inch feet for the sewing machine
Since I had to make two blocks, I used two different feet.
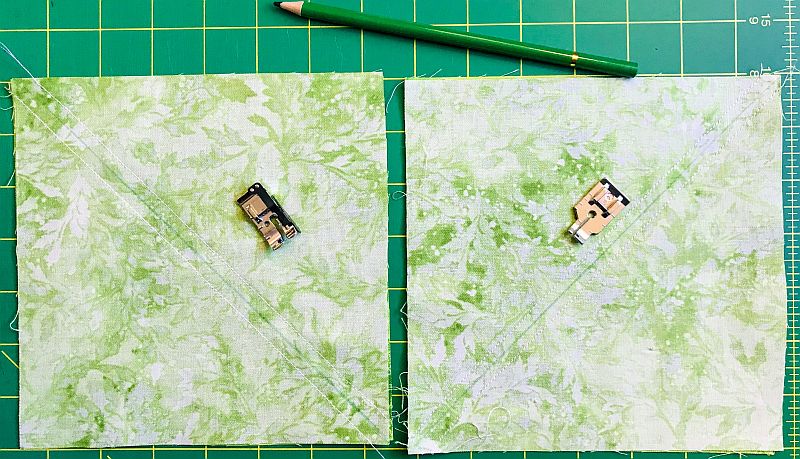
It’s hard to tell the difference between the seam allowances, isn’t it?
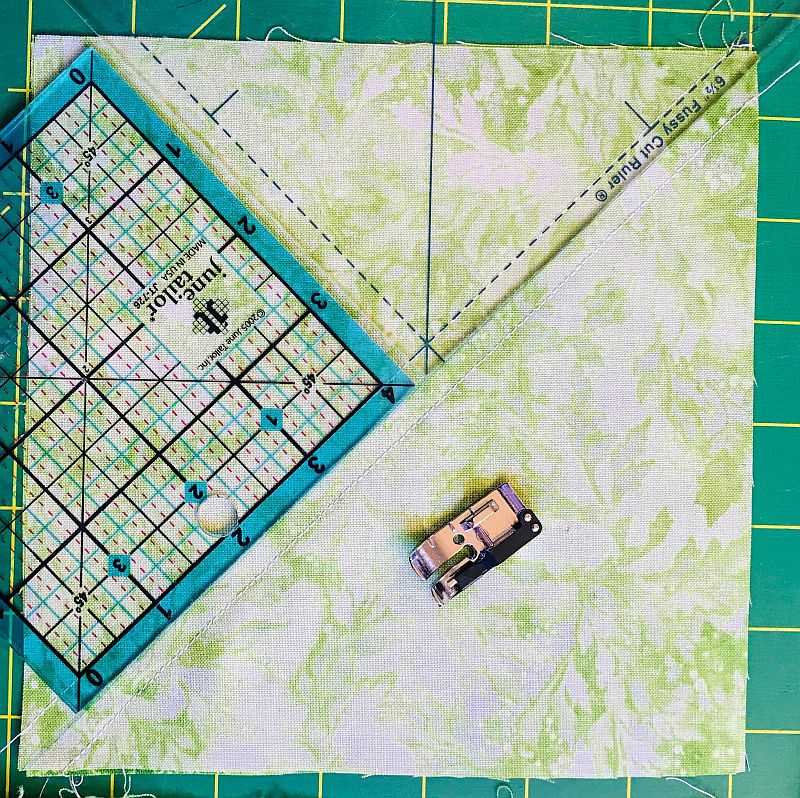
I used both a June Tailor ruler and a random Quilt in a Day ruler to double-check the 1/4″ seam on both.
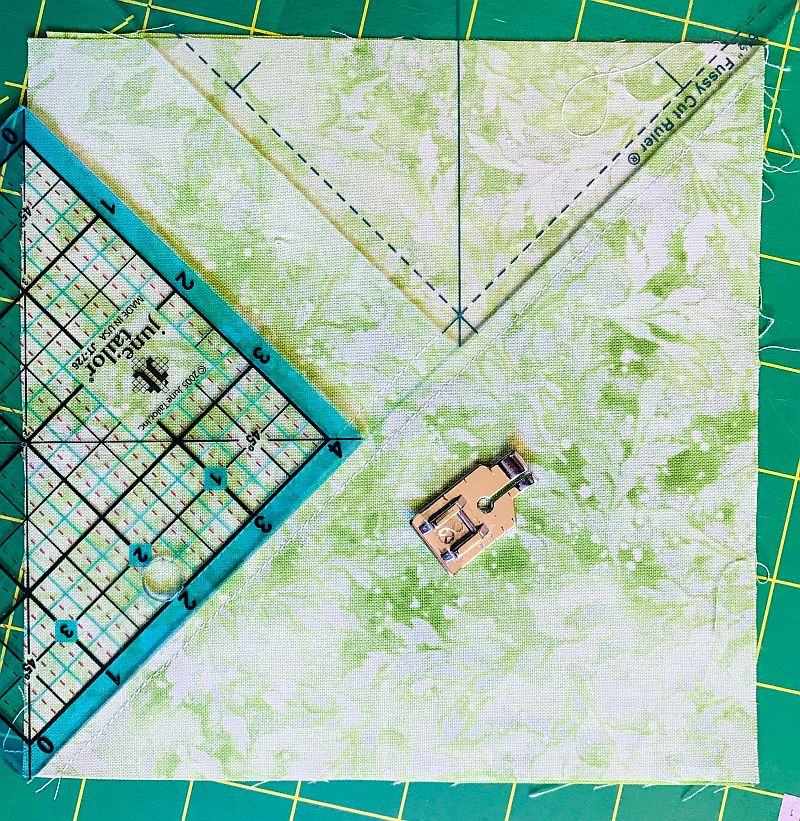
I think I like the one with the little guard the best. I was able to put the guard on the line itself which made the sewing a little more accurate. It’s just my opinion now, and I am aware that user error sometimes creeps in. If you have both feet, you should try for yourself.
But Wait!
Sometimes the reason your 1/4″ seam is too large is not the actual seam itself. It might be the thread! A 30 wt thread is twice as thick as a 60 wt thread. That can really affect the size of your seams. Read our article on Choosing the Right Thread for your Project.
Making the Broken Dishes Quilt block from HSTs
By this time I had made the HSTs I needed for this project. I cut them apart, pressed to the dark, squared them up to 6-1/2″, and sewed them together. I decided to press the center seam open, although I could have twirled the seams.
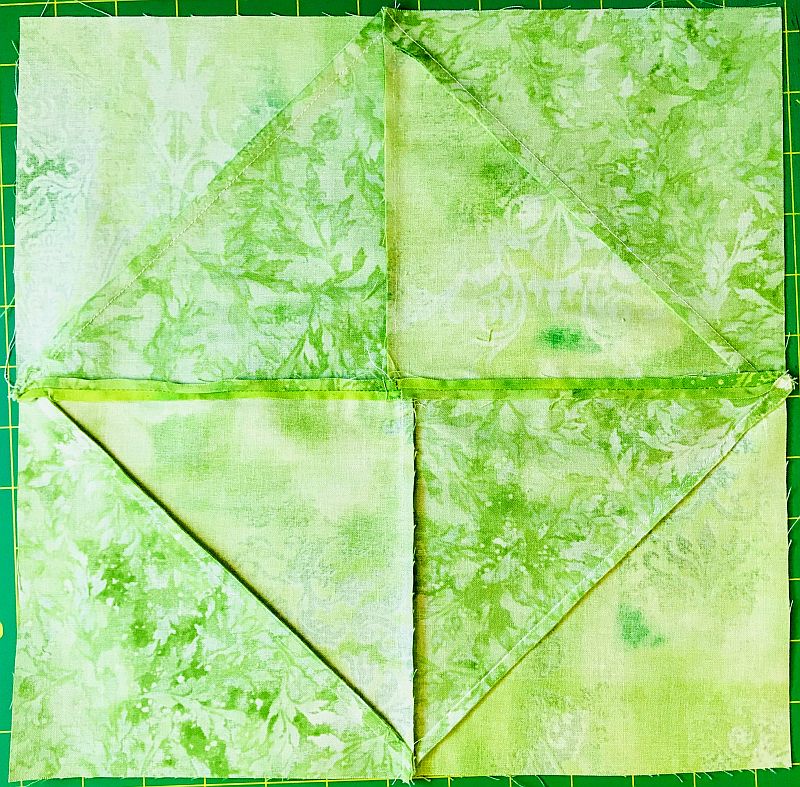
And here is the final 12-1/2″ square block!
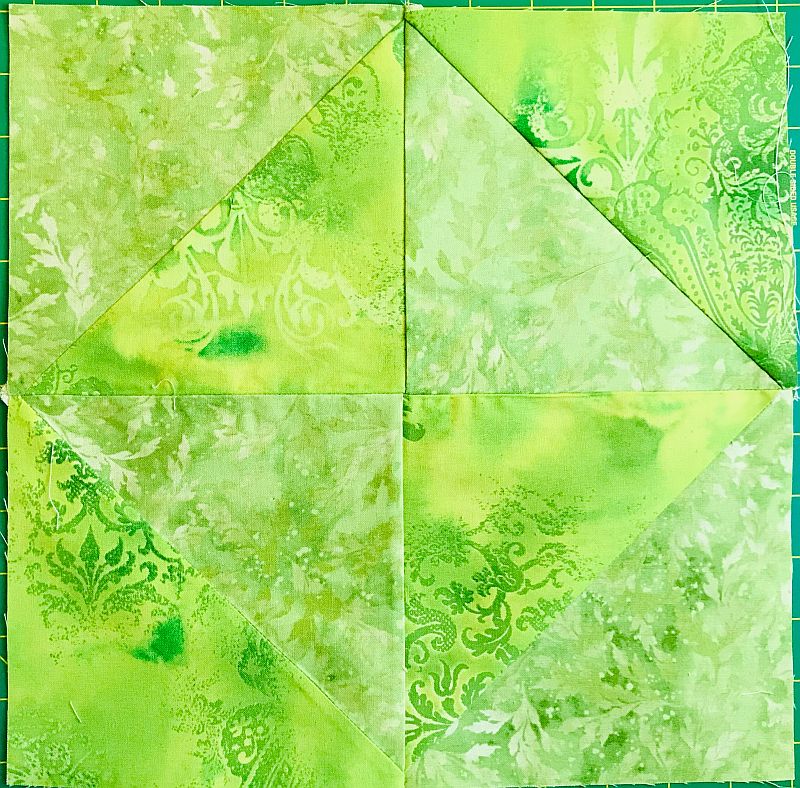
Now, I admit I didn’t like the block because of the lack of contrast. So I took it apart and remade it into a mask using this pattern which called for an 8″ x 10″ rectangle. I made my rectangle 6-1/2″ x 10″ because the person I was making it for has a small face.
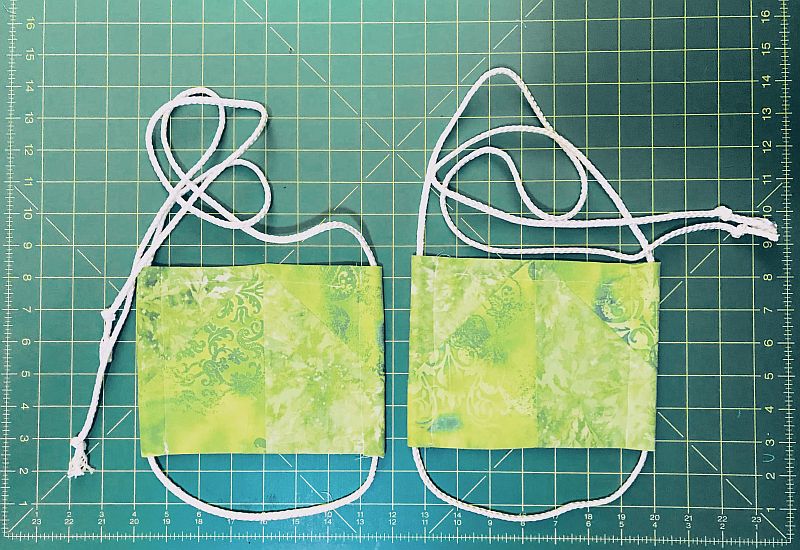
However you decide to make a mask, do not use this method.
Don’t forget to sign up for the newsletter! Once a week, I send updates on quilt-related information I have found while wandering the web. This might be an inspiring article, a tip or tutorial I have discovered (or written), and occasionally exclusive offers & discounts as well as immediate access to the secret page of free patterns, guides, and printables. You can follow my page on Facebook, or join the Make Believe Quilters group, too.

That video at the end “Don’t make a face mask like this” was hilarious. Who hasn’t cut themselves accidentally, or made a mistake because your glasses were in the other room. Loved how the glass of wine showed up near the end. I’m sending that to my sewing friends. So cute. Thanks for the humor.
My favorite part was where the kid came in, saw what his mother was doing, shook his head, and left…