Hourglass Quilt Block Color Challenge – Olive
Note: This post may contain affiliate links. That means we may earn a commission at no additional cost to you if you purchase via our links. Not all links are affiliate links. I only recommend products I use and trust. As an Amazon Associate, I earn from qualifying purchases.
How to Make the Hourglass Quilt Block
Before starting this project, I recommend that you press your fabric with spray sizing. It will make it easier to cut small pieces. Take the time to clean your machine, put in a new needle, and fill a few bobbins. When pressing, just hold the iron over a spot for a moment or two. This pattern assumes a perfect 1/4” seam.
Other items you might like to have
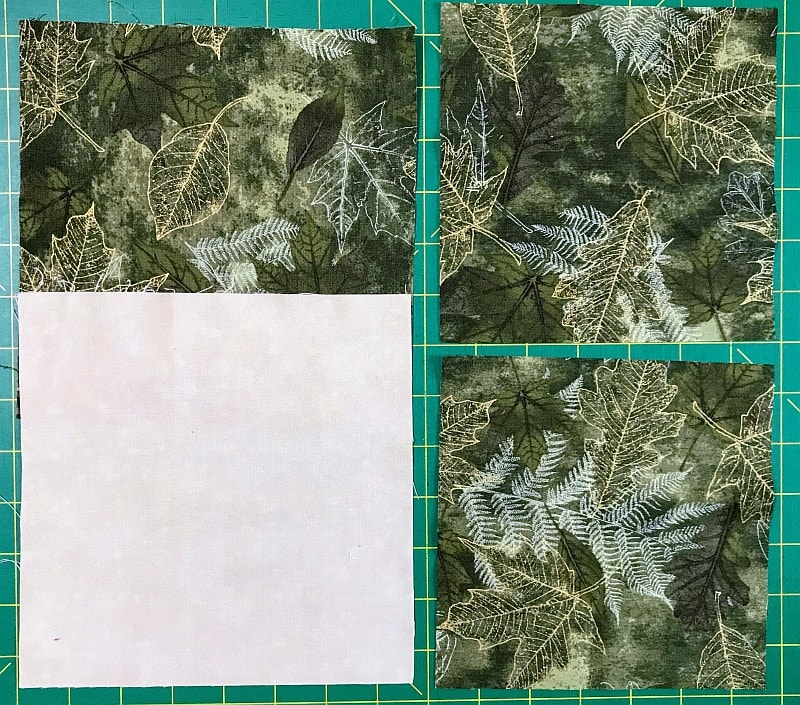
Here are my fabrics:
Hourglass Quilt Block Cutting and Piecing Directions
Place the two large blocks right sides together. Draw a line on the diagonal and sew 1/4″ on either side of the diagonal. Cut on the line.
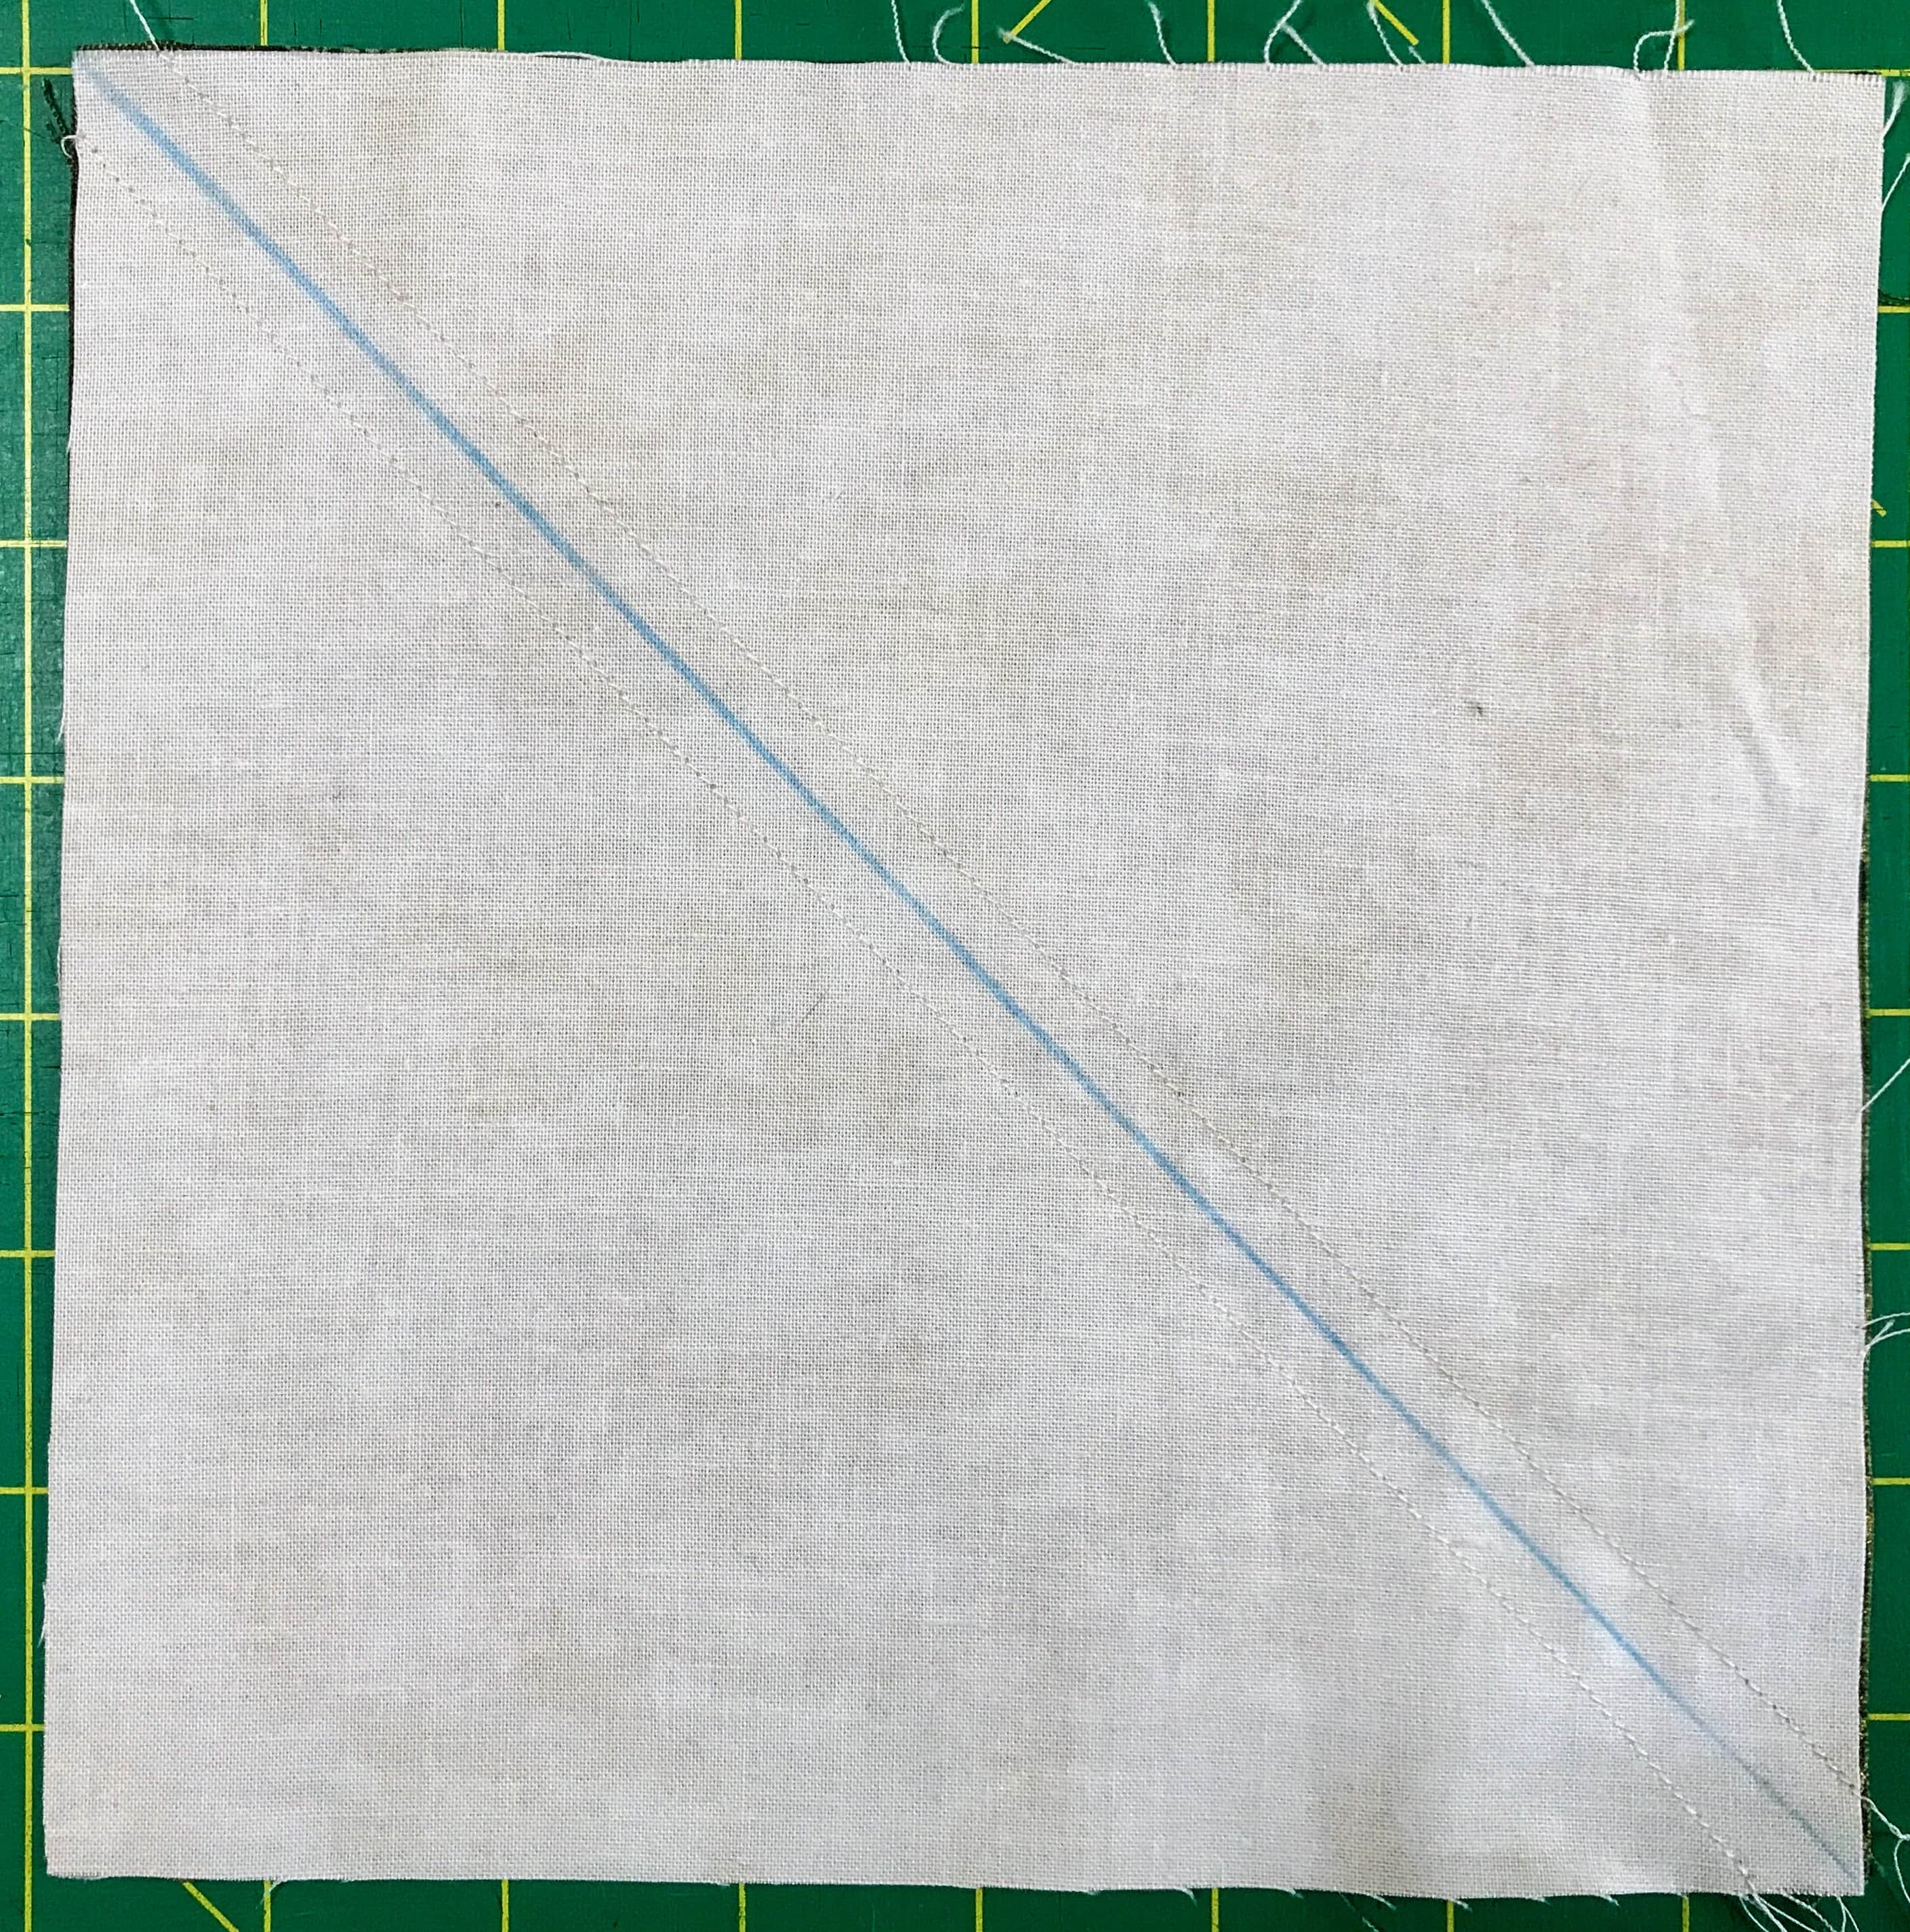
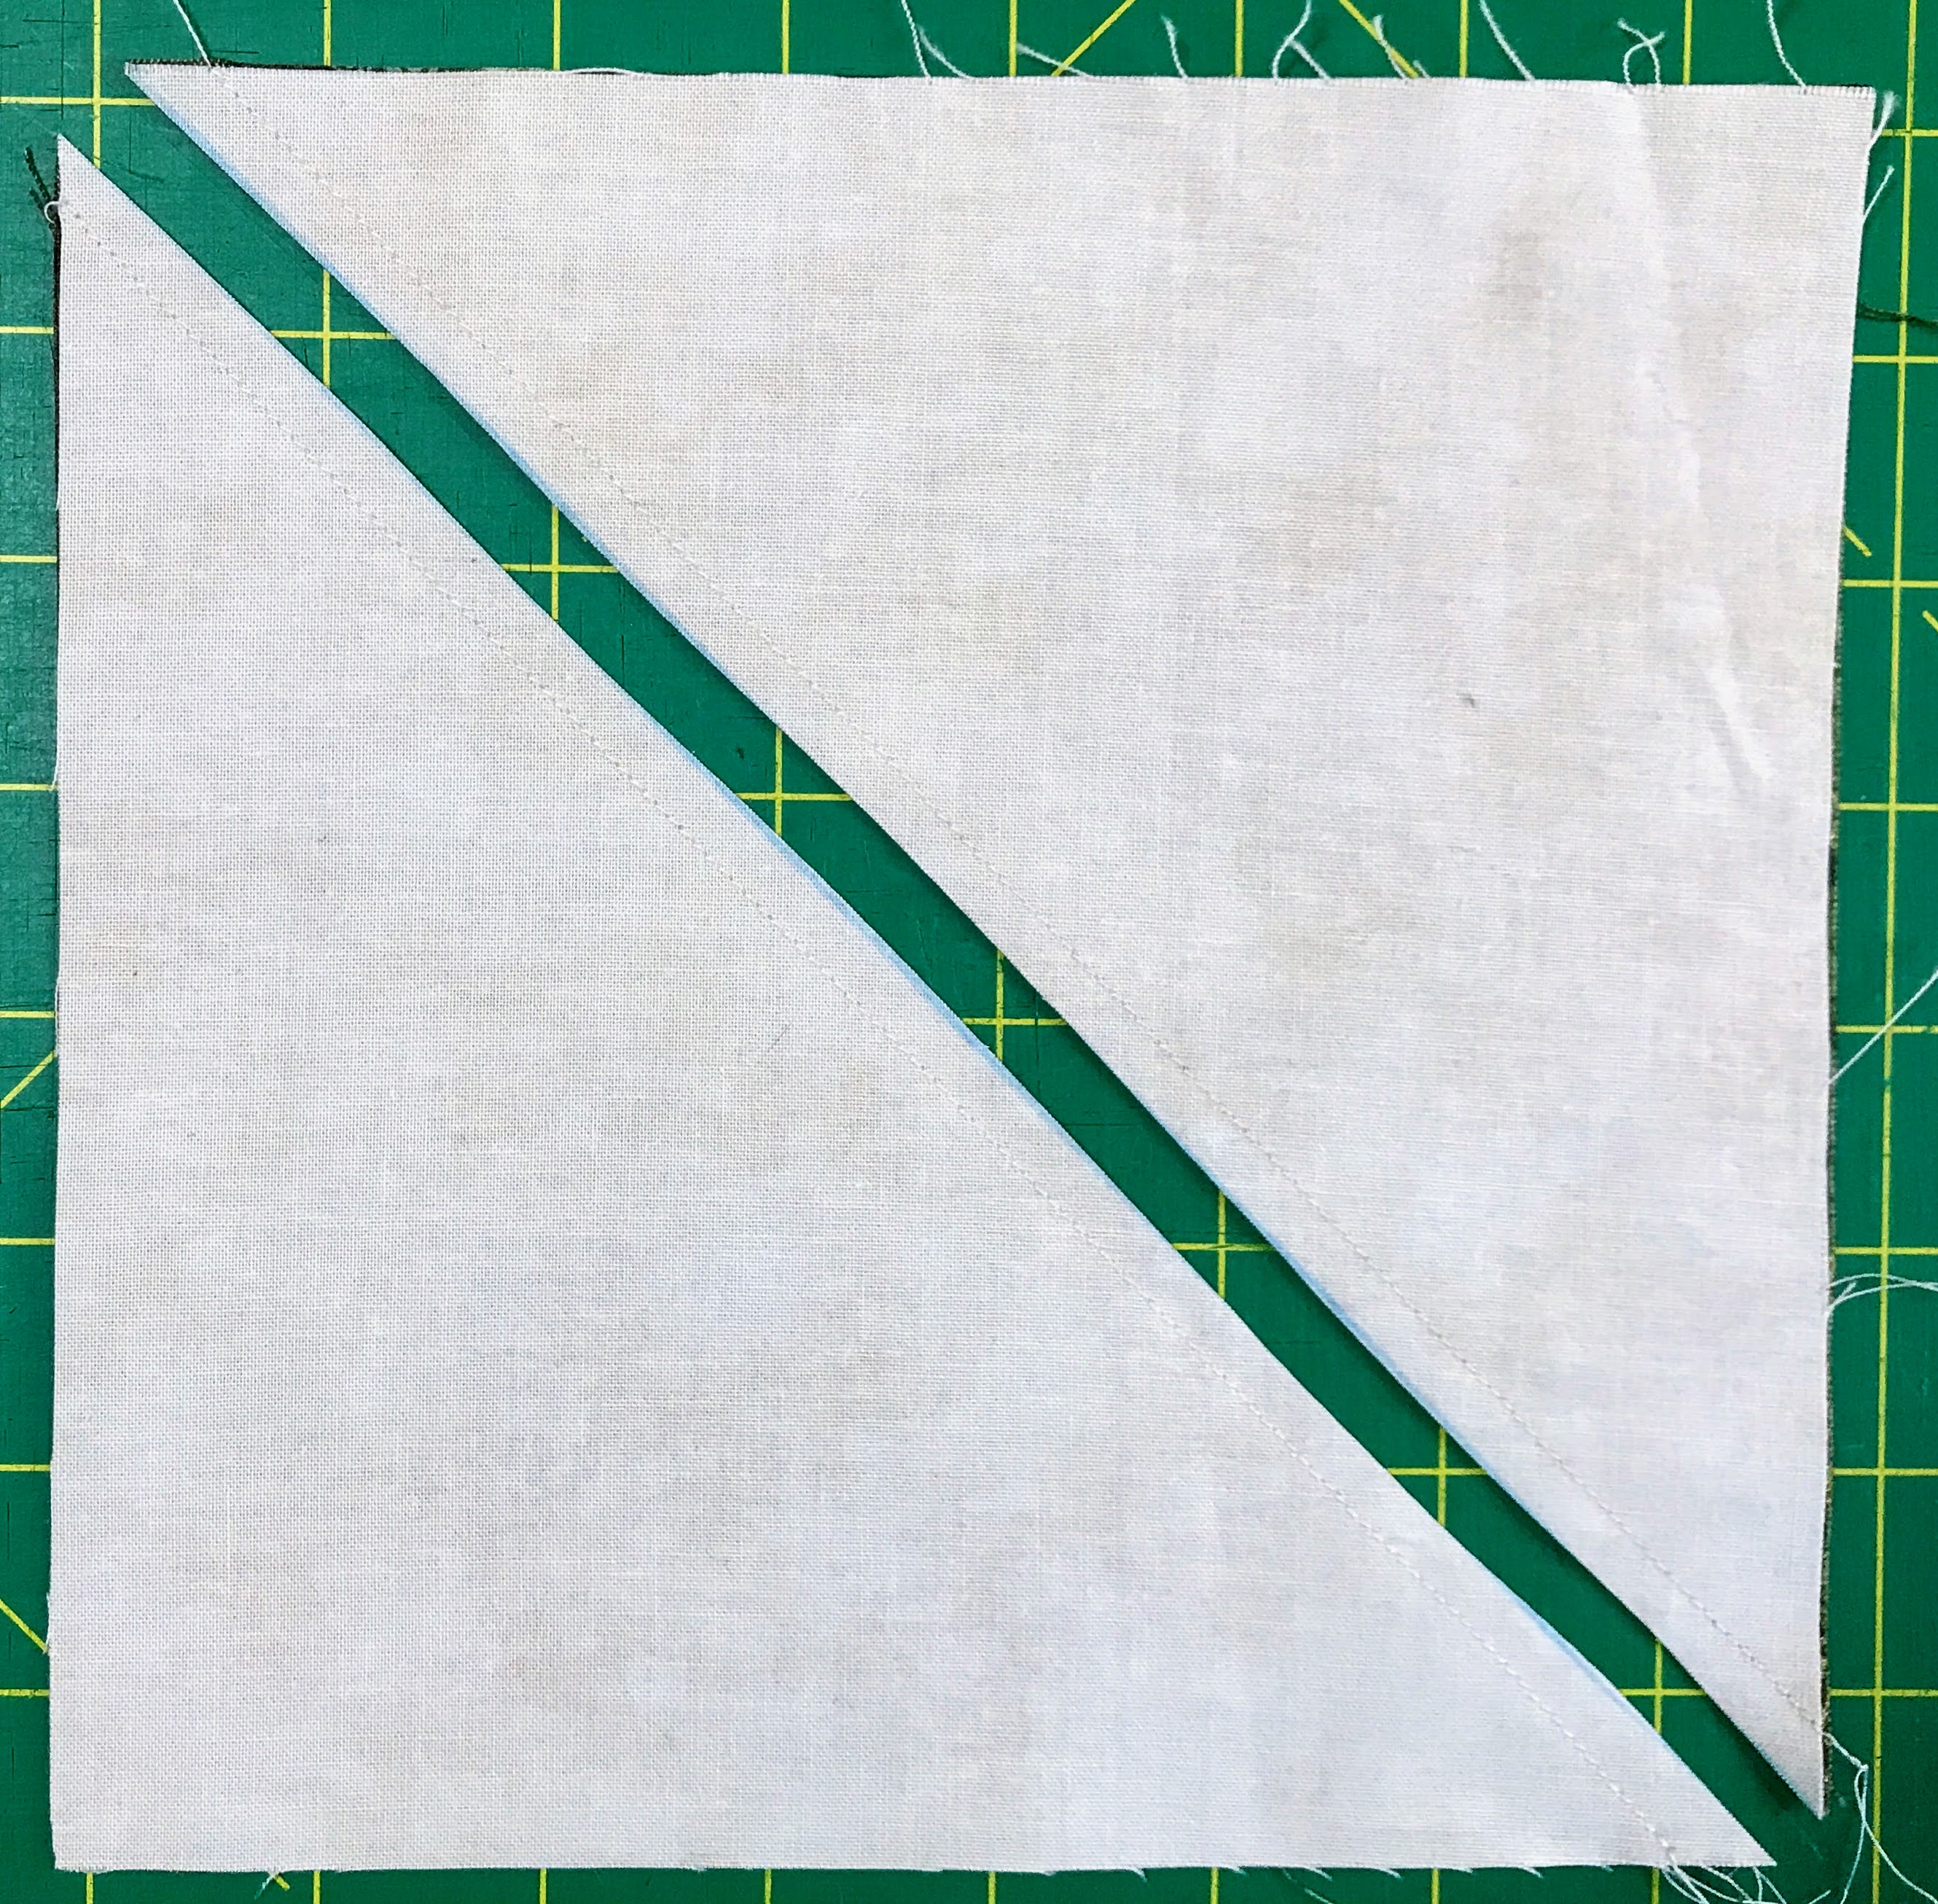
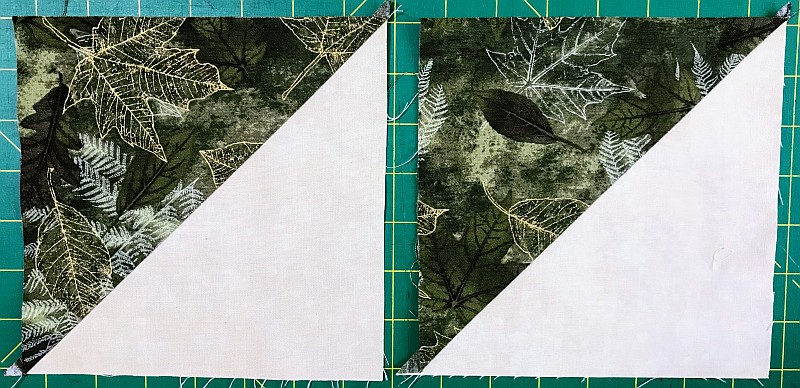
Open the squares and press the seam allowances to the dark.
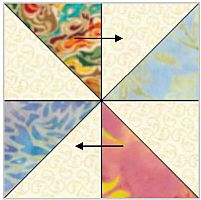
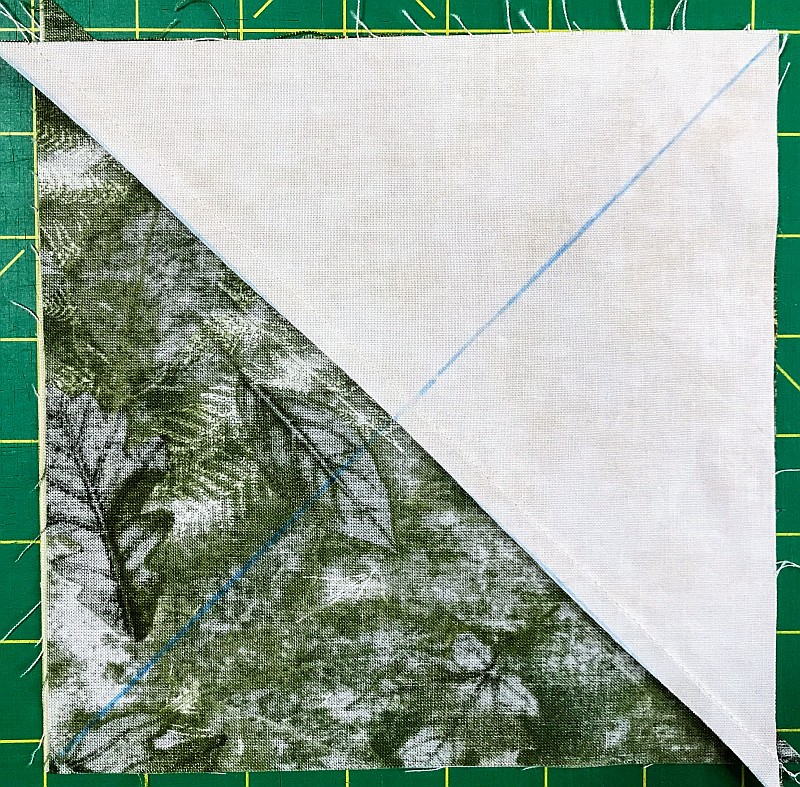
Place these two blocks right sides together with the colors facing in opposite directions. The seams should just touch each other. Once again, draw a diagonal line. This time it should be through the center seam.
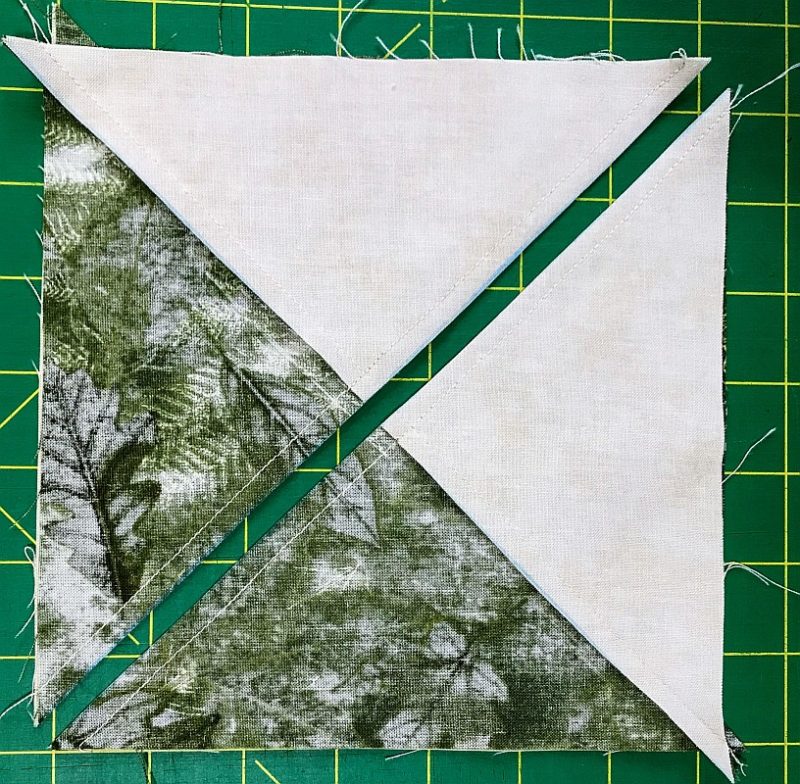
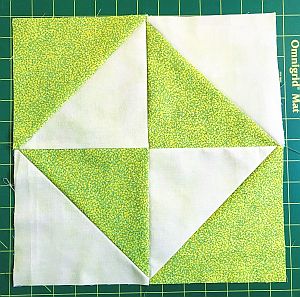
Press the Quarter Square Triangle quilt block open – but what to do with that center seam?
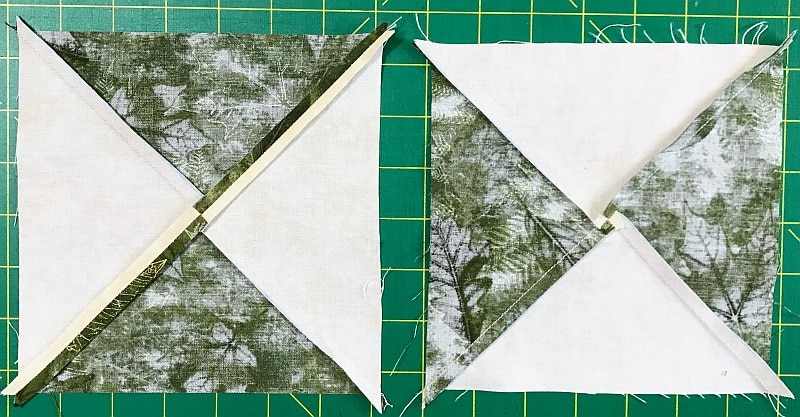
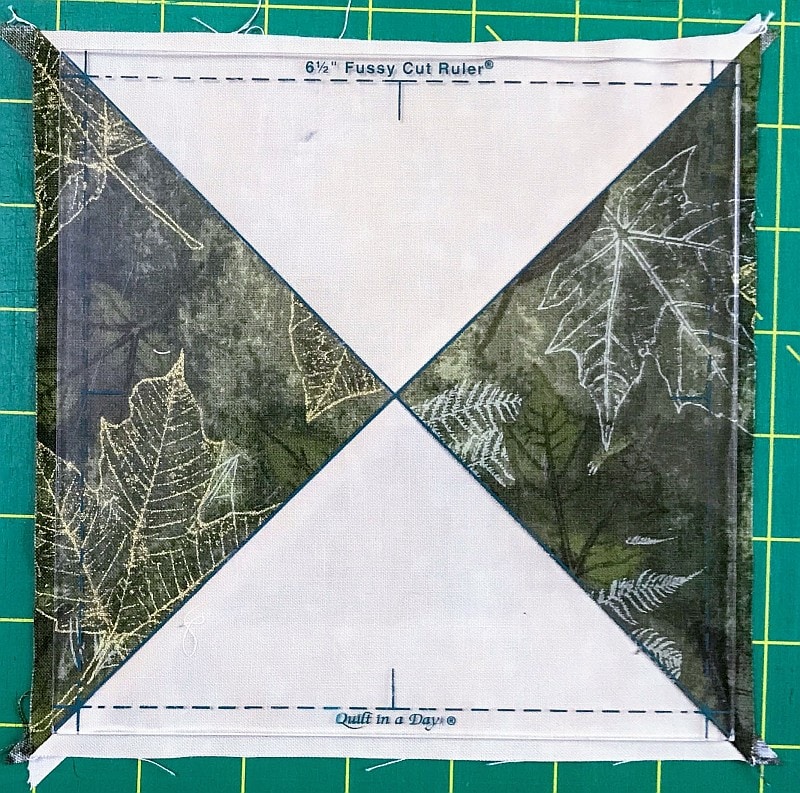
Either way, press, and square up the block. You can see that I am very fond of the Quilt-in-a-Day Square Up Ruler Set. A rotating mat comes in very handy here. You will be able to make two of these blocks.
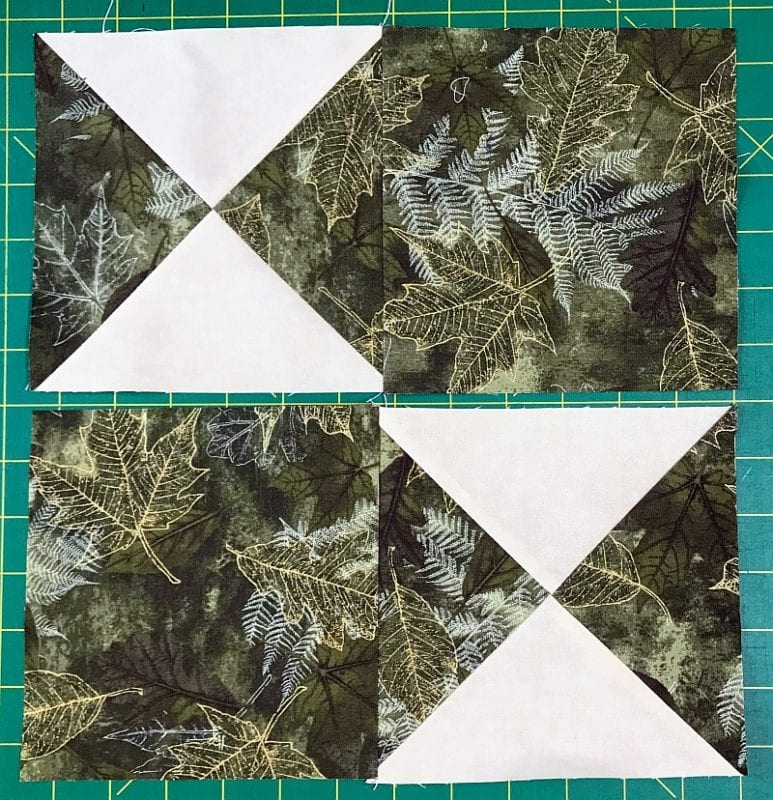
Sew your completed Hourglass blocks to a square of the same size. Make two. Press to the dark.
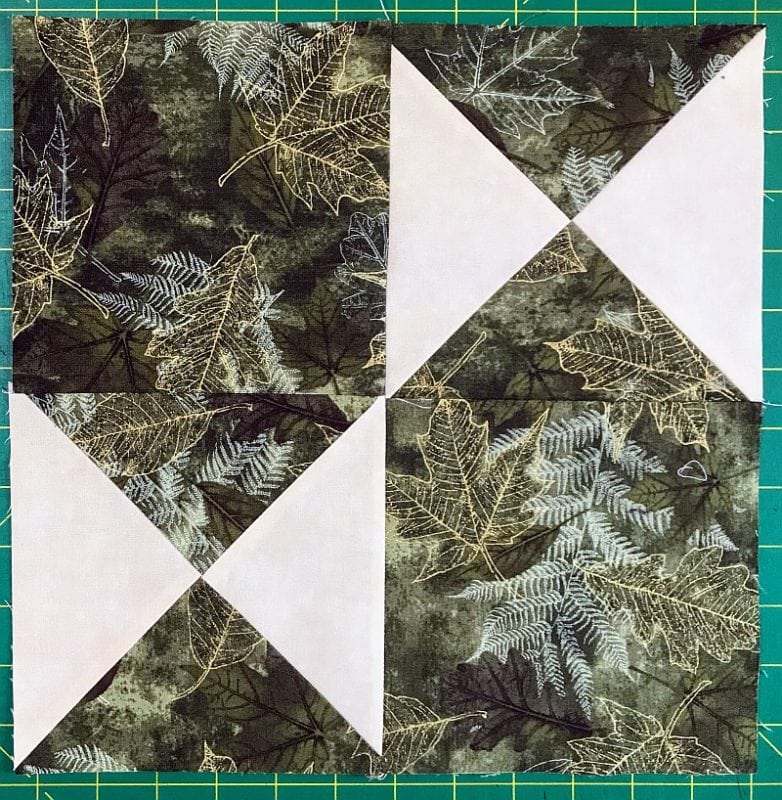
Put it together and look what you have!
Would you like to make HSTs or QSTs in different sizes?
Don’t forget to sign up for the newsletter! Once a week, I send updates on quilt-related information I have found while wandering the web. This might be an inspiring article, a tip or tutorial I have discovered (or written), and occasionally exclusive offers & discounts as well as immediate access to the secret page of free patterns, guides, and printables. You can follow my page on Facebook, or join the Make Believe Quilters group, too.

