Kitchen Stitchin’ – More Storm-at-Sea Block Tutorials
Note: This post may contain affiliate links. That means we may earn a commission at no additional cost to you if you purchase via our links. Not all links are affiliate links. I only recommend products I use and trust. As an Amazon Associate, I earn from qualifying purchases.
This quilt tutorial is part of the “Kitchen Stitchin” blog hop. The challenge is to make something that you would use in the kitchen, on the table, on an appliance, on the wall, or wherever else.
I gave myself a challenge in this blog hop: to continue the Storm-at-Sea quilt block tutorial that I started with the last month. (Part 1 is here.) That meant I could only use three blocks: the elongated triangle and the two different sizes of an economy block.
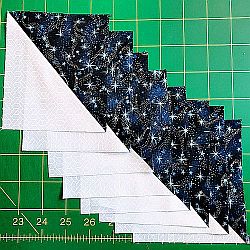
So I started playing with designs. I thought of this one:
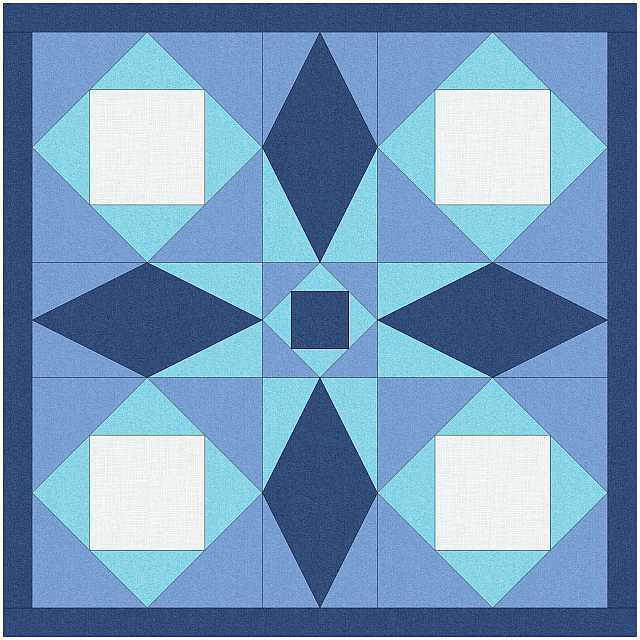
But it’s a bit boring. So I put it together with other like blocks:
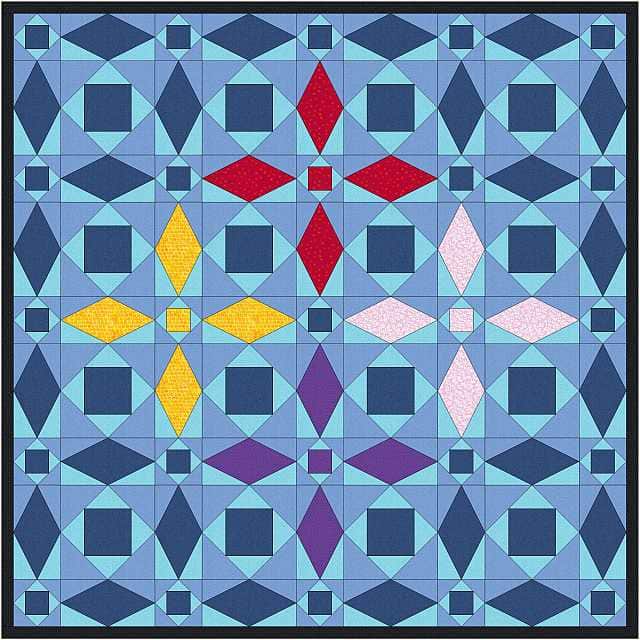
Better, but not really kitchen-y. How about this one for the Heart of the Home?
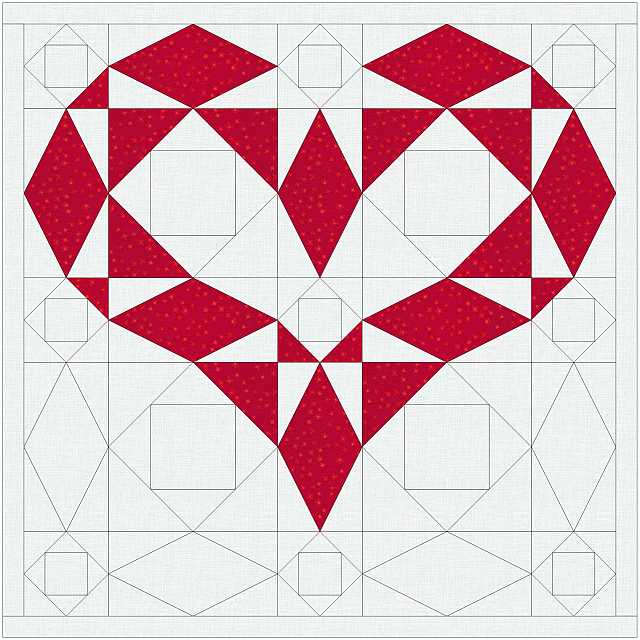
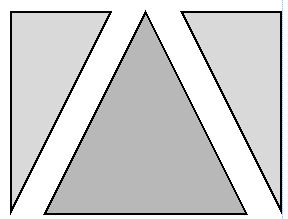
I thought about that one for a while, but then thought about an easier block, which also belongs in the kitchen:
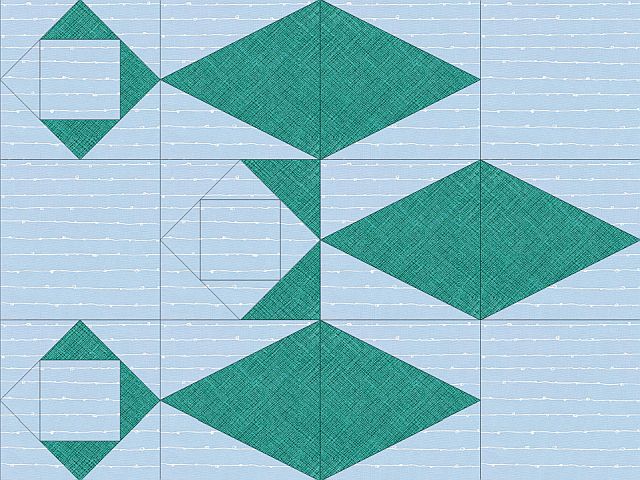
If you look at that one sideways, it becomes a rocket ship, doesn’t it? That and the fact that my granddaughter is turning three at the end of May made me decide on this one:

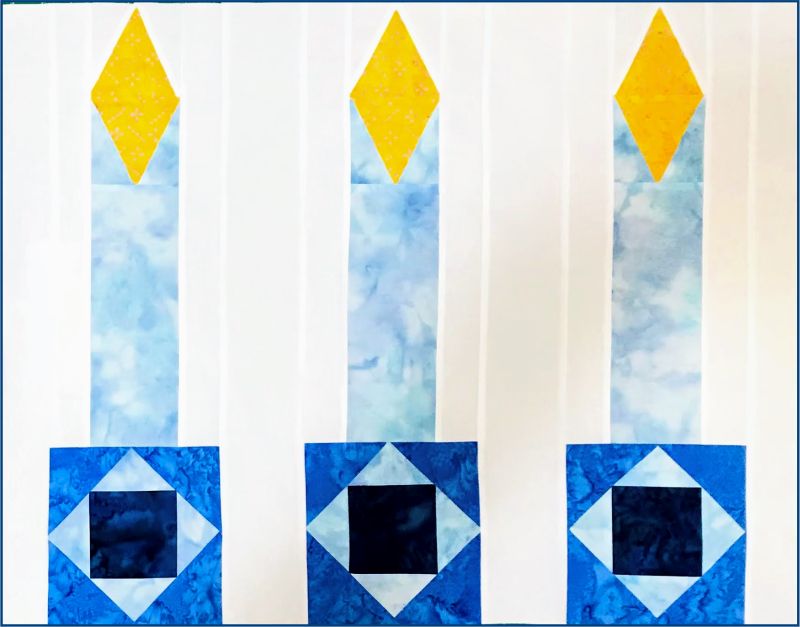
It’s a placemat for a three-year old, or perhaps a table mat to put the cake stand on. Here is how to make it.
Requirements
Background (White)
Cut (2) 3-1/2″ wide strips by the WOF. From those strips, cut (2) 3-1/2″ × 21-1/2″ rectangles. Save the leftover strips for the Triangle-in-a-Square block.
Cut (4) strips 2″ wide by the WOF. From those strips, cut (2) 2″ × 21-1/2″ rectangles, then cut (6) 2″ × 15-1/2″ rectangles.
Light Blue
Cut (1) strip 3-1/2″ wide by the WOF. From that strip, cut (3) 3-1/2″ × 9-1/2″ rectangles.
Cut (1) strip 3-1/2″ wide by the WOF. From that strip, cut (6) 3-1/2″ squares, cut on the diagonal to make (12) triangles. Save the leftover strip for the Triangle-in-a-Square block.
Medium Blue
Cut (1) strip 4″ wide by the WOF. From that strip, cut (6) 4″ squares, cut on the diagonal to make (12) triangles
Dark Blue
Cut (1) strip 3-1/2″ wide by the WOF. From that strip, cut (3) 3-1/2″ squares.
Yellow
Cut (1) strip 3-1/2″ wide by the WOF.
- A Tri-Recs Ruler Tool.
- A Cute Cuts Ruler will be helpful but is not required.
- A rotating mat will be helpful but is not required.
How to make a Square-in-a-Square Block (traditional method)
Assemble:
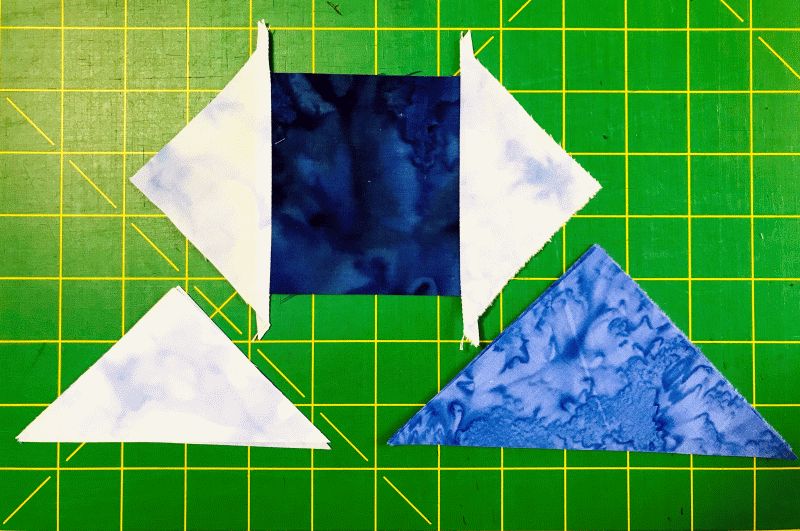
- (3) 3-1/2″ Dark Blue squares
- (6) 3-1/2″ Light Blue squares, cut on the diagonal to make (12) triangles
- (6) 4″ Medium Blue Squares, cut on the diagonal to make (12) triangles
The sizes above are NOT exact – in fact, they are too large. You will have to square up this block twice. You will find that a rotating cutting mat is very helpful in this situation.
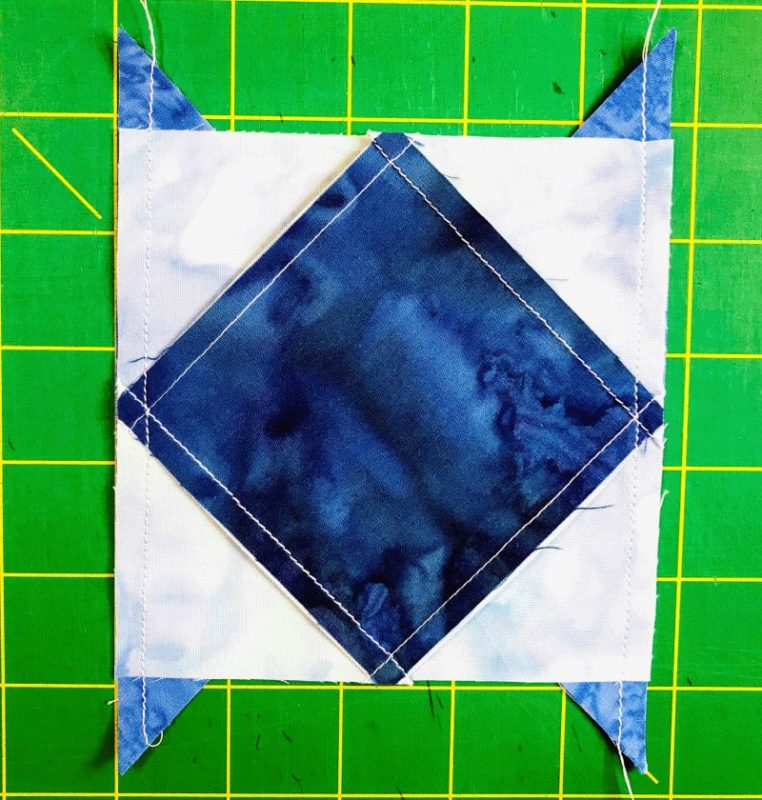
Sew a light blue triangle to opposite sides of the dark blue center square, taking care to match the center. Press to the triangle.
Sew a triangle to the other sides of the block and press to the triangle. Make (3) blocks.
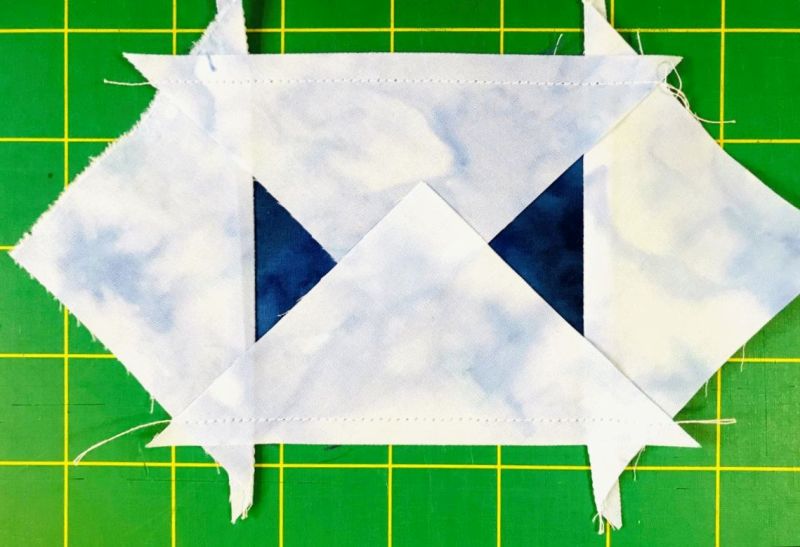
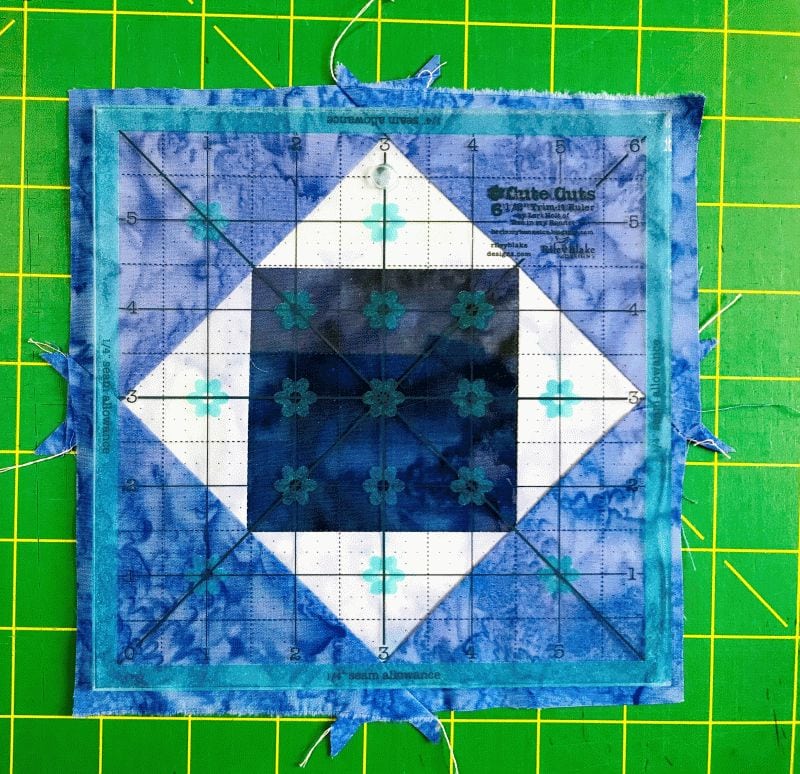
Square these blocks up to 4-3/4″ x 4-3/4″. I prefer a ruler with a clearly marked 1/4″ so I don’t accidentally cut off the seam allowance.
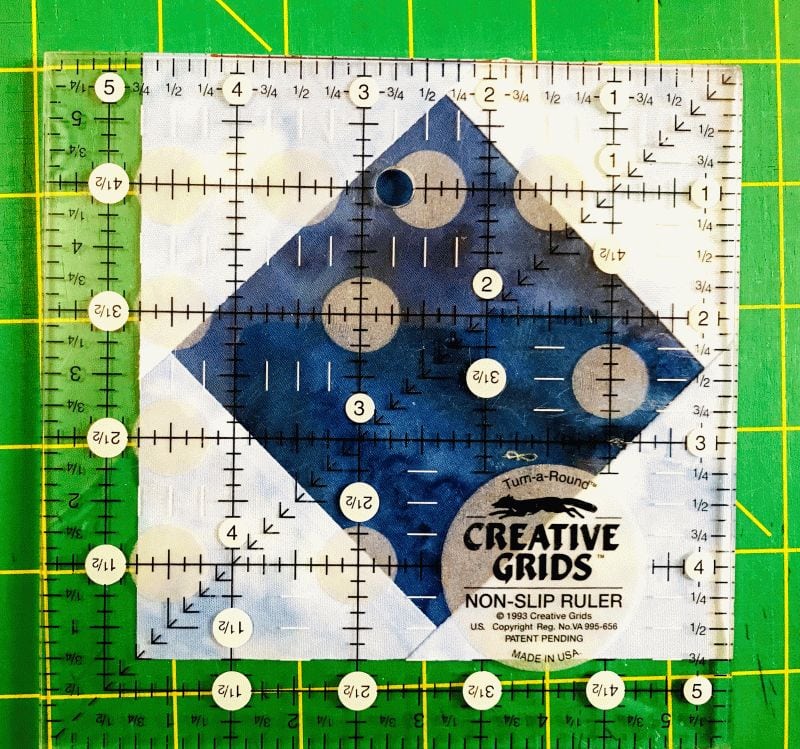
Repeat this process with the medium blue triangles. Here’s a tip: when sewing through the edge of another block, try to aim for the X made by the two seams. If you sew through that X, you will not cut off your points.
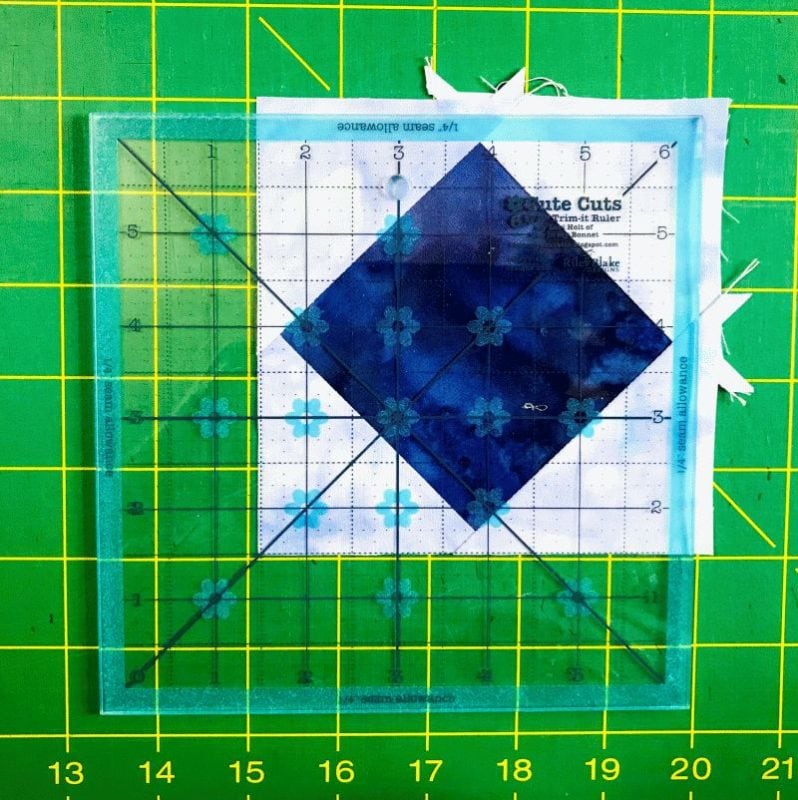
Sew the other two medium blue triangles on the remaining sides and press to the triangle. Square up the final block. Make 3 blocks.
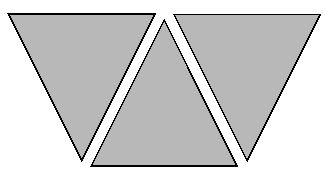
The flames in these candles will be made by sewing two triangle-in-a-square blocks together.
How to Make a Triangle in a Square Quilt Block
In this pattern, you will be using a specialty ruler called a Tri-Recs to make the Triangle in a Square block. Here is a general tutorial. The piecing of this block is tricky the first time. I suggest you make a practice block first.
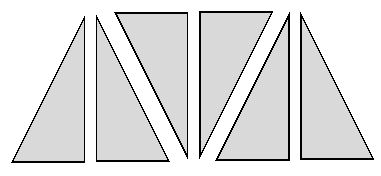
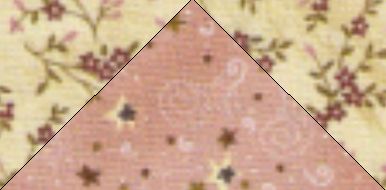
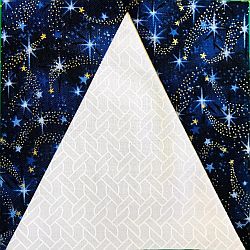
A Tri-Recs ruler actually has two pieces. There is a large isosceles triangle piece (which makes the center of the point block) and a half-triangle piece (which will make the two sides.) Because there is a right and left side of this block, you will need to cut both a right and left half-triangle piece. To do this, just fold the fabric right sides together before cutting.
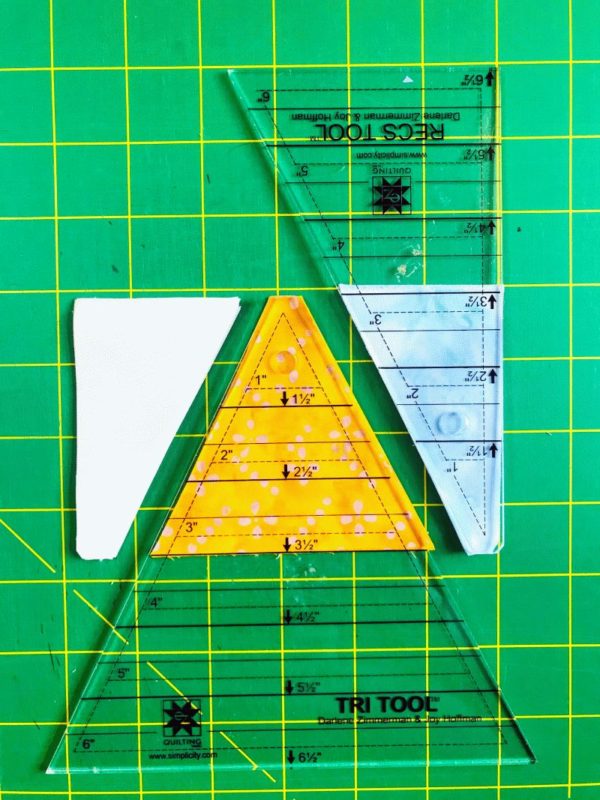
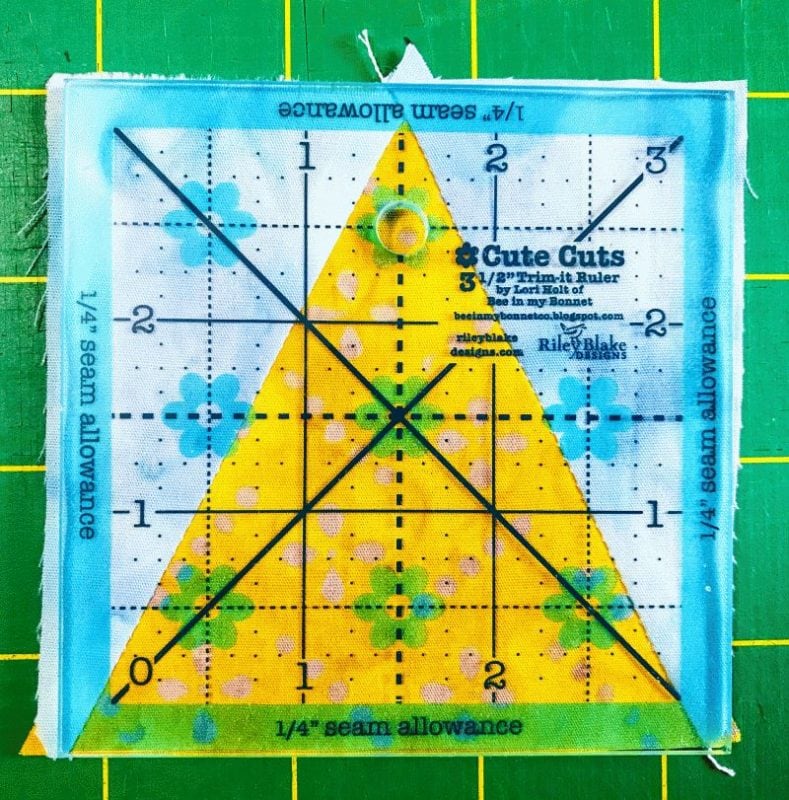
To cut the isosceles triangle using the Tri-Recs ruler, align the square edge of the ruler with the edge of a strip of fabric the same size as the desired unfinished block along the strip size line on the ruler.
Using the smaller ruler, cut the half-triangle sides. Make sure that you clip that little corner on the ruler. It helps you line up the pieces later on.
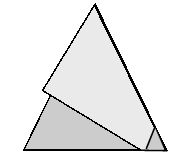
Lay the right side triangle on the center triangle, right sides together. That little snipped triangle will be on the lower right-hand side. It should line up with the bottom of the block exactly. When you sew the two triangles together using a 1/4″ seam allowance, the seam should go through the point of the snipped edge.
Open this unit and press to the outside triangle gently. Does it seem to line up properly? If so, add the left side block using the same seam allowance.
Open up the block again, press, and square it up if necessary.
Assemble:
- (1) 3-1/2″ wide yellow strip by the WOF
- A leftover 3-1/2″ wide white strip
- A leftover 3-1/2″ wide light blue strip
Following the above directions, cut (6) yellow center triangles, (6) white side triangles, and (6) light blue side triangles. Since you are making an unfinished 3-1/2″ block, you will use the 3-1/2″ line on the ruler.
Make (6) blocks, 3 of each side color.
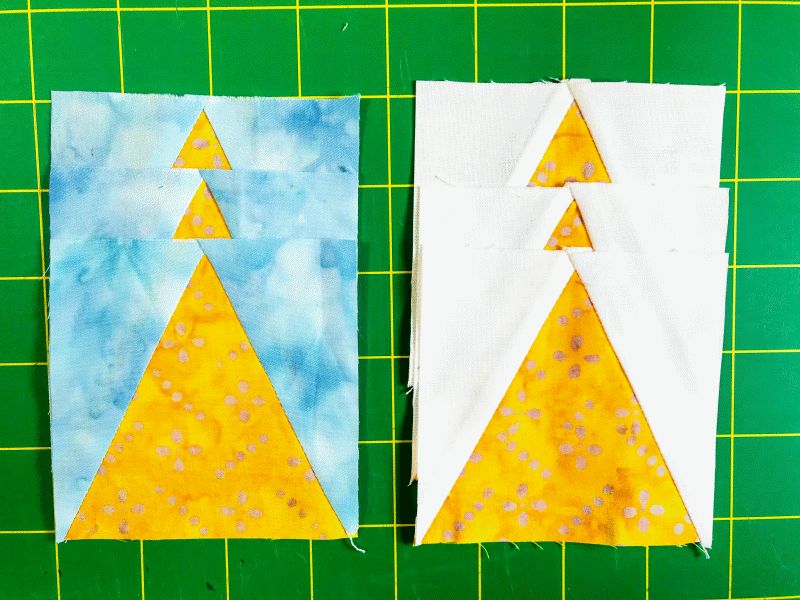
Don’t forget to square them up!
Now it’s time to put them all together.
Assemble:
- (3) Triangle-in-a-Square blocks with white corners
- (3) Triangle-in-a-Square blocks with light blue corners
- (3) Square in a Square Blocks
- (3) 3-1/2″ × 9-1/2″ light blue rectangles
- (6) 2″ × 15-1/2″ white rectangles
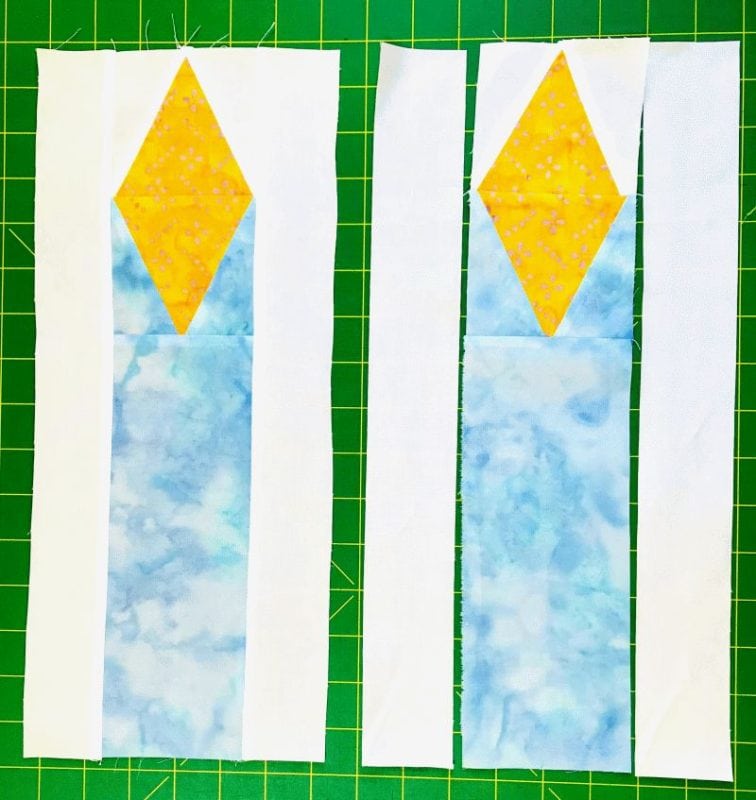
Sew a white corner Triangle-in-a-Square to a blue corner Triangle-in-a-Square. Press to the blue. Make (3).
Sew a 3-1/2″ × 9-1/2″ light blue rectangle to the blue side of the flame. Press to the blue rectangle. Make 3.
Sew a 2″ × 15-1/2″ white rectangle to both sides of all 3 candles. Press to the white.
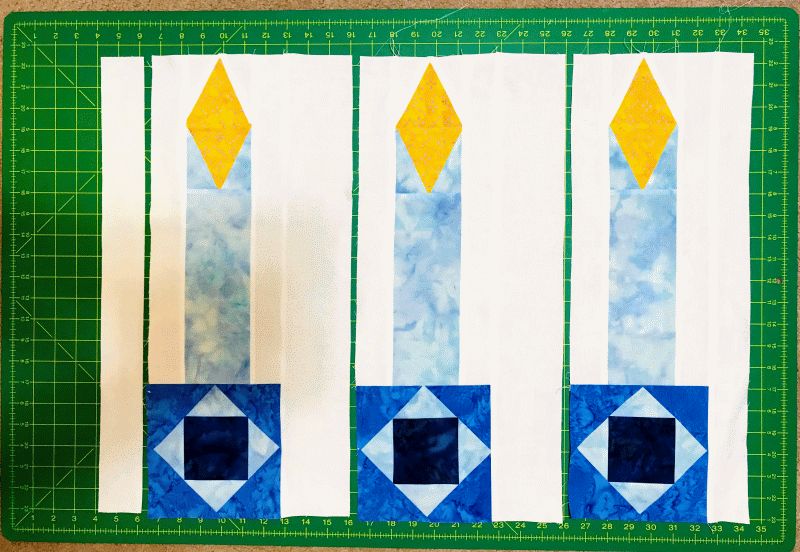
Sew a Square-in-a-Square block to the bottom of the candle. Press to the Square.
Assemble:
- (2) 2″ × 21-1/2″ white rectangles
- (2) 3-1/2″ × 21-1/2″ white rectangles
Sew a 3-1/2″ × 21-1/2″ white rectangles between (2) candles. Press to the rectangle. Sew a 2″ × 21-1/2″ white rectangles to both sides of the three-candle block. Press.
You are done! Finish your table topper and enjoy!
Please add moc.hsadparcs@sirk to your contacts list to make sure you get the confirmation message. Drag the confirmation message from the Promotion tab to the Primary tab if you use Gmail.
If you are already a subscriber, it’s okay to fill out this form. You won’t be put on the mailing list twice.

Your design is so clever, and the result is a really fun topper!
I love it! What a great idea and I’m sure it will be a hit with your granddaughter.
Well, thank you! I am quilting it today.
Her birthday is not until May so I have a little time:-))
Your various uses of this design are amazing. You have a wonderful imagination. Thanks so much for sharing it with us.
Who knew that was a Storm at Sea block? Endless design possibilities! The candle mat is perfect for a cake mat!
Neat pattern! The candles are really neat! Thanks for sharing the tutorial.
Thank you for sharing! Your ability to take one design and turn it into something entirely different is wonderful. My daughter is turning three in June and she would love purple candles!
Very creative. I could have used that for my grandson who turned three the beginning of this month.
I love your candles. Perfect for a cake stand. Thanks for sharing how to make it. Your quilt is stunning. The movement is fabulous.
quilting dash lady at comcast dot net
I never realized how versatile the Storm at Sea block could be. All look great.
This was a great tutorial and a beautiful table topper…thank you for sharing! I love that heart Storm-At-Sea block idea.
Very cute pattern for a birthday child. Thank you for sharing in then hop … 🙂 Pat
Oh my goodness that is such a fun way to help celebrate someones special day. It would be beautiful for the holidays too!
Thanks so much for the great ideas and tutorial!
It’s a really fun idea for a table topper. Thanks for the tutorials too 🙂
What a cute block/quilt. What a great way to remember when you made it – easy to remember since it’s granddaughter’s 3rd.
So cute, and versatile. Thank you for the tutorial also.
Great design for a birthday.
Kris your ideas for the Storm at Sea blocks are amazing and the placemat is perfect for a 3 year old sweetie!
An adorable design! Thanks for the pattern and being a great blog hopper.
Thank you for showing those great designs.
It’s so fun to see how coloring a block can change the whole look. Your design is a very fun one. Thanks for joining the Kitchen Stitchin’ blog hop!
Thanks for sharing your project! Storm at sea gives so many opportunities to be creative, and your design is fun.
LOVE your take on the Storm at Sea!! Beautiful!
Love your designs and thanks so much for the tutorial.
Thanks for opening our eyes to the possibilites of the Storm at Sea block!!
What a fun table topper for a birthday, but all of your design ideas are lovely.
What a fun table topper! Great idea.