Ten-Speed Mystery Quilt, Clue Two
Note: This post may contain affiliate links. That means we may earn a commission at no additional cost to you if you purchase via our links. Not all links are affiliate links. I only recommend products I use and trust. As an Amazon Associate, I earn from qualifying purchases.
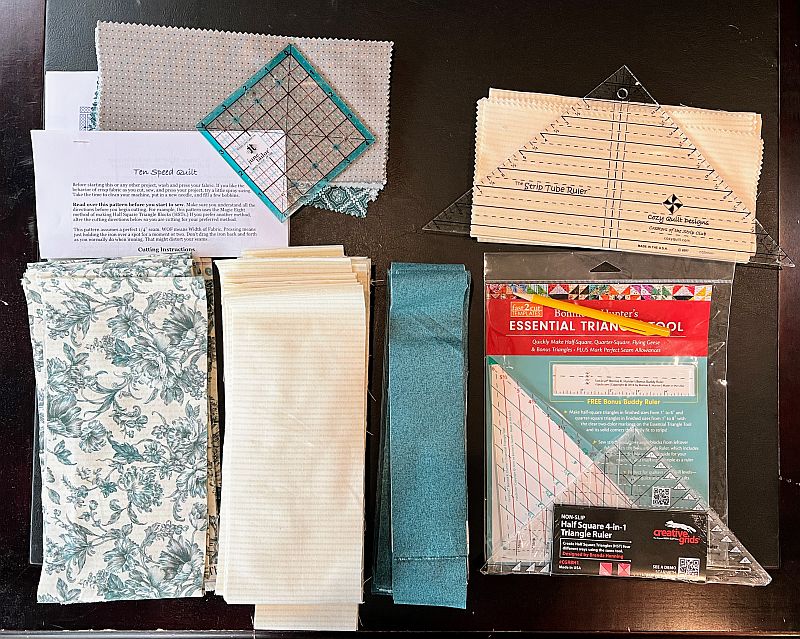
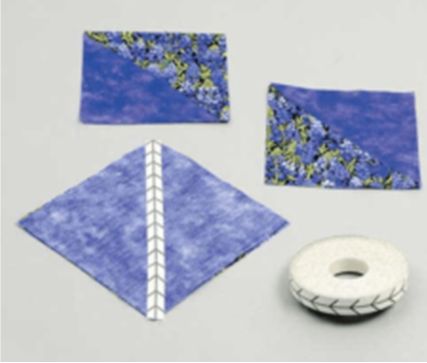
Let’s start by making some HSTs. Here is the first method. Use one or two of these methods to make 24 HSTs from your scraps or (3) 10″ squares. One side of the HST will be scrap and the other side will be background. Square these up to 4-1/2″ unfinished.
First, a glossary
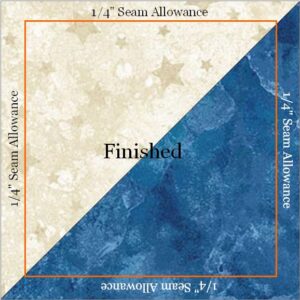
A finished HST is the size that it is in a quilt. It’s dressed and ready to go to the ball. An unfinished HST is in raw, unclothed form. It will be 1/2″ larger than a finished HST because the size includes a 1/4″ seam allowance.
Making HSTs using Traditional Methods
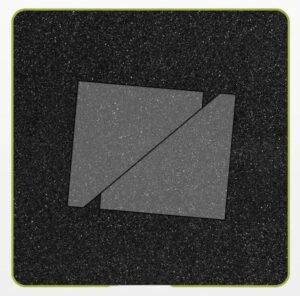
The Traditional Method of making Half Square Triangle Blocks (HSTs) is to place two identical squares right sides together. These squares should be 7/8″ larger than the finished size of the final HST. Draw a diagonal line on the back of one square. Sew 1/4″ on both sides of the line. Cut on the line and press to the dark.
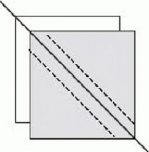
You will have made two identical Half Square Triangle (HST) blocks. My personal preference is to cut squares 1″ larger than the finished size of the final HST and square it up to the correct size after pressing.
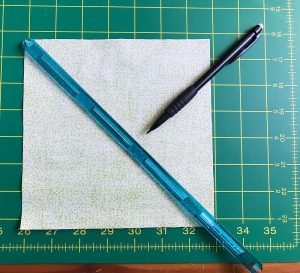
Marking the Diagonal Line with a Ruler
To use a QRQQ ruler, lay it on the diagonal of the back of the lighter square. Match it to the same size darker square, right sides together. Using a mechanical pencil, draw a dotted line through the center of the ruler. If you like, you can also draw a line along both sides of the ruler. That will be your sewing line which is 1/4″ from both sides of the dotted line. Cut on the dotted line.
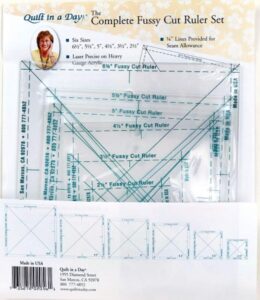
Here is a video that I made back in 2009: http://youtu.be/OQq-5p8RCS8. I am using a Rotating Cutting Mat in that video, and a Fussy Cut Ruler by Quilt in a Day. I bought the complete set because I find myself using them constantly. That diagonal line and the marked quarter-inch seam allowance help tremendously with making accurate blocks.
Marking the Diagonal Line without a Ruler
Triangle Tiger Tape uses the same method to make HSTs, Flying Geese, and Snowball blocks without pencil lines. Align the arrow points of the tape, and sew along the outside edges. Remove the tape (which is reusable) and cut between the stitching.
This is an old picture because they don’t seem to make this product any more. However, the 1/4″ Tiger Tape itself is still made. It just has straight lines on it now, rather than angled lines. You can use it the same way just by placing it along the diagonal line of your block, then sewing on either side of the tape.
Using Repositionable Vinyl Ruler Stops
In the video below, Marci Baker is showing how to accurately cut squares from strips using Cutting Edge Ruler Stops. This product is a little hard to find, but I have substituted both Omnigrid Glow-Line Tape and Sewing Edge Reusable Vinyl Stops for your machine and they work just as well. She does not mark her diagonal line. She presses the square along the diagonal and uses that as her guide. This method depends on her having an accurate 1/4″ seam allowance, which she ensures by using the Sewing Edge Reusable Vinyl Stops.
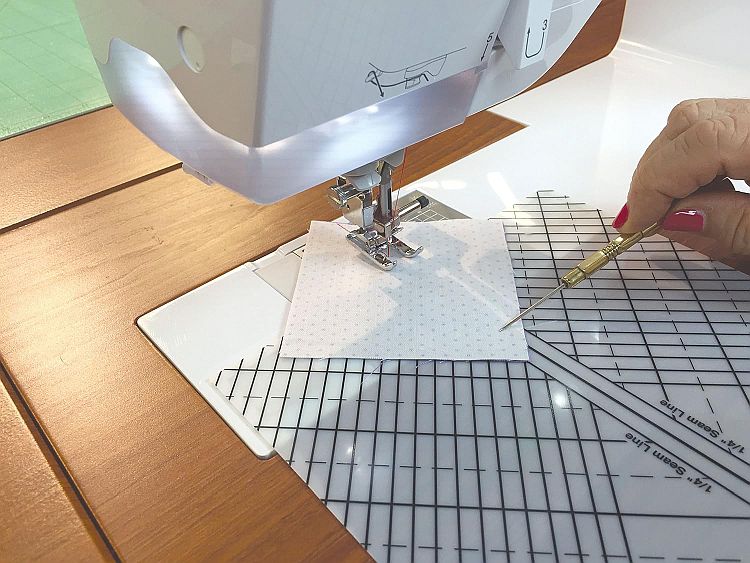
Using the Quilt In A Day Sew Straight Tool
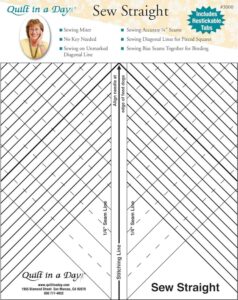
The Sew Straight Tool is a thick and durable sheet that you stick on the bed of your machine that is marked in 1/4in guide lines on each side of the needle. To use it, place your fabric squares right sides together with the point of one corner on the 1/4″ seam line. Keep your eye on that line as you sew. When you are done, turn the packet around and sew the other side. (Obviously chain stitching would work better.) The center line is not marked in any way, so you have to freehand cut between the two stitching lines.
What I like about this tool is that you can also stitch mitered corners- say, for a snowball.
Using an Accuquilt Die Cutting Machine
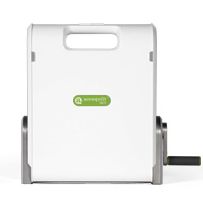
AccuQuilt is a fabric die cutting system designed to make quilting faster and easier and a lot more fun by creating a safe and efficient way to cut accurate pieces every time. Their motto is “Accurate Cuts make Accurate Quilts” and they are absolutely right. Yes, you waste a little fabric by using the machine, as opposed to cutting fabric by hand. BUT, how many times have you made the wrong cut? Or didn’t try a block because you thought it was too hard?
How does it work? Each die has sharp steel blades that form the shape to be cut. The blades are embedded in foam so that you can run your hand over the die and not be hurt. To use the die, lay your fabric on top of the die, foam side up, then lay a mat on top of the fabric. You can cut up to six layers of fabric at a time. When the die is put through the cutter, the roller compresses the foam, forcing the blades to cut through the fabric and into the mat. Remove the mat to reveal perfectly cut fabric shapes.
There are some tips and tricks you should know.
- Start by pressing your fabric. Use a spray starch like Best Press to help press out the wrinkles and fold lines before beginning to cut.
- Make sure you place your fabric on the die with the straight of grain parallel to the selvedge aligning with the edge of the shape, not with the edge of the die. This means your fabric might be slanted on the die in order to line up the fabric properly.
- When you take your fabric out of the cutter, pat it gently and say kind words. It just did a lot of work for you, especially if you used the die that makes 12 at a time. Seriously, though, there is often static that builds up on the die. Although Accuquilt sells an anti-static spray, it often works just as well to run your hand down the mat before taking it off the fabric. If that doesn’t work, turn the die and the fabric upside down before gently sliding off the mat.
- Static can be your friend! Place the two fabrics that you are using for the HST right sides together before running them through your machine. They will stick together so you can go directly from cutting to sewing. Even better, the Accuquilt machine has cut off the dog ears for you.
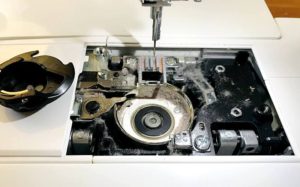
- If you have problems, read our article on Problems with Your Sewing Machine.
To make a Half Square Triangle (HST) using an Accuquilt cutter
Place your pressed fabric onto the correct “Half Square Triangle” die, aligning the straight of grain with the edge of the blade. Cover it with the mat then roll the die, fabric, and mat sandwich through the machine to cut out the shapes. The die will precisely cut the necessary triangles with the correct seam allowances, ready to be sewn together to make your HST units.
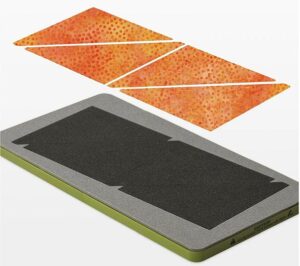
Caution: Make sure you have the correct sized die. For this project, you will need the 4″ FINISHED Die.
Pressing the Block
Another benefit to having your pieces accurately precut by the machine is the fact that your HSTs will come out of the machine perfect. No need to square them up, so you can skip the next section. You can go straight from sewing machine to ironing board.
Squaring up the Block (If you aren’t using an Accuquilt)
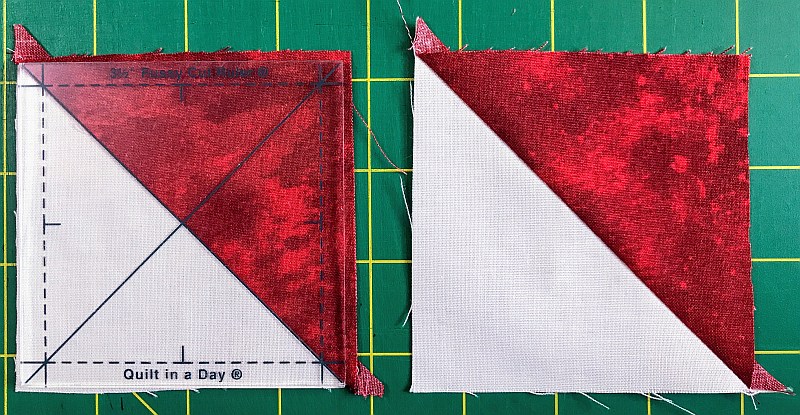
You can place a square ruler so the diagonal line is directly over the seam and just cut two sides. Quilt-in-a-Day has a Square Up Ruler that uses this method.
The pictures below are from previous mysteries. Ignore the sizes, the pictures are just to illustrate the technique. The size you are using in this mystery is 4-1/2″.

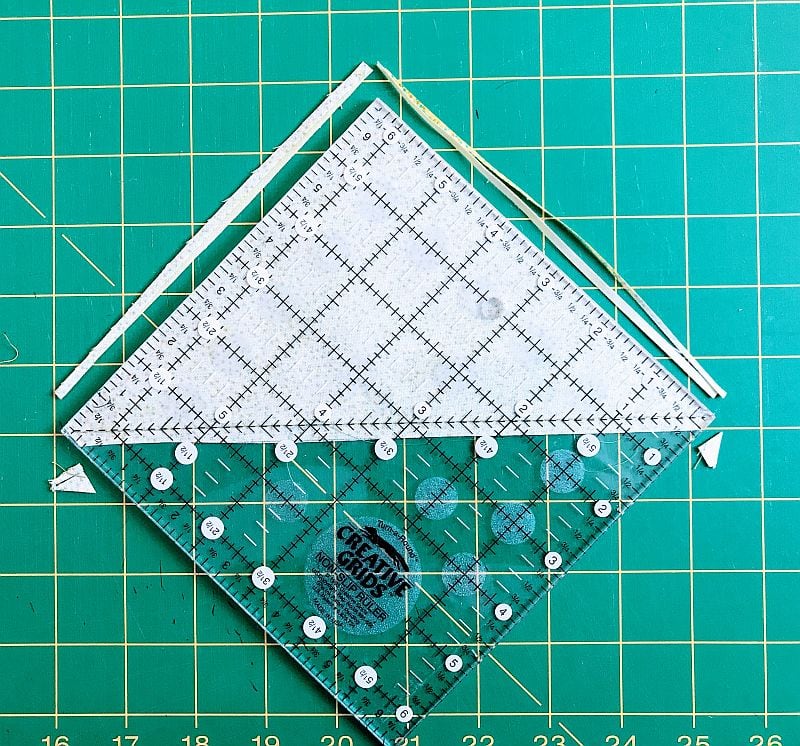
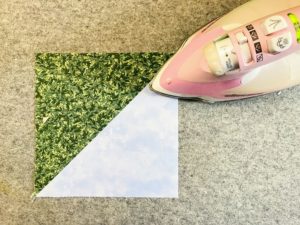
Or you can press open the block (pressing to the dark) and square it up using a ruler the same size as the block you are making. A fussy-cut ruler with lines on both diagonals will be very helpful with this.
Here are two rulers from Creative Grid.
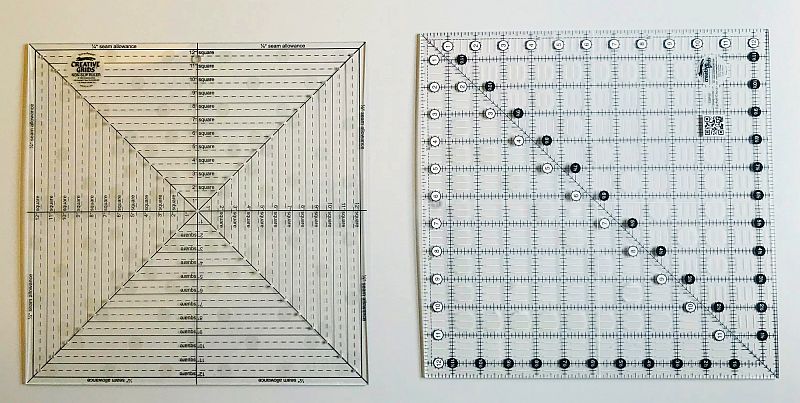
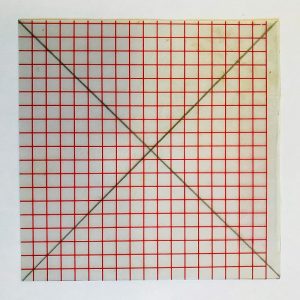
If you don’t have the size you need, you can always make your own using Template Plastic. If you need something urgently, try printing out this graph paper and glueing it to a light cardboard, like the back of a cereal box.
Next Clue, Next Hour
Don’t forget to send me your pictures! Anyone who sends me a picture of their fabric or blocks during or just after the mystery will receive a free copy of the final pattern as a thank-you. My email address is moc.liamg@sngisednoomebeohp.
Clues will become live at the times shown. All times are EST.