Accordion Quilt Block
Note: This post may contain affiliate links. That means we may earn a commission at no additional cost to you if you purchase via our links. Not all links are affiliate links. I only recommend products I use and trust. As an Amazon Associate, I earn from qualifying purchases.
Now, I had an accordion as a child. And I *just* watched the Weird: the Al Yankovic Story on Roku. (Roku is half-price on Amazon as I type this!) And, of course, could could forget:
But that didn’t help as much as looking through Pinterest and various other sites for accordions. Click on the caption to learn more about the picture.
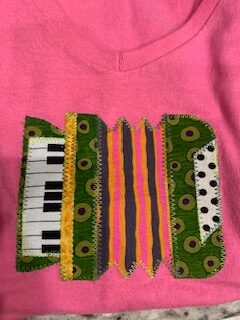
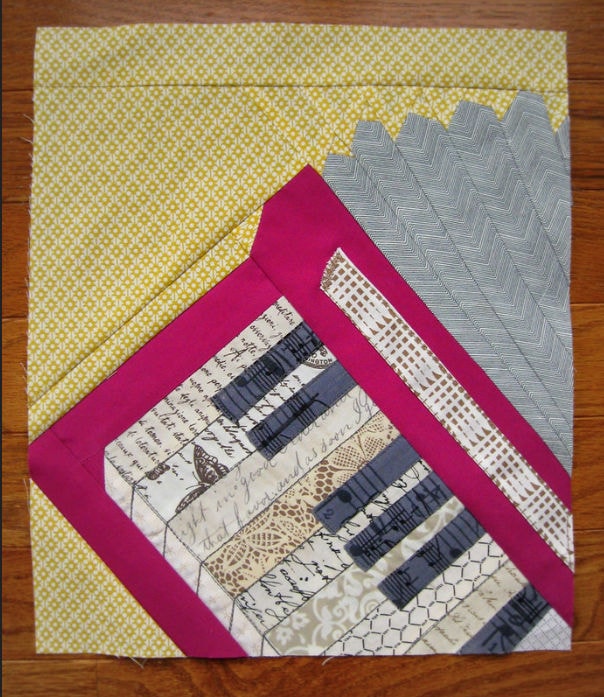
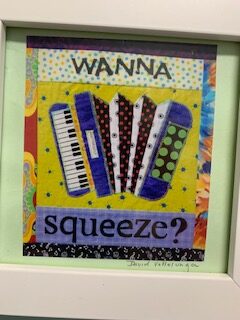
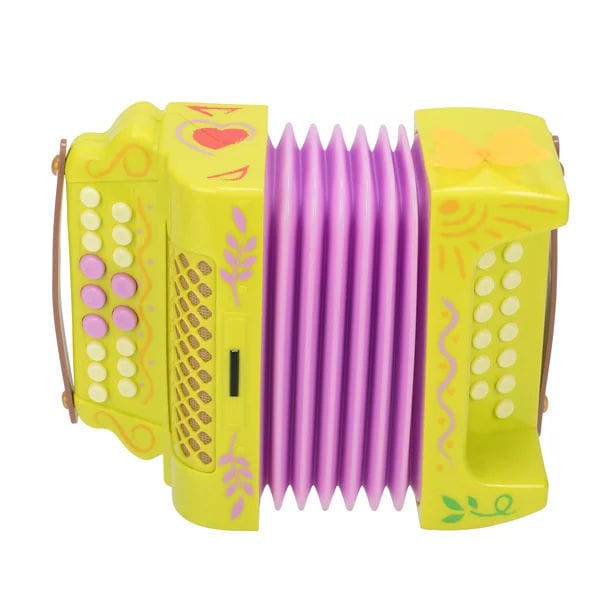
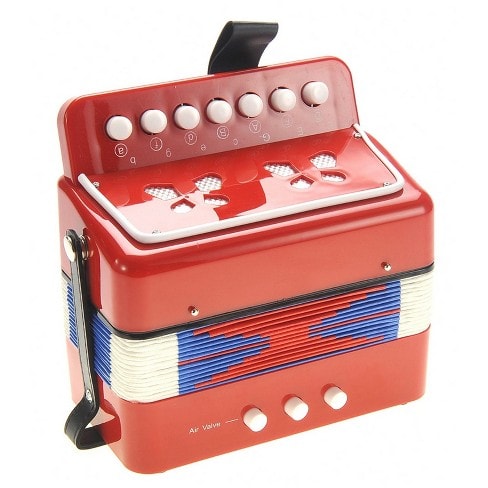
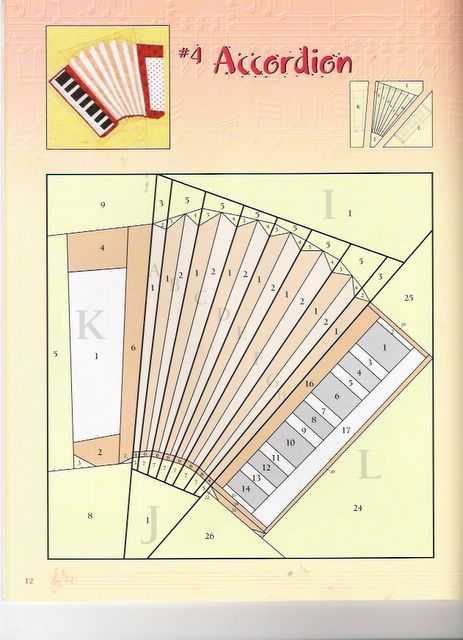
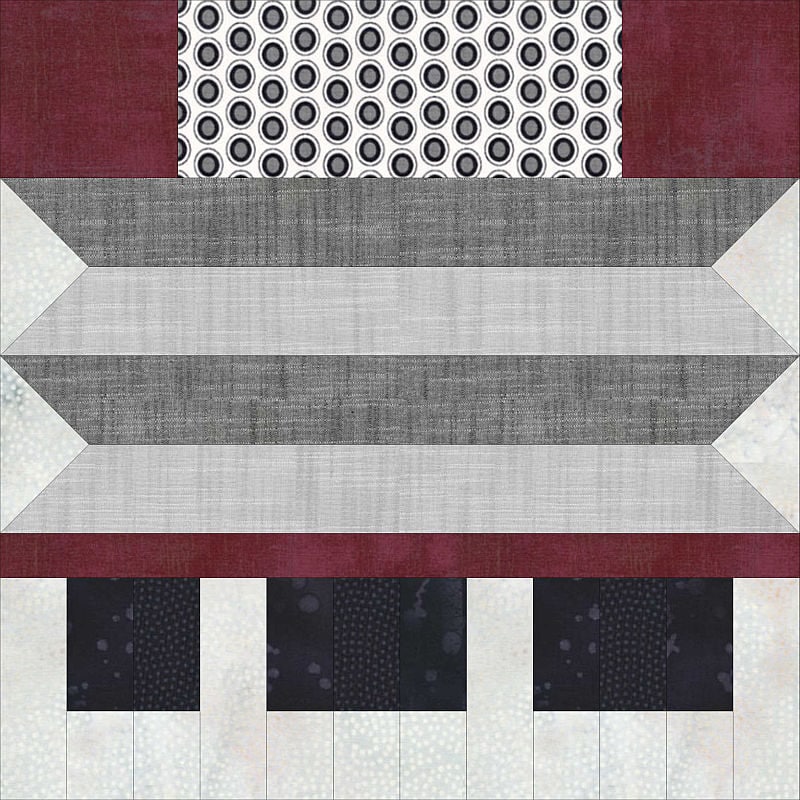
I struggled with how to represent the bass buttons in the back without applique until I hit on the idea of polka dots. Of course! Accordions are often the stars of polka parties. (You have to see the movie to get that reference.) What do you think?
Fabric Requirements
- Background and White Keys:
(4) 2-1/2″ × 4-1/2″ rectangles
(4) 2″ × 5-1/2″ rectangles
(8) 2″ × 2-1/2″ rectangles - Black Keys
(8) 2-1/2″ × 3-1/2″ rectangles - Accordion Buttons (dotted fabric)
(1) 4-1/2″ × 10-1/2″ rectangle - Dark Gray (center accordion)
(4) 2-1/2″ squares
(2) 2-1/2″ × 14-1/2″ rectangles - Light Gray (center accordion)
(4) 2-1/2″ squares
(2) 2-1/2″ × 14-1/2″ rectangles - Accordion Brown:
(2) 4-1/2″ squares
(1) 1-1/2″ × 18-1/2″ rectangle
Before starting this project, I recommend that you press your fabric with spray sizing. It will make it easier to cut small pieces. Take the time to clean your machine, put in a new needle, and fill a few bobbins. When pressing, just hold the iron over a spot for a moment or two. This pattern assumes a perfect 1/4” seam.
The Bass Buttons Section of the Accordion
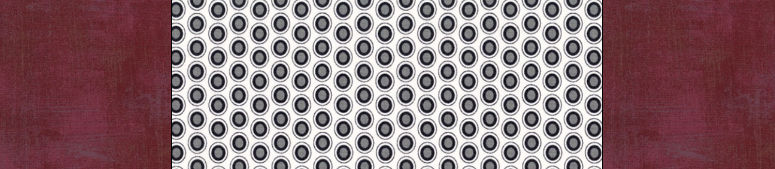
Sew an 4-1/2″ Accordion Brown square to both sides of the 4-1/2″ × 10-1/2″ Buttons
rectangle. Press to the buttons. This section should measure 4-1/2″ × 18-1/2″.
The Bellows Section of the Accordion
Making the Flying Geese for the Edges
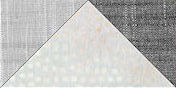
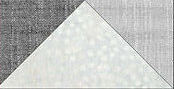
Draw a diagonal line on the wrong side of all the 2-1/2″ squares. Place a dark gray square on one corner of two of the 2″ × 5-1/2″ background rectangles, right sides together.
Sew on the line and press the square up to the corner of the rectangle. It should line up perfectly. Cut off the excess underneath.
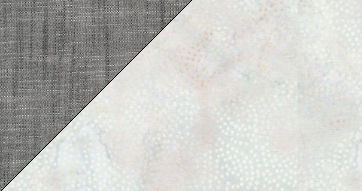
Using two of the light gray 2-1/2″ squares, repeat this process with the other side, overlapping the first square. Press and trim all dog ears. Your block should measure 2-1/2″ × 5-1/2″.
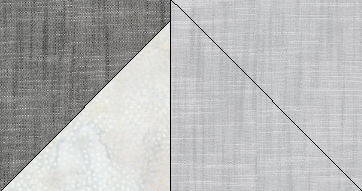
Repeat this process with the light gray on the left and the dark gray on the right. You will make a total of (4) Flying Geese Blocks. For more information on this method of Flying Geese, see Making a Traditional Flying Goose Block.
Completing the Bellows Section
Starting with the dark gray and alternating colors, sew a dark gray and light gray 2-1/2″ × 14-1/2″ rectangles together the long way. Press to the dark. Sew the matching Flying Goose block to the sides.
Make (2) sets and sew them together. This section should measure 4-1/2″ × 18-1/2″.
Making the Keys Section
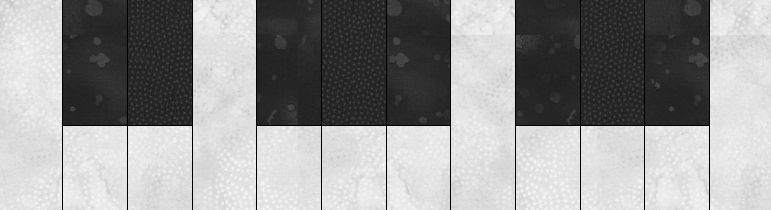
Sew a Black 2-1/2″ × 3-1/2″ rectangle to a Background 2-1/2″ × 3-1/2″ rectangle. Make (8) sets. Press to the dark.

Sew (2) sets of (3) keys and (1) set of (2) keys. Using the 2″ × 5-1/2″ Background rectangles, create the keyboard as shown below. Press to the dark. This section should measure 5-1/2″ × 18-1/2″ .
Completing the Block
Lay out the three sections of the block, inserting the 1-1/2″ × 18-1/2″ Accordion Brown rectangle above the keyboard. This is the Grille of the accordion. Sew all the sections together and press in one direction. Your block should measure 18″ square.

When you finish your block, you may want to add accents in the quilting. Why not quilt your name in the Grille? You created this accordion, after all!
Don’t forget to sign up for the newsletter! Once a week, I send updates on quilt-related information I have found while wandering the web. This might be an inspiring article, a tip or tutorial I have discovered (or written), and occasionally exclusive offers & discounts as well as immediate access to the secret page of free patterns, guides, and printables. You can follow my page on Facebook, or join the Make Believe Quilters group, too.