While I was working on this demo, I realized there were two ways to make this block. I will give you my preferred method first, then the alternatives. Every quilter is different – try them both, then decide what feels best to you.
Start with two strips of fabric. I am using 2-1/2″ strips, but that is not a magic number. Use what you have. You can even use scraps! I am using a 40″ long strip, which is the Width of Fabric (WOF.) Sew the two strips together with a 1/4″ seam. Press the seam open.
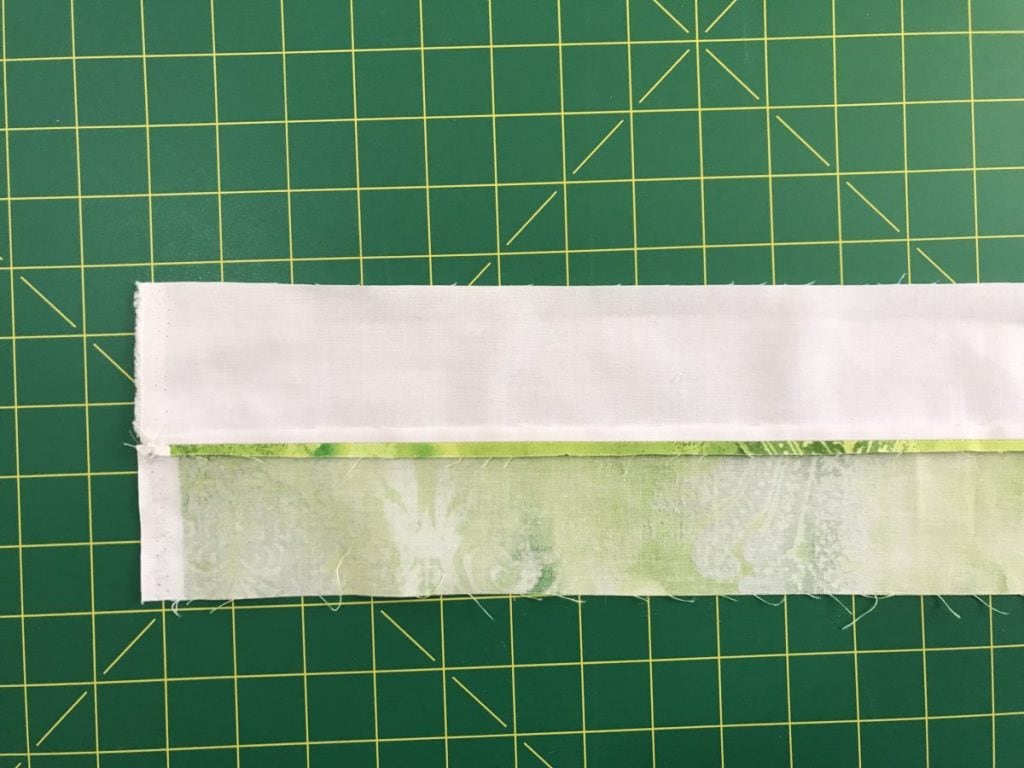
Place a 45-degree ruler with a horizontal line such as the Cozy Quilt Strip Ruler on the strip. Match one of the horizontal lines with the seam line.
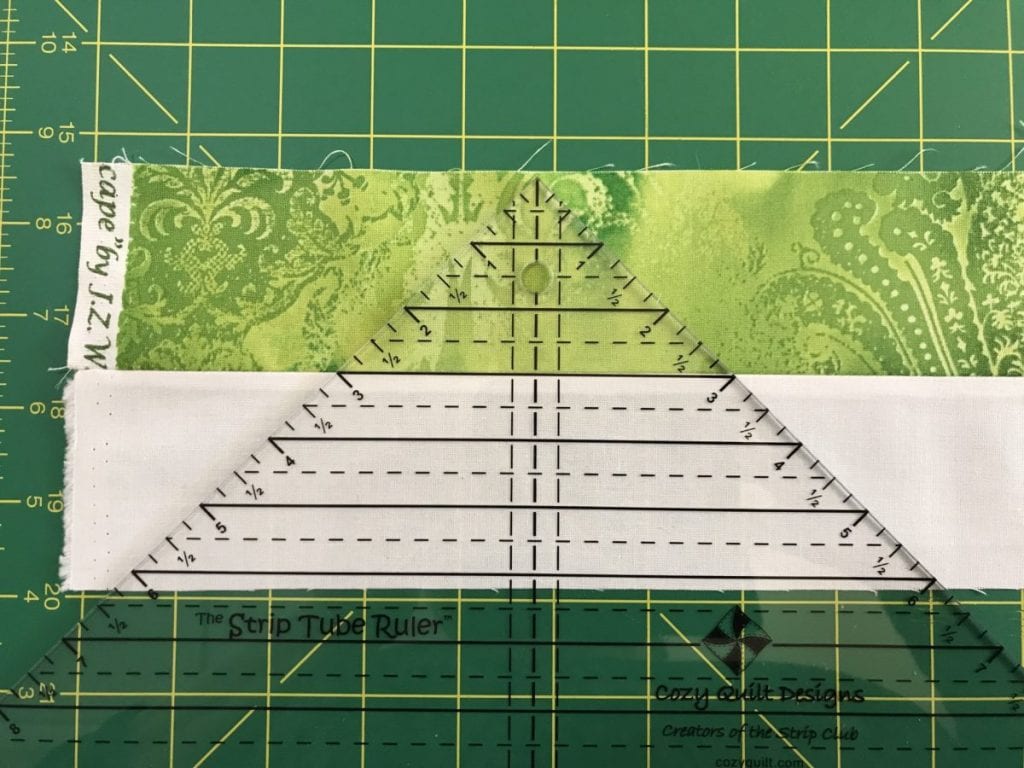
Cut on both sides of the ruler. Turn your ruler upside down and cut in the other direction. Take care to match the line on the ruler with the seam line. That makes your triangle cut just a little bit smaller.
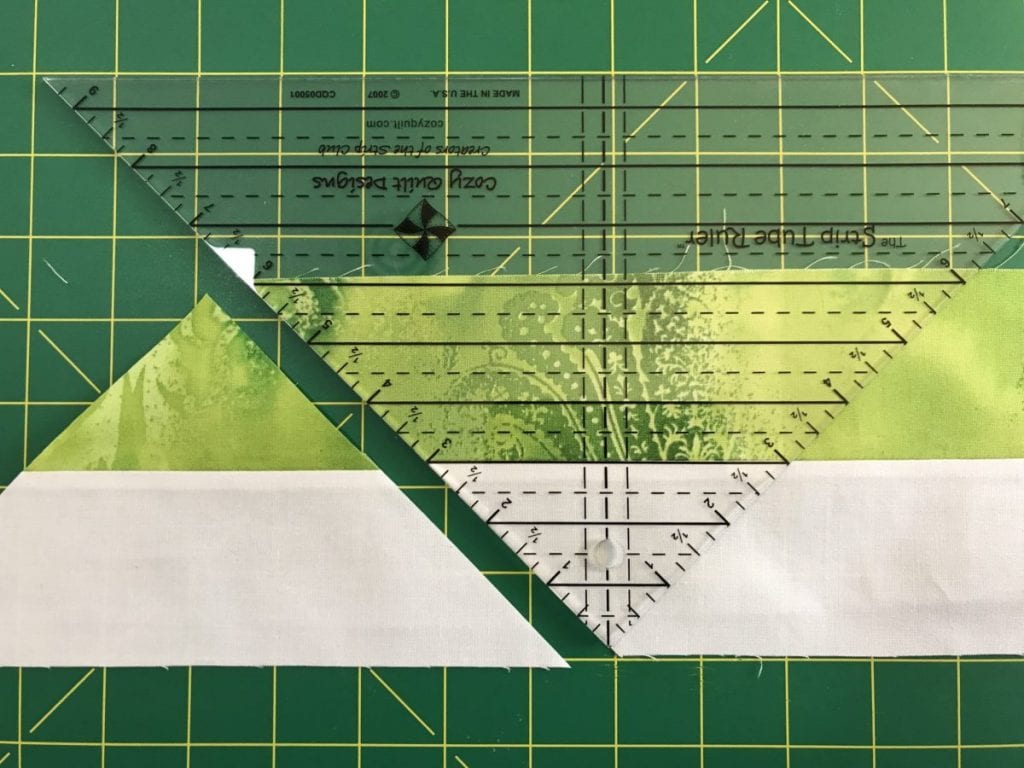
Repeat in the other direction. You won’t be able to snug the ruler up against the cut edge because of the way the previous triangle was cut. Keep matching that seam line.
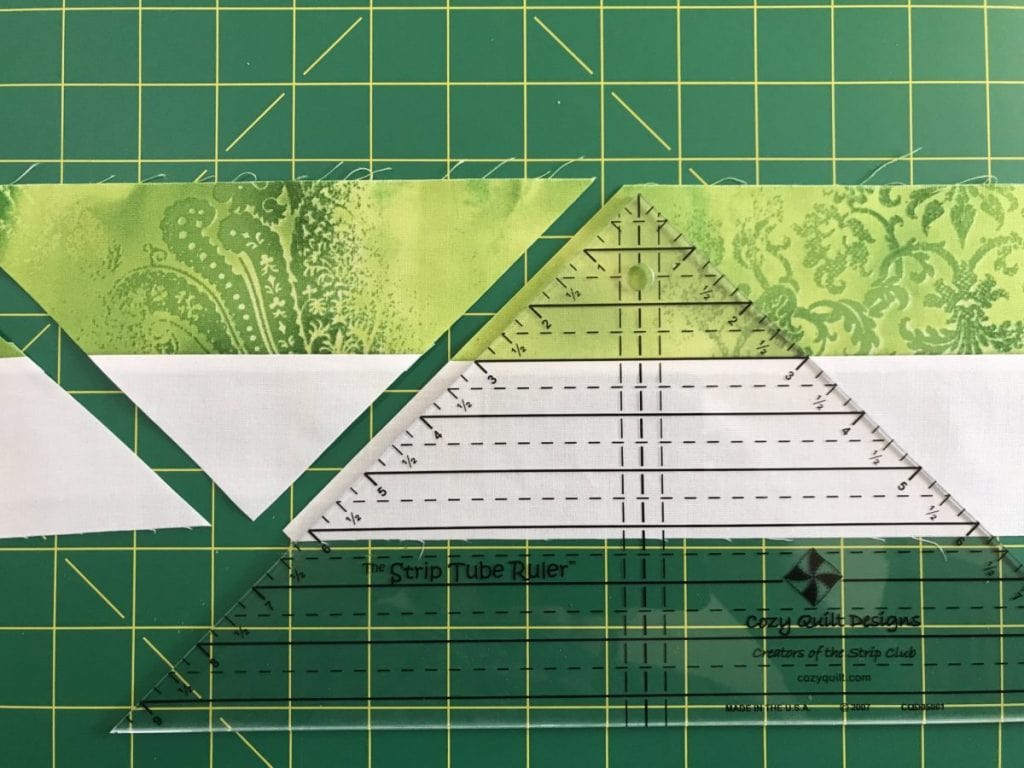
One more time.
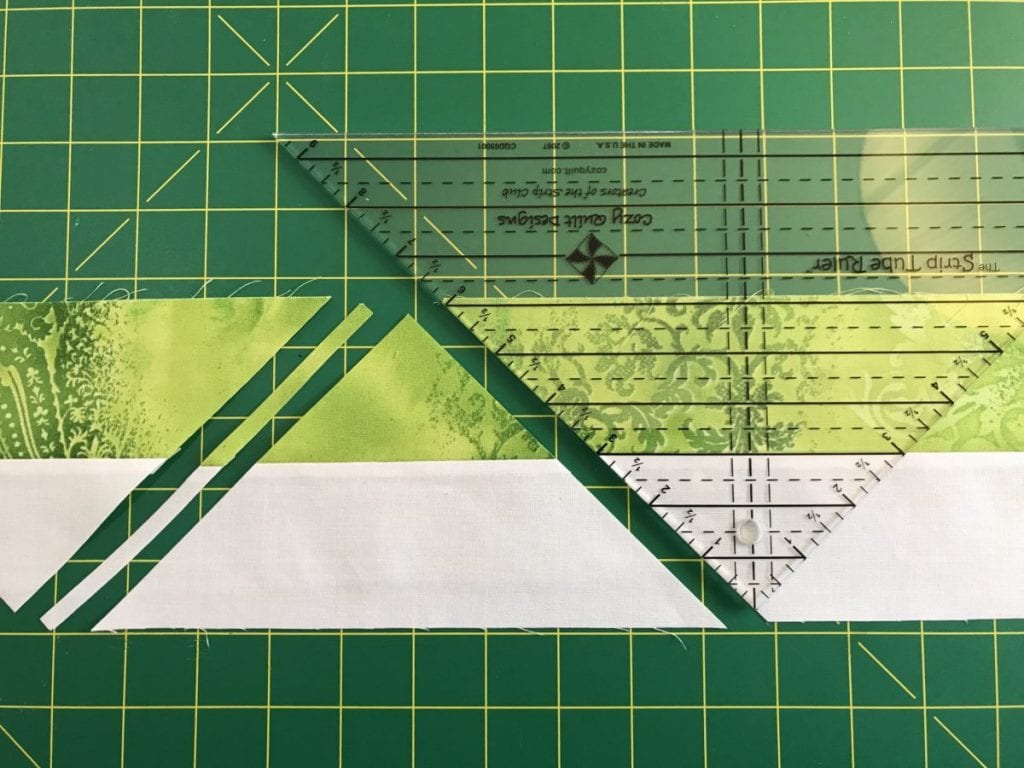
You now have enough for one block! Let’s make this block, then you can go back to the strip and try the other method.
Sew two sets of two triangles together. Press the seam open. Make sure that your triangle sets are identical! If they are not, they won’t make an hourglass block when you put them together.
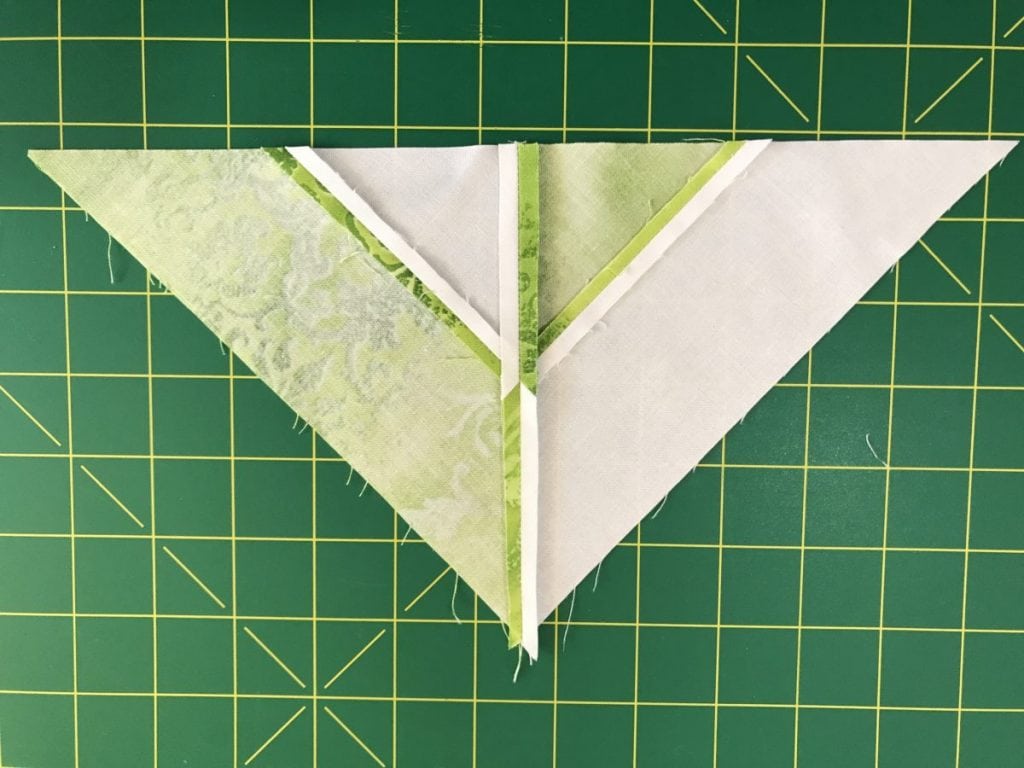
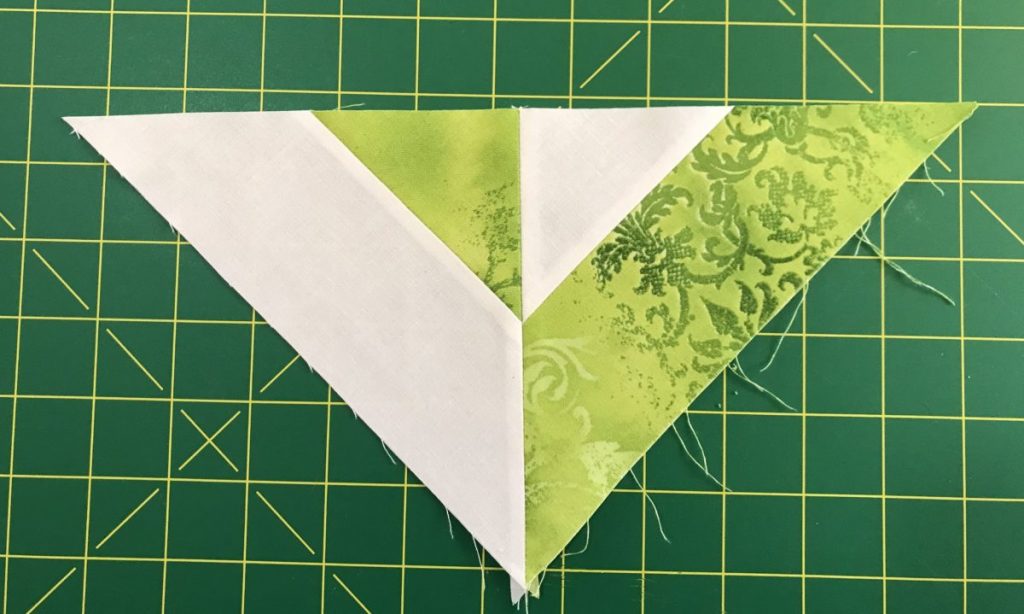
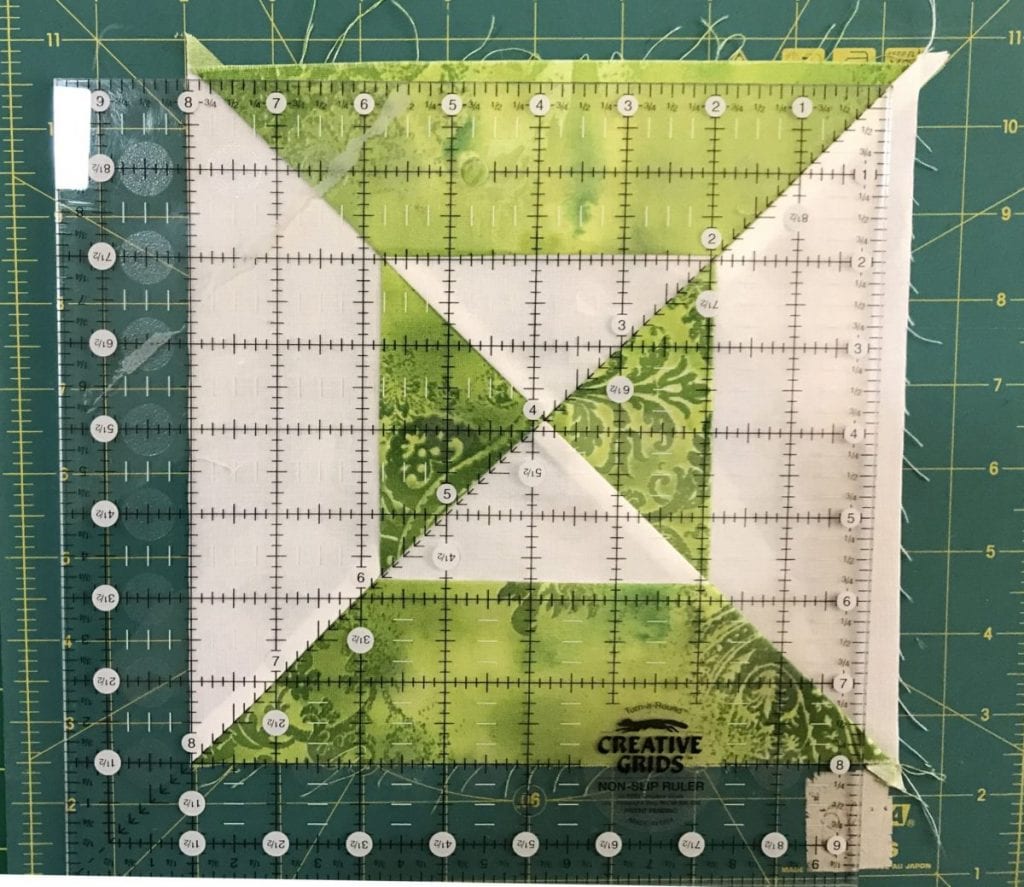
Create the block, then put it on a rotating mat if you have one. You need to square it up to 8″ x 8″, taking care to match the center diagonal seam line of the block with the center diagonal line on the ruler. The ruler shown in the picture is a CGR8 from Creative Grid.
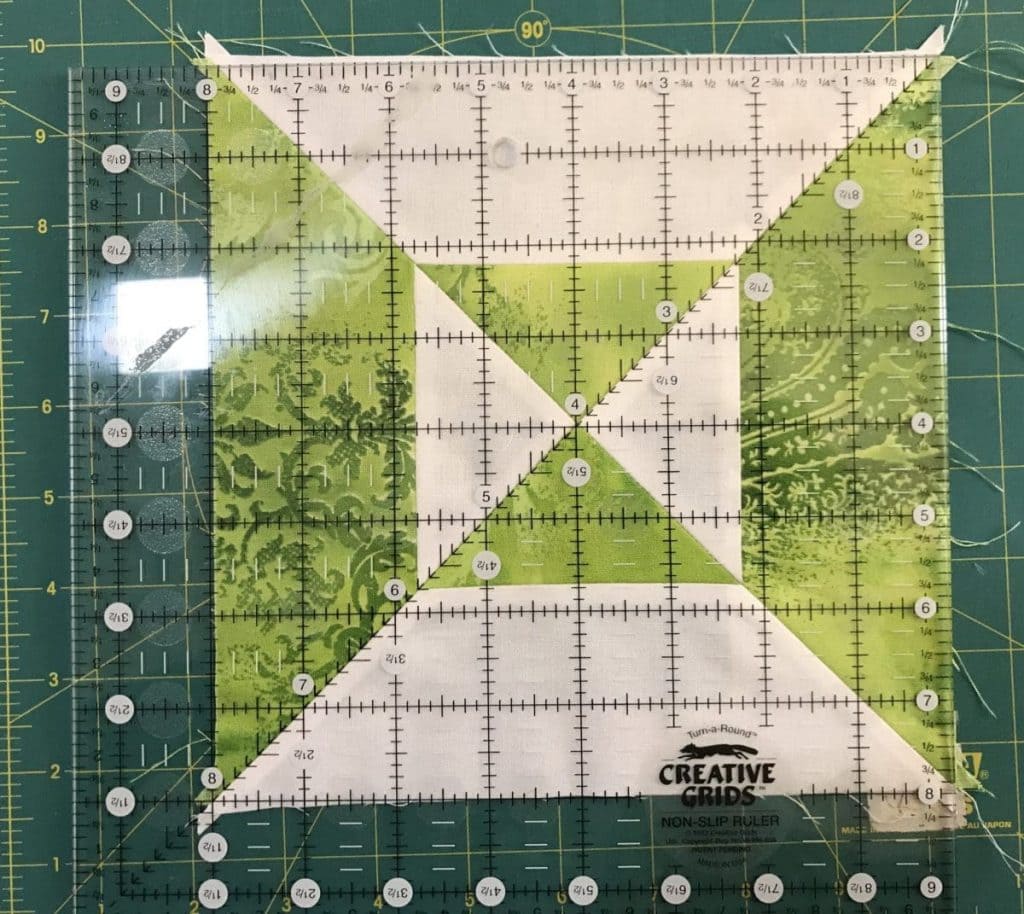
I usually find that I only have to trim a little bit. Because you are matching that center seam line and pressing your seams open, the block comes together perfectly and lays flat.
Another way to make an hourglass quilt block
Sew two more strips together. This time, press the seam to the dark. When you cut your triangles, match the vertical line to the bottom of your seamed strips. Your triangles will be larger.
Because you have alternated the seam bulk, the center seam of your triangles will actually be easier to match when you sew them together. Just be sure to make your triangle sets identical! If not, you will make the block below. (I meant to do that.)
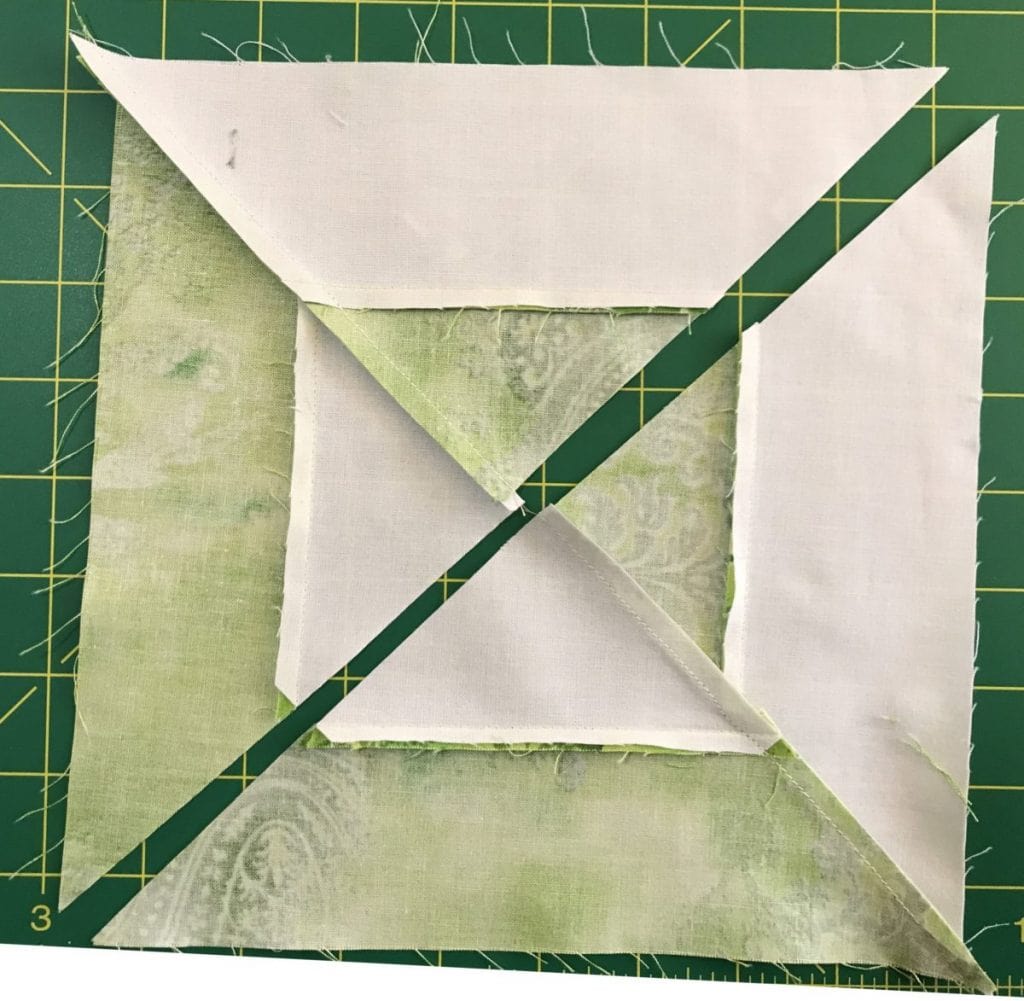
It’s an interesting block, but not the one we want. After you take it apart and resew it, you will notice that you can keep the center seam pushed to one side if you unpick a few stitches and twirl it in the center.
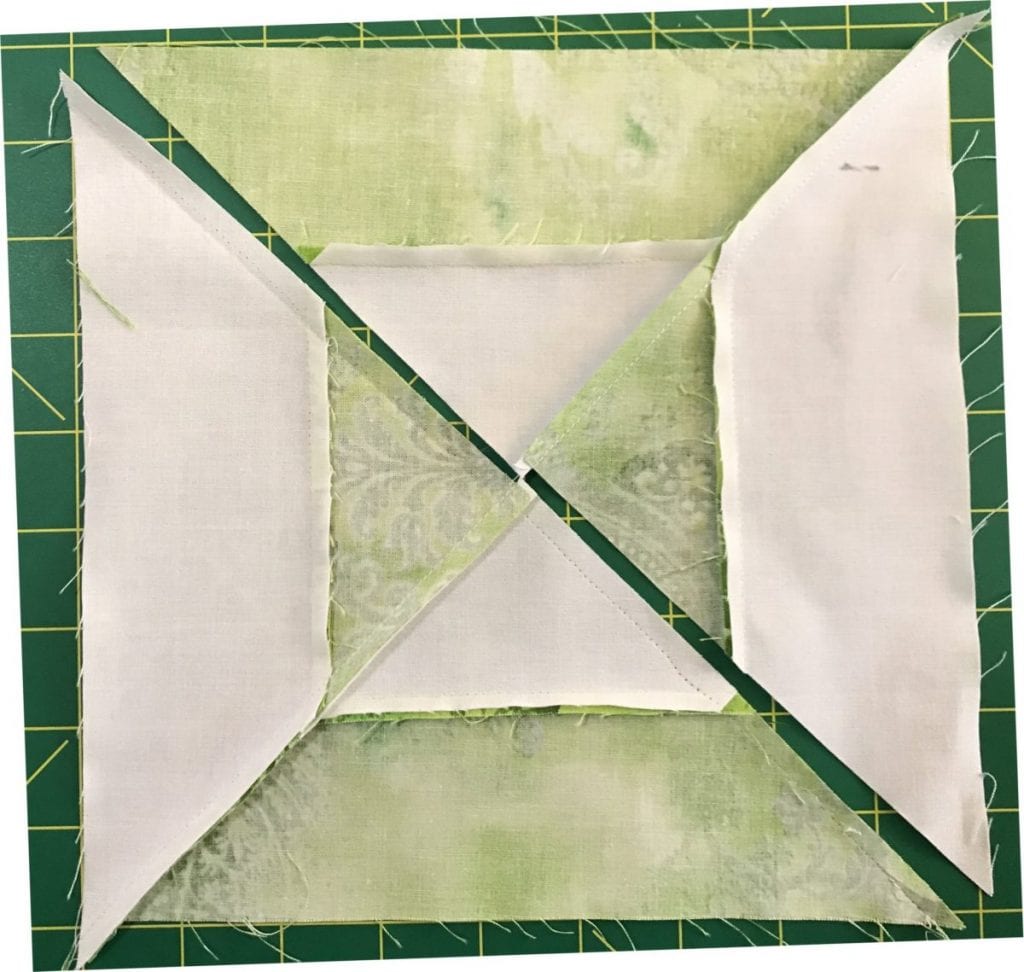
Now you can square this one up. This block doesn’t seem to go together as precisely. I was hoping that the extra space meant I could square the block up to 8-1/2″, but I couldn’t. I made that one 8″ square also.
And now for the moment of truth: which block is better?
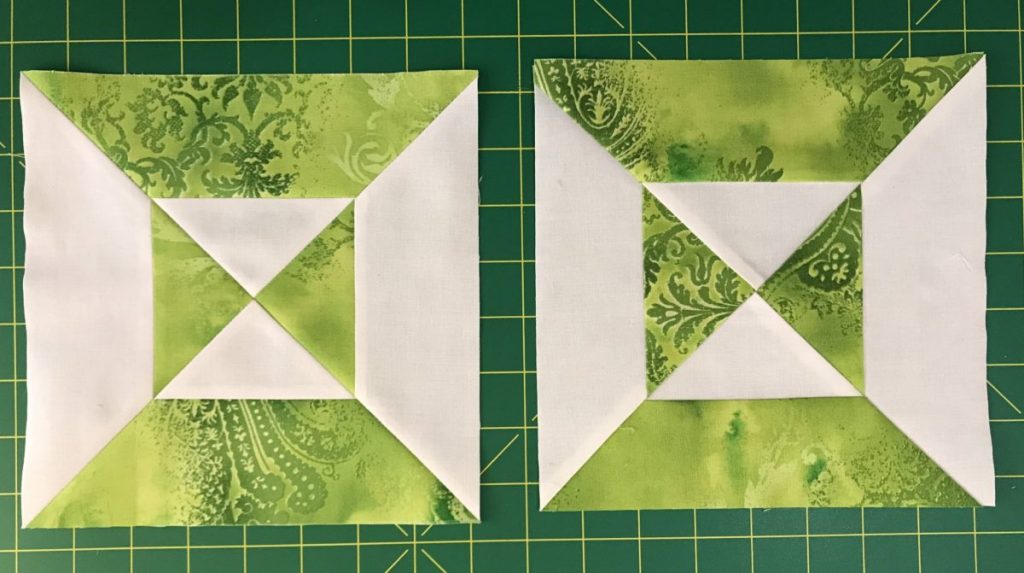
I am partial to the one on the left with the open seams. It doesn’t seem as lumpy as the one with the seams pressed to one side. Which do you like better?
Making an Hourglass Quilt
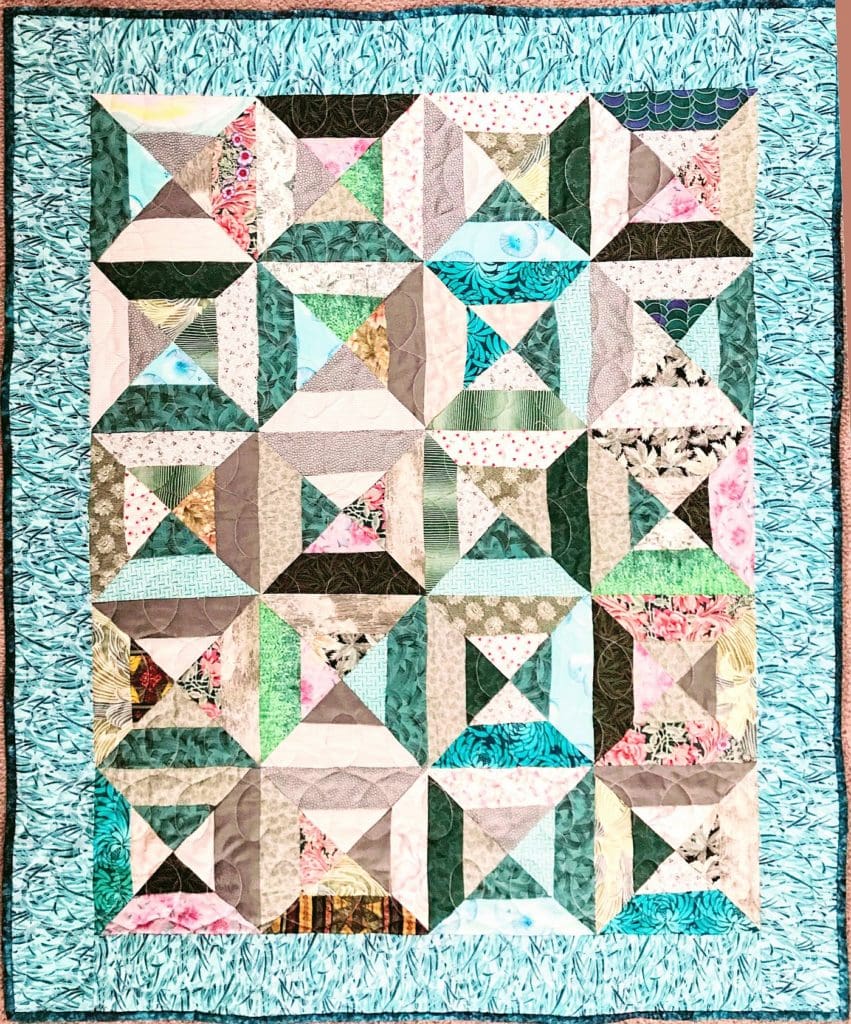
Each strip set of (2) 2-1/2″ wide strips will yield approximately 6 triangles, which will make 1-1/2 blocks. If you want to make a baby quilt with 20 blocks, you will need 14 strip sets. That would be 7 of each color unless you are making it scrappy, plus a border. My sample has a 4″ border.
Please add moc.hsadparcs@sirk to your contacts list to make sure you get the confirmation message. Drag the confirmation message from the Promotion tab to the Primary tab if you use Gmail.
If you are already a subscriber, it’s okay to fill out this form. You won’t be put on the mailing list twice.
Have another tip to offer? Send it to me or reply below and I will add it here.
Don’t forget to sign up for the newsletter! Once a week, I send updates on quilt-related information I have found while wandering the web. This might be an inspiring article, a tip or tutorial I have discovered (or written), and occasionally exclusive offers & discounts as well as immediate access to the secret page of free patterns, guides, and printables. You can follow my page on Facebook, or join the Make Believe Quilters group, too.
Another Example
The quilt below was made with blue and yellow scraps, carefully placed to give the illusion of depth. Use the same cutting method as you did with two strips. This time, half the blocks will be blue on the bottom and white on the top. The other half will be yellow on the bottom and white on the top. I bet you will be using your design wall with this quilt!



Really pretty blocks and quilt. Thank you for the tutorial also.
Thanks for such a detailed tutorial! Your green blocks are really nice.
Very interesting how not only the technique but the color placement makes so much difference. I do like the one on the left better myself. I had to do a double take with that last photo, to realize it was the same block. Great tutorial, it gets those creative juices flowing!
Love the colors. Thanks for the tutorial.
What a neat tutorial! I am also partial to to one on the left, simply because it seems a bit more easy to make. Thanks for the tutorial!
Thank you for the tut and two different methods to get the same thing. It is a great green project and either way of construction if fine with me – left or right. I tend to usually press seams to the side but will press them open if I’m dealing with bulk.
Both blocks turned out great. I think the one on the left, with open seams, lies flatter and may be my favorite. Thanks for sharing both methods. Hourglass blocks are a challenge for me.
One of my favorites is the hourglass block. Thanks for the tutorial and a great quilt too.
I really like making hourglass blocks and love yours in green. Thanks for the tutorial, Kris!
Lovely greens in your hourglass quilt. Thanks so much for the tutorial.
Thank you for the tutorial! Such sweet blocks!
Thank you for the tutorial on how to make this fabulous quilt! It is beautiful!
Beautiful block and great tutorial. The blocks make such a pretty quilt.
Great tutorial for the blocks! And you have a very pretty quilt!
Thanks, Kris! The thing I like best about either method is that the outside of the block is not a bias edge! So many of these pattern directions for this block ARE, and I don’t like that. I think either block looks fine, but your preferred method may be a little easier to do, if one doesn’t mind open seams. Love the color green you used!