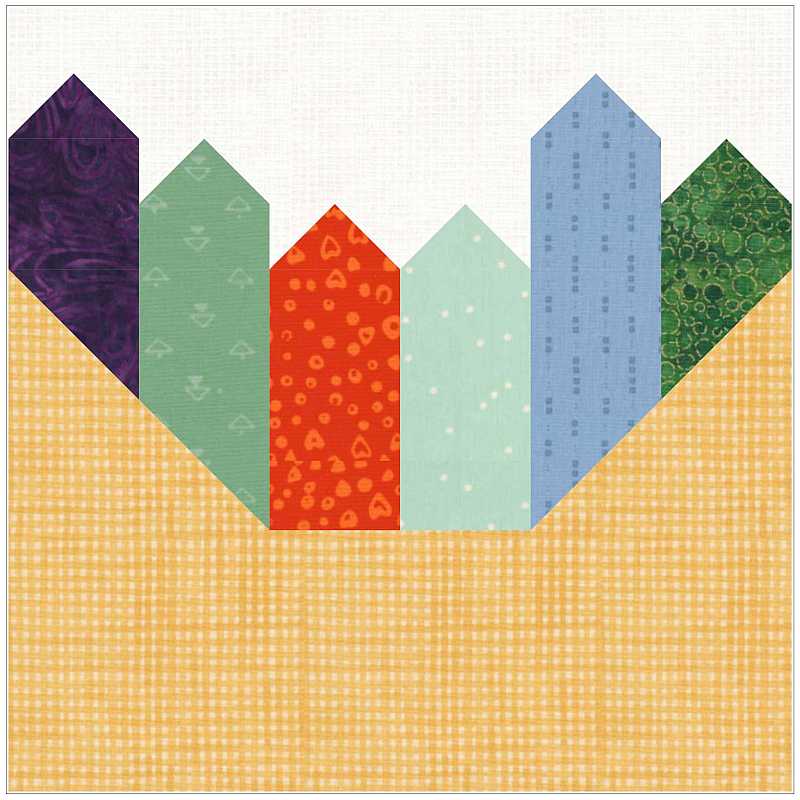
The Crayon Box Quilt Block is a great block for a Back to School project. Before beginning, this or any other project, wash and press your fabric. Take the time to clean your machine, put in a new needle, and fill a few bobbins. To press, just hold the iron over a spot for a moment or two. This pattern assumes a perfect 1/4” seam.
Fabric Requirements
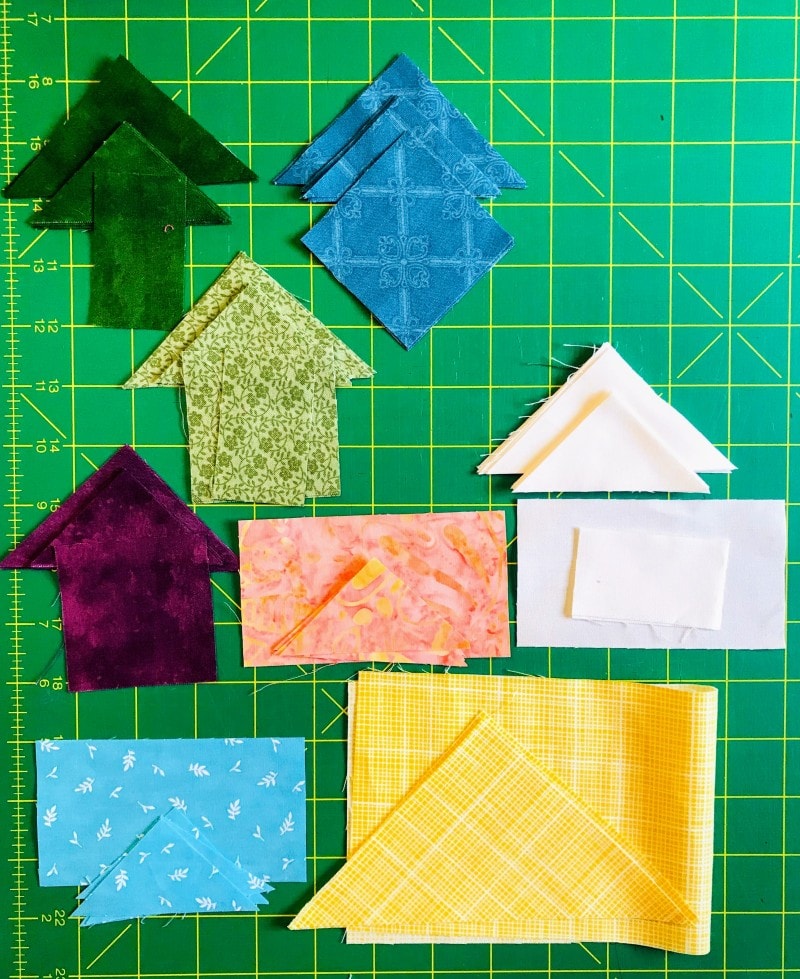
Salmon
- (1) 2-1/2″ x 4-1/2″ rectangle
- (1) 3-1/4″ square cut on both diagonals to make (4) triangles. You will only use (1).
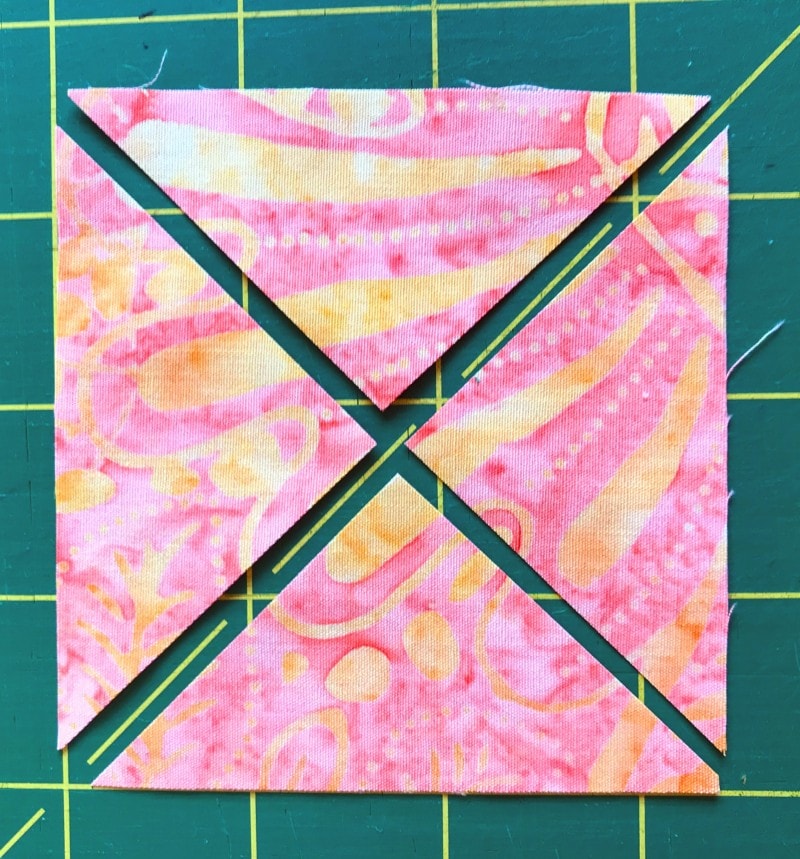
Gold
- (1) 5″ square cut on the diagonal to make (2) triangles
- (1) 4-1/2″ x 12-1/2″ rectangle
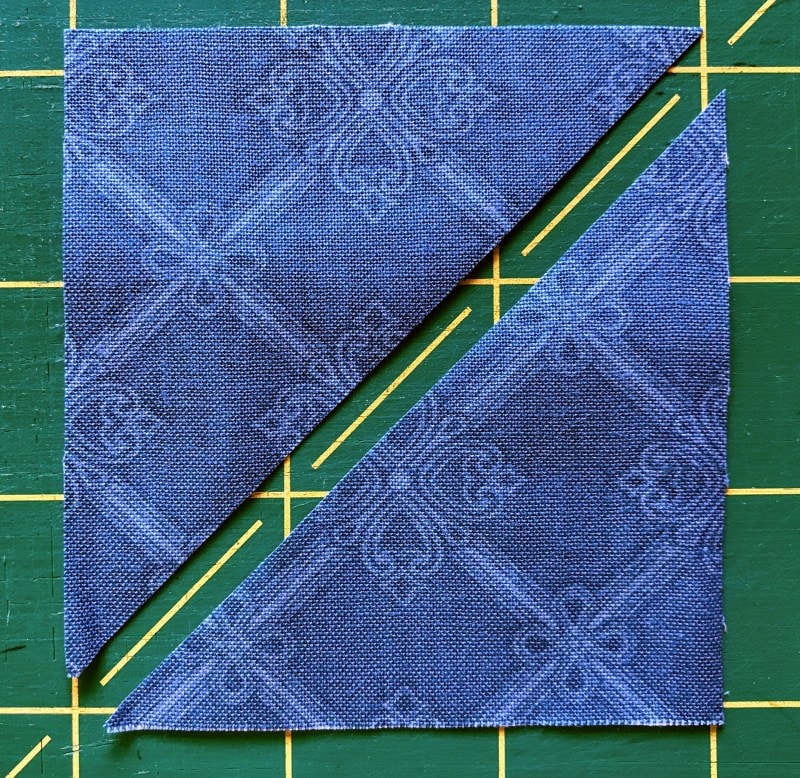
Light Blue
- (1) 2-1/2″ x 4-1/2″ rectangle
- (1) 3-1/4″ square cut on both diagonals to make (4) triangles. You will only use (1).
Medium Blue
- (1) 3″ square cut on the diagonal to make (2) triangles. You will only use (1).
- (1) 3-1/4″ square cut on both diagonals to make (4) triangles. You will only use (1).
- (2) 2-1/2″ squares
Medium Green
- (1) 3″ square cut on the diagonal to make (2) triangles. You will only use (1).
- (1) 1-1/2″ x 2-1/2″ rectangle (1) 3-1/4″ square cut on both diagonals to make (4) triangles. You will only use (1).
- (1) 2-1/2″ squares
Dark Green
- (1) 3″ square cut on the diagonal to make (2) triangles. You will only use (1).
- (1) 1-1/2″ x 2-1/2″ rectangle
- (1) 3-1/4″ square cut on both diagonals to make (4) triangles. You will only use (1).
Dark Purple
- (1) 3″ square cut on the diagonal to make (2) triangles. You will only use (1).
- (1) 3-1/4″ square cut on both diagonals to make (4) triangles. You will only use (1).
- (1) 2-1/2″ squares
Background
- (3) 3″ square cut on the diagonal to make (6) triangles total.
- (2) 1-1/2″ x 2-1/2″ rectangle
- (1) 2-1/2″ x 4-1/2″ rectangle
- (2) 3-1/4″ squares cut on both diagonals to make (8) triangles total. You will only use (6).
Nice To Have
(but not really necessary. They will just make your life easier.)
- 2-1/2″ ruler
- 4-1/2″ ruler
- 12-1/2″ ruler
- a mat that rotates
- Best Press or other spray starch
- sharp pins
Piecing the Crayon Box Quilt Block
Assemble:
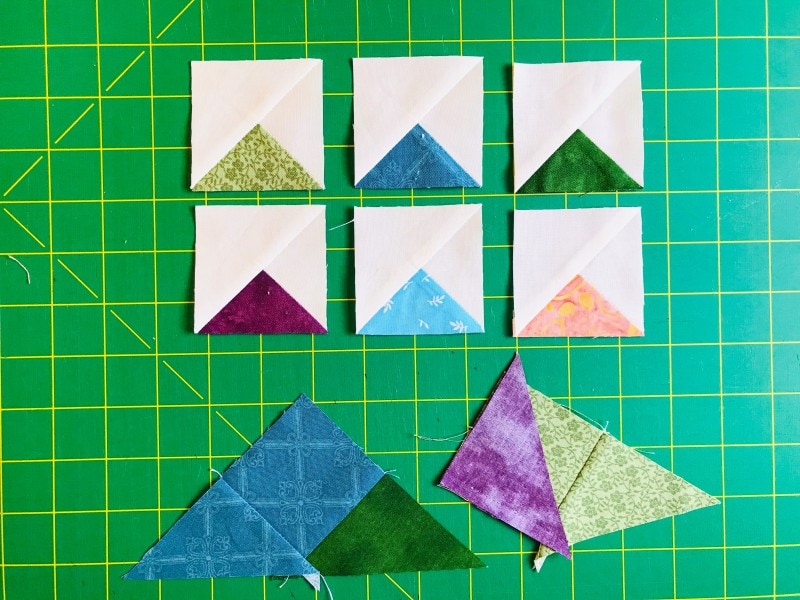
- (6) big Background Triangles, made from the 3″ squares cut on the diagonal and
- (6) small Background Triangles made from the 3-1/4″ squares cut on both diagonals.
- (6) small Triangles made from the 3-1/4″ squares cut on both diagonals of these colors: salmon, light blue, medium blue, medium green, dark green, and dark purple.
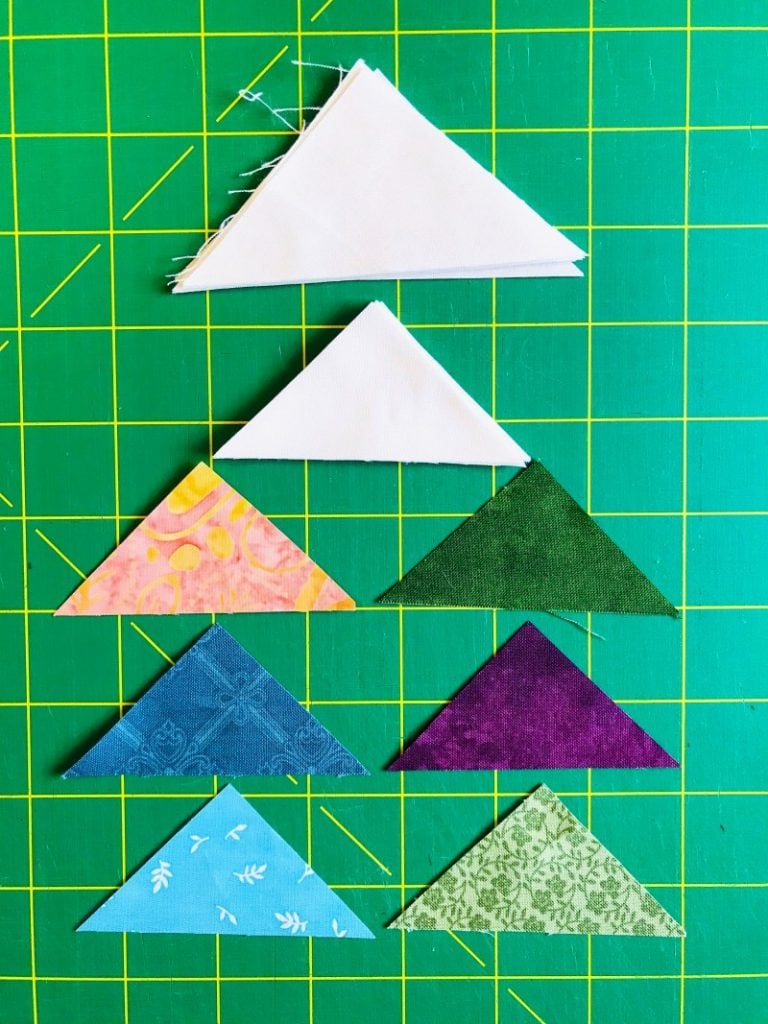
To piece the quarter-square triangles, sew a small background triangle to a color triangle as shown. Press to the dark.
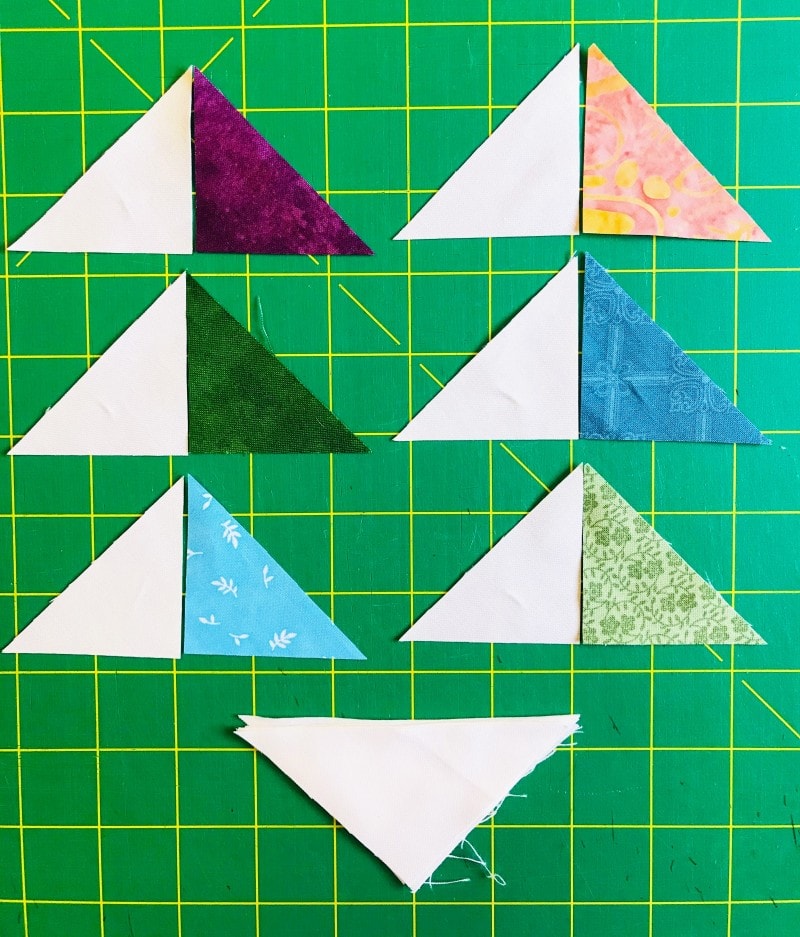
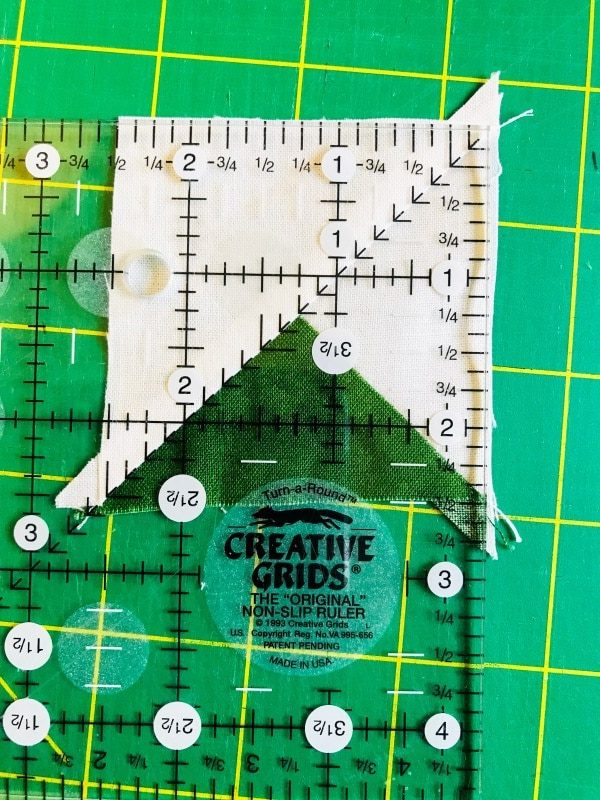
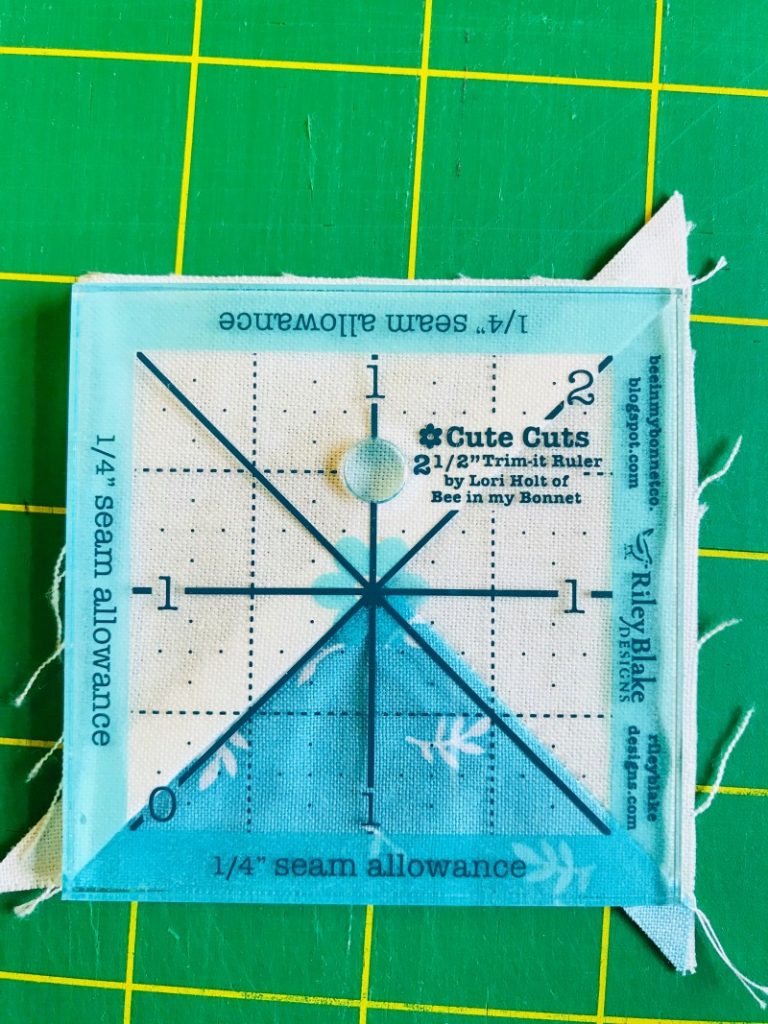
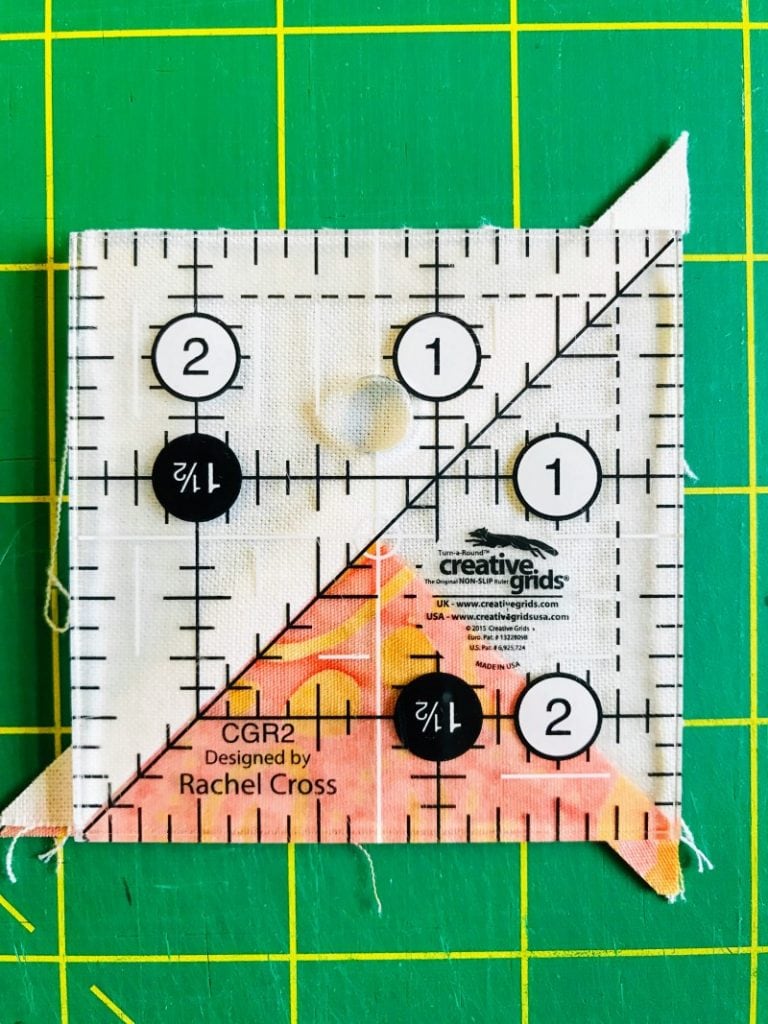
Sew a big background triangle to the long side of that unit to make a square. Press to the big triangle and square up to 2-1/2″ if necessary. Make (1) of each color. These are the crayon points.
Which Square-Up ruler do you prefer?
Assemble:
- (4) big Triangles, made from the 3″ squares cut on the diagonal from these colors: dark purple, dark green, medium blue, and medium green.
- (2) 2-1/2″ squares of these colors: medium blue and medium green.
- (2) Gold Triangles made from the 5″ square cut on the diagonal.
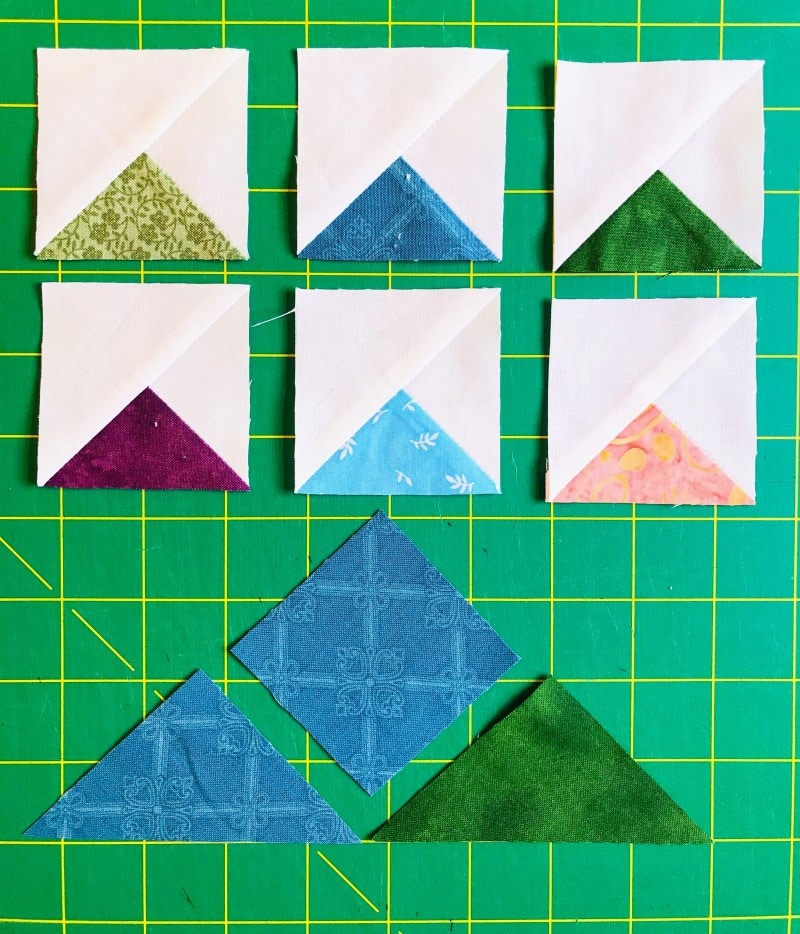
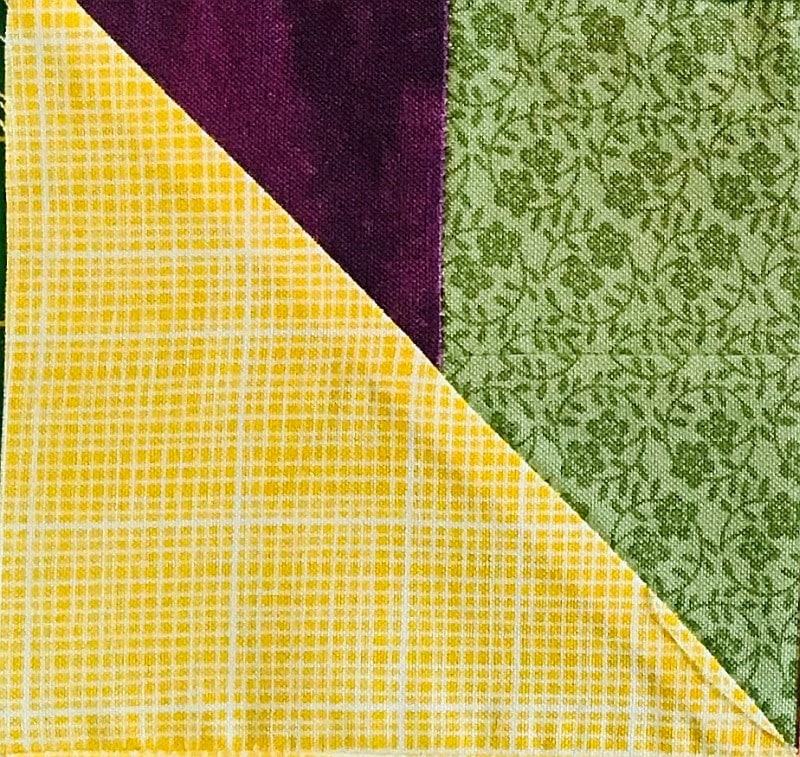
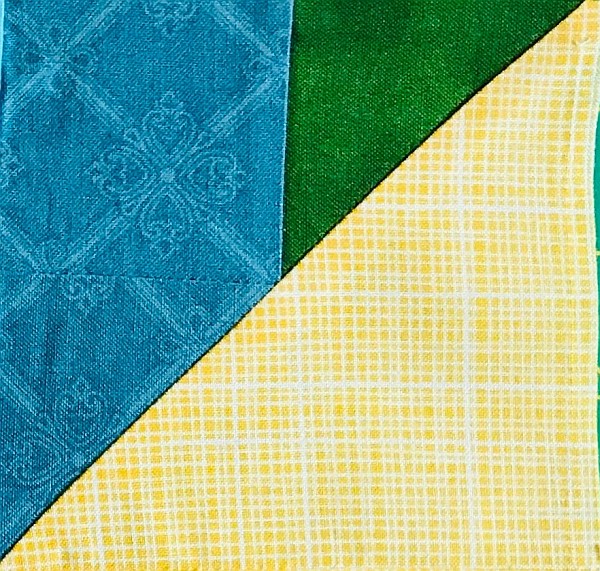
Sew a big triangle on the right side of of a 2-1/2″ square, matching the colors as shown. Press to the triangle.
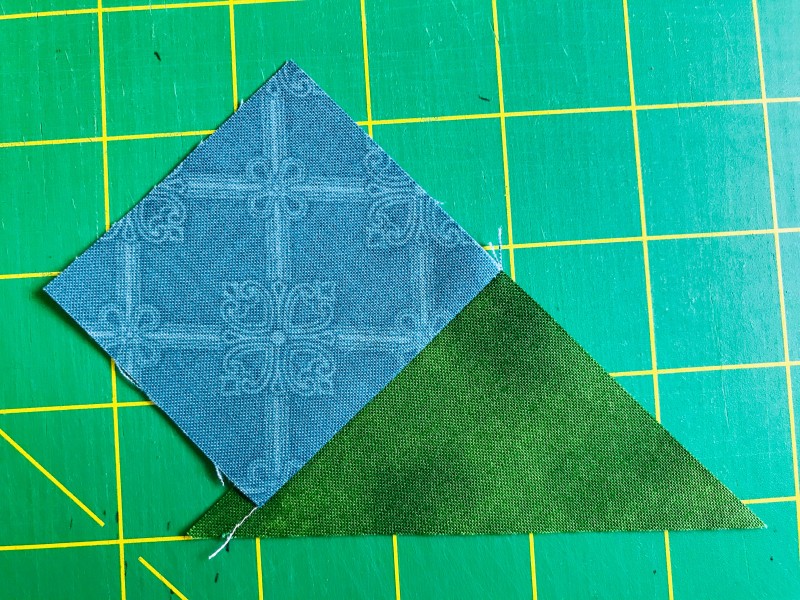
Sew a big triangle to the left side. Notice in the picture below that your seam will go right into the little notch. Press to the triangle.
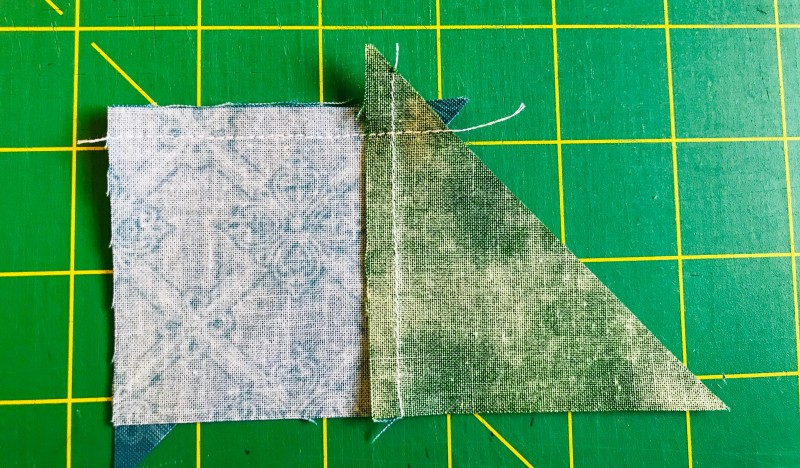
Repeat on the other side. Press to the triangle.
Sew a large gold triangle to the bottom of this unit. Press to the gold and square it up to 4-1/2″ if necessary. These are the sides of the crayon box.
Putting the Crayon Box Quilt Block Together
Assemble:
- (2) 2-1/2″ blocks, the dark purple and the medium blue
- (4) 1-1/2″ x 2-1/2″ rectangles, (2) backgrounds, the medium green and the dark green
- (3) 2-1/2″ x 4-1/2″ rectangles, the background, the salmon and the light green
- (6) Crayon points
- (2) Box sides
- (1) Box bottom. If you are going to personalize this, do it now.
This block is sewn in rows before the box bottom is added. Complete each row separately, pressing as shown. The seams should face opposite directions. Complete the top section before sewing on the bottom section, taking care to match the centers of both sections.
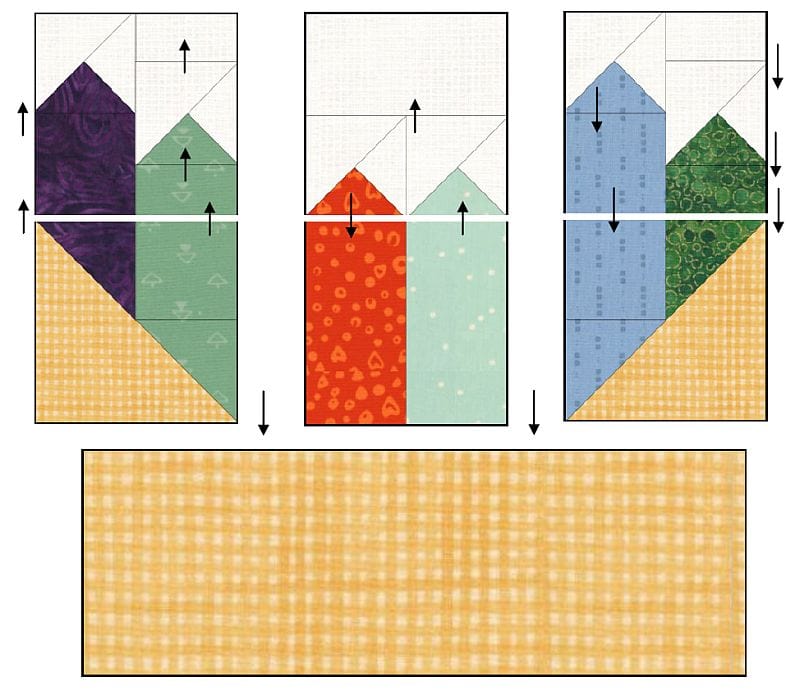
Pay attention to what you are doing! (Ask me how I know….)
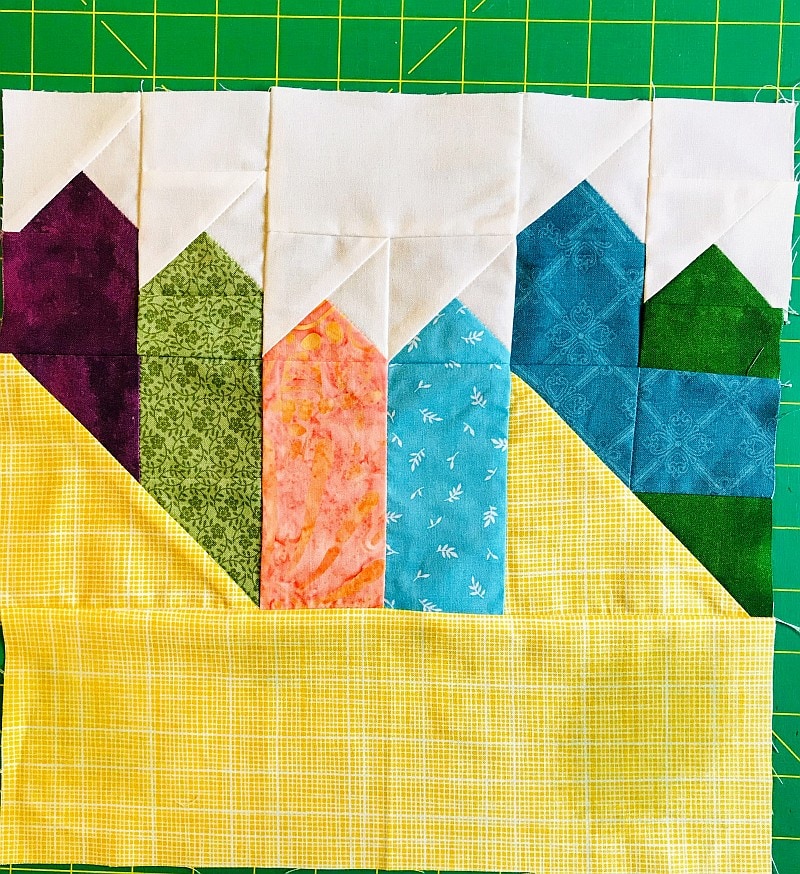
Sew it together correctly and Square it up to 12-1/2″ if necessary.
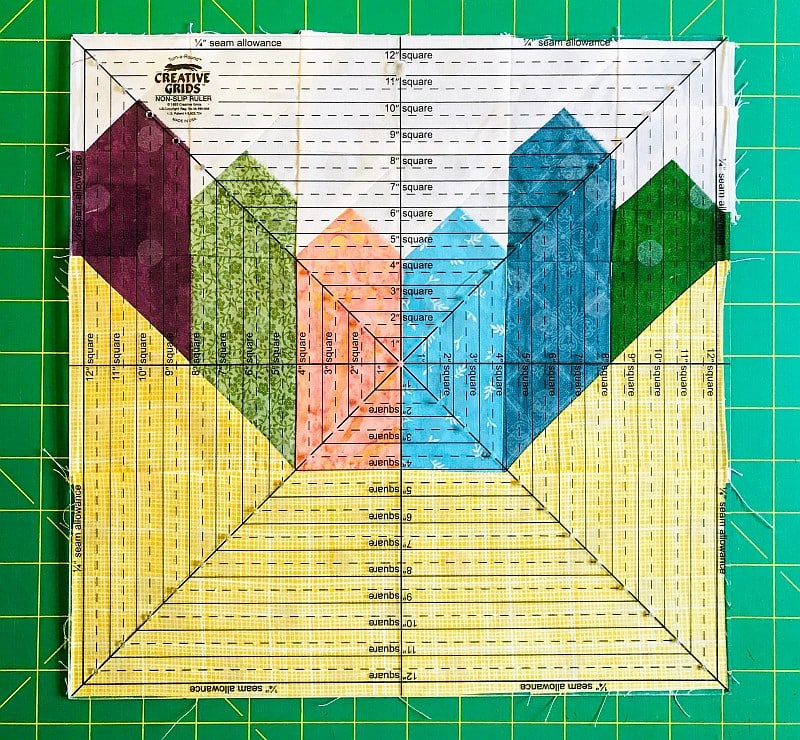
Enjoy!
Please add moc.hsadparcs@sirk to your contacts list to make sure you get the confirmation message. Drag the confirmation message from the Promotion tab to the Primary tab if you use Gmail.
If you are already a subscriber, it’s okay to fill out this form. You won’t be put on the mailing list twice.
Have another tip to offer? Send it to me or reply below and I will add it here.
Don’t forget to sign up for the newsletter! Once a week, I send updates on quilt-related information I have found while wandering the web. This might be an inspiring article, a tip or tutorial I have discovered (or written), and occasionally exclusive offers & discounts as well as immediate access to the secret page of free patterns, guides, and printables. You can follow my page on Facebook, or join the Make Believe Quilters group, too.


