Finishing the Cook Your Goose Quilt
Note: This post may contain affiliate links. That means we may earn a commission at no additional cost to you if you purchase via our links. Not all links are affiliate links. I only recommend products I use and trust. As an Amazon Associate, I earn from qualifying purchases.
This mystery quilt is designed to show you two different ways to make perfect flying geese blocks. The clue links are listed at the bottom of this tutorial. To print just this clue, use the green Print Friendly button at the bottom of this page.
In this clue, you are finishing the quilt top. YAY!
When I originally wrote this pattern, it was part of a class I was teaching with another teacher. I helped the students make their quilt top and she taught them to quilt it. Hence, “cooking” the goose. I’m not going to do that in this mystery, but there are some machine-quilting tips here. I am going to show you a technique that most machine quilters don’t like – the flange.
A flange is a tiny, three-dimensional element that you insert in the quilt to add some interest. In this case, it is a 1″ strip of fabric, folded right sides together, that you insert between the floating border and outer border. It sticks out about half an inch, which can cause you problems if you are machine quilting. If you decide to use it, I suggest that you baste it down before quilting. After quilting, you can remove the basting stitches.
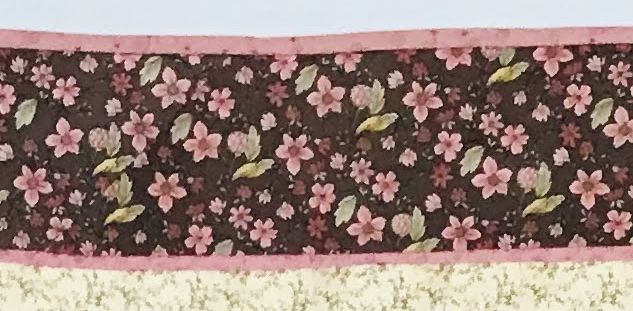
A flange adds no width to the quilt. If you sew it in place, the numbers for your outer border will be 1″ too small because you have added 1/2″ to both sides.
Assemble:
- The long 1″ wide Medium strip that you made in the Sewing Ahead section. Cut (2) sections that are 66-1/2″ long and (2) that are 54-1/2″ long. Fold these in half, right sides together, and press to create the flange.
Sew a 66-1/2″ long flange to both sides of the quilt top using a 1/8″ seam. Sometimes this is called “stay-stitching” a seam. Press to the quilt top.
Stay-stitch a 54-1/2″ flange to the top and bottom of the quilt, overlapping the other flange at the corner. Press to the quilt top.
Adding the last Border
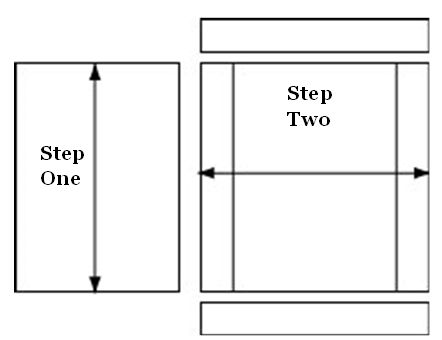
- The long 5″ wide Outer Border strip that you made in the Sewing Ahead section. Cut (2) sections that are 70″ long and (2) that are 64″ long.
Sew a 5″ × 70″ border to both sides of the quilt top. Press to the border.
Sew a 5″ × 64″ border to the top and bottom of the quilt top. Press to the border.
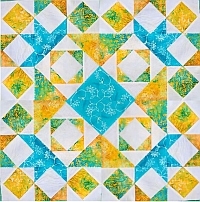
You are done! I will be adding pictures of the finished quilts to the picture page at 4PM Eastern.
Don’t forget to add a label. A label will tell generations to come the story of this quilt: Who, What, When, Where and Why. It will help identify the quilt should it become lost or stolen, and will increase the value of the quilt at appraisal time
A quilt label can be as simple as a signature on the back or as elaborate as a heavily decorated two page story. If you only have time for a quick label, just sign and date the back of the quilt with an archival ink (acid free) quality pen . Or you could embroider, cross stitch or stamp your name and date on the front of the quilt as part of the design.
Preserve your place in history. Sign and date your quilts!
Mystery Clues
Don’t forget that anyone who sends me a picture of any step in this mystery before 1/3/23 will receive a copy of the final pattern. Send your pictures to moc.liamg@sngisednoomebeohp
Fabric Requirements
Cutting Instructions (clue available 12/31 at 9AM Eastern)
The Flying Geese for Block One (clue available 1/1/23 at 9AM Eastern)
The Flying Geese for Block Two (clue available 1/1/23 at 10AM Eastern)
More Blocks (clue available 1/1/23 at 11AM Eastern)
Even More Blocks (clue available 1/1/23 at noon Eastern
The Last Quilt Block (clue available 1/1/23 at 1PM Eastern
Borders (clue available 1/1/23 at 2PM Eastern)
The Final Frontier (clue available 1/1/23 at 3PM Eastern
Picture Page

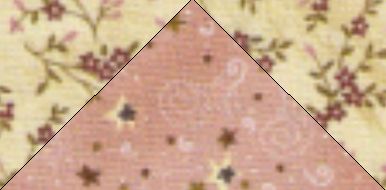
Flanges are no problem for hand quilters.