How to Add a Faux Piped Binding to Your Quilt
Note: This post may contain affiliate links. That means we may earn a commission at no additional cost to you if you purchase via our links. Not all links are affiliate links. I only recommend products I use and trust. As an Amazon Associate, I earn from qualifying purchases.
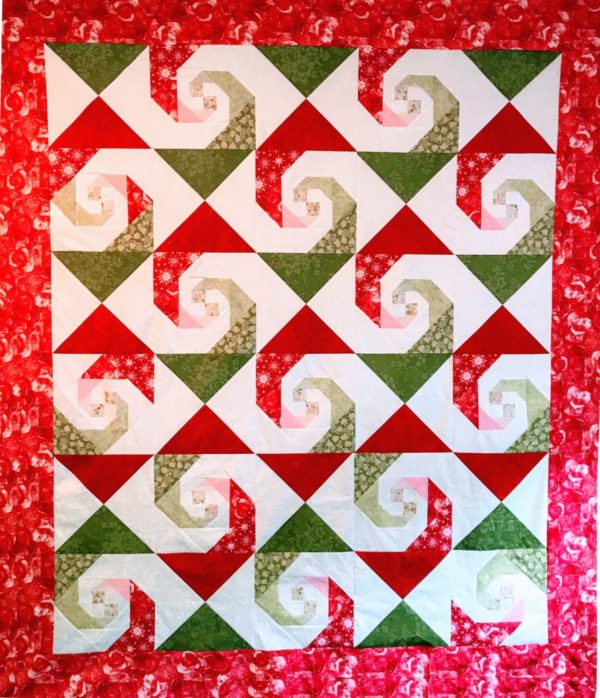
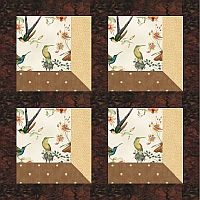
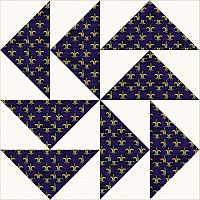
Do you remember the Swing Your Partner Quilt that I made a few months ago? I did a Snail Trail block tutorial here. The pattern was picked up by Connecting Threads (you can see a picture below.)
If you like that quilt, you can purchase the pattern here.
I did make a sample and it turned out wonderfully! I wanted to do something special for the binding, so I asked my Facebook group for a little help. They suggest a faux piped binding, also known as a flange.
I didn’t want to commit to the entire quilt without trying it out first, so I did a practice piece first. You can see what I did in the pictures below.
I knew I wanted the outer binding to be red and the accent to be white, so I cut the white binding 1-3/4″ wide and the red binding 1-1/4″ wide. My thinking was that when they were sewn together, the binding would be 2-1/2″ wide.

For the purposes of the practice piece, I only made a small section. I liked what I saw, but if I hadn’t, I could have changed the size of the outer binding or the accent strip. When I decided to do the entire quilt, I cut all the strips first and then mitered them end to end. I cut off a 6″ piece of the white before I mitered those strips so that the miters for the two colors wouldn’t end up right next to each other.
I would recommend that you use a walking foot when sewing the two pieces of the binding strips together. These are long, long seams and your feed dogs will tend to sew the bottom layer a touch faster. That doesn’t usually matter, but on strips this long, you will be able to tell.

Here is my finished practice piece – it was a little larger than 2-1/2″ wide because I wasn’t very careful with my 1/4″ seam. I cut it down to be exact. I pressed the seam to the binding color, although I suppose you could open it if you prefer.
If you decide to press the seam to the accent color, your little flange will look more like piping as it will be filled with the seam allowance. Try it both ways as I did so you can see what you like better.

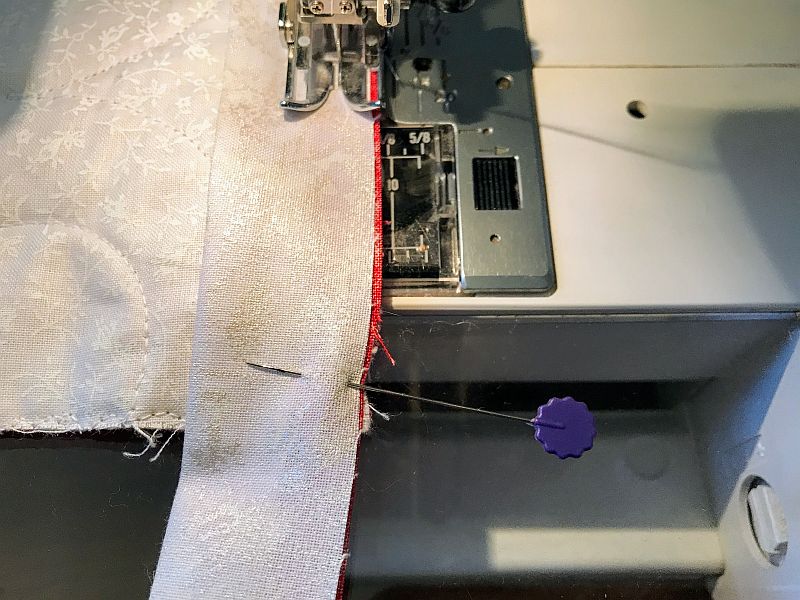
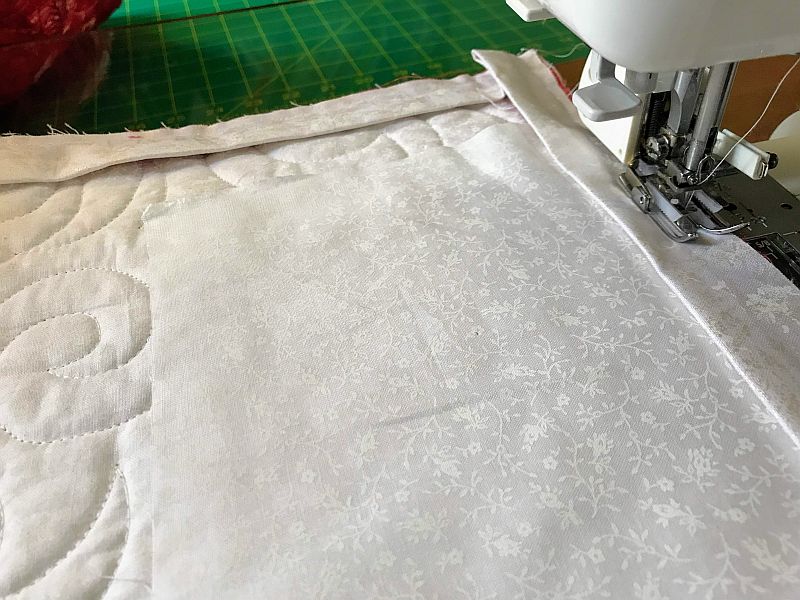
A faux piped binding is sewn to the back, then flipped to the front to be secured. Make sure you place the color you want on the outside along the cut edge of the quilt. In my case, it was the red fabric as shown above.

In the picture above, I have folded the accent piece up so it is along the cut edge and the seam is in the middle. I sewed that section…

then flipped it up to look at it.


It looked good, so I wrapped it around the outside of the quilt.
I stitched in the ditch to hold it down.

It looked good! I did experiment with using a specialty stitch from my machine on the white part, but I didn’t like it. I suppose a double needle would have made an interesting effect, but I didn’t try it.
Sewing on a pieced binding is the same as sewing on any binding. Using a walking foot, you start sewing your 1/4″ seam roughly in the middle, leaving six inches or so of your binding strip unattached to the quilt.
When you get to the corner of the quilt stop stitching a 1/4″ from the edge. Take your quilt off of your machine and flip the binding up. Fold it back down on itself and keep sewing.
If you are going to add a hanging sleeve, now is the time to pin it in place. You can sew the upper edge into the binding, making one seam do the work of two. The bottom edge of the sleeve can be hand-stitched in place.
Here is how you finish the binding (from a previous article)
1. Start by crossing the two binding ends over each other. Cut one end of the binding the width of the binding longer than the other end. In my case, it was 2-1/2″.
2.Cross those two ends right sides together and draw a diagonal line. Try to do that in the middle of the two bindings so you have room to work. Sew on the diagonal line.
3. AFTER you have checked to make sure you did it correctly, cut a 1/4″ seam.
4. Your binding will fit perfectly on your top.
5. The Binding Miter Tool will help you finish this edge. (Amazon link)

And in my case…


Step One above

Step two above
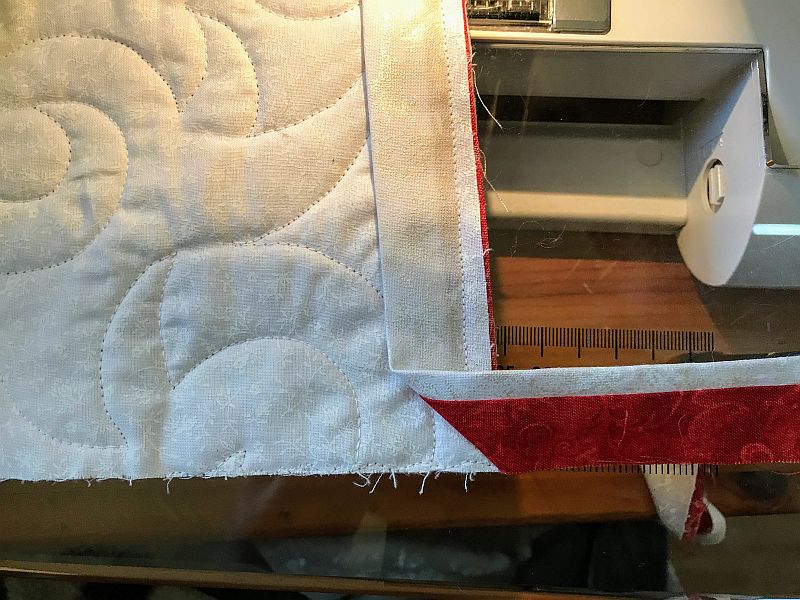
Testing the seam before trimming. (above) Sew it down, then trim the corner. Don’t cut the seam! (below)

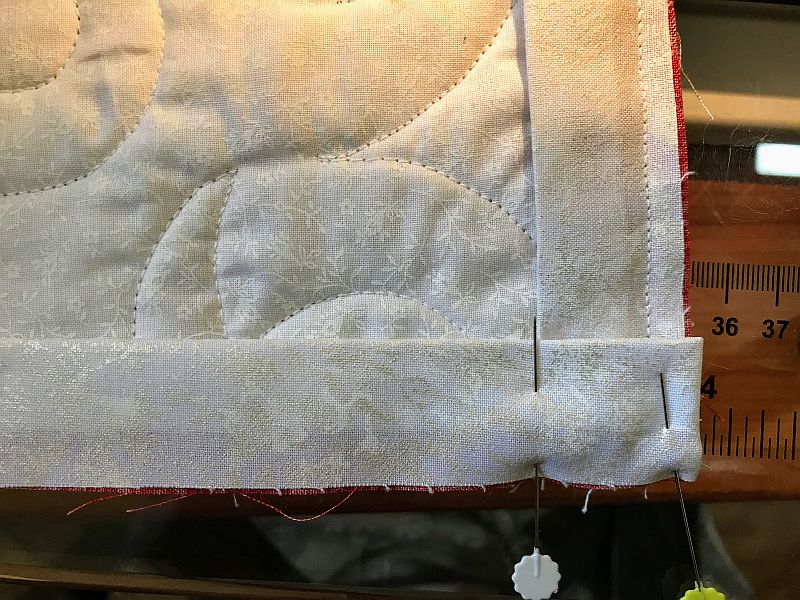
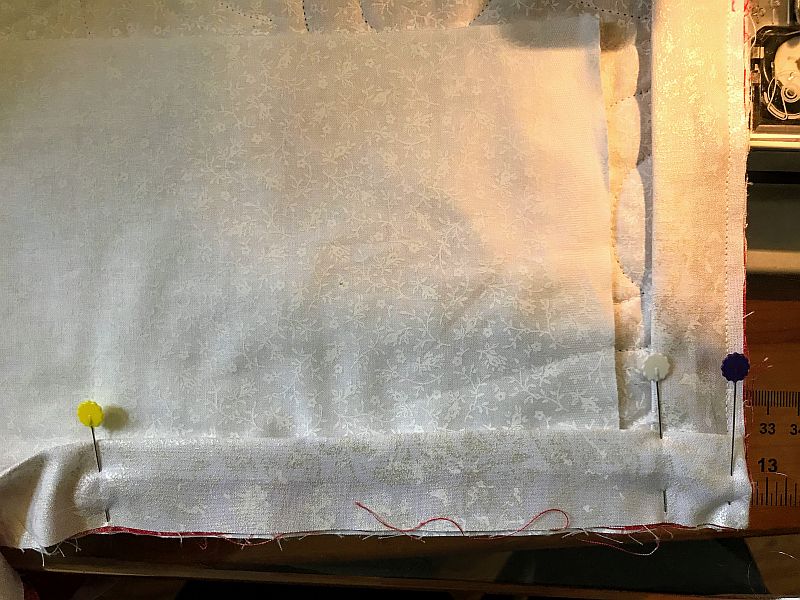
Fold the binding around to the front of the quilt and pin it down. Again using your walking foot, stitch in the ditch between the accent fabric and the binding fabric. In the picture below, I have pinned the folded border. This part is always tricky.

Take your time and you will have a marvelous edge to your quilt!

Here is what the Swing Your Partner quilt looks like in our camping trailer. (That is the Wreath and Garland on the wall.) Because the bed is king size, I turned it sideways and put it on top of a quilt that is upside down. I didn’t really plan on this being a Christmas quilt, but it does look festive, doesn’t it?

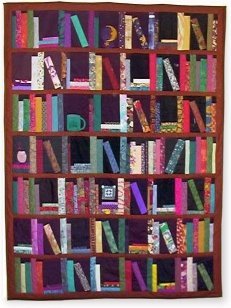
What you can’t really tell is that I sewed the binding down along the outer edge, so it didn’t have a three-dimensional flange. Here is a picture of one I did a while ago with a loose edge. I think I like that one better.

Have you tried this method? Which one did you like better?
And a quick shout-out to http://www.needlepointers.com who used this method to add a three-dimensional element to their quilt. Thanks, Annette & Chris!
Don’t forget to sign up for the newsletter! Once a week, I send updates on quilt-related information I have found while wandering the web. This might be an inspiring article, a tip or tutorial I have discovered (or written), and occasionally exclusive offers & discounts as well as immediate access to the secret page of free patterns, guides, and printables. You can follow my page on Facebook, or join the Make Believe Quilters group, too.

I love this binding technique. It looks so pretty and the extra dimension looks so complicated. I prefer my piping not stitched down. I stitch in the ditch.
Thank you so much for your generosity of time and talent!
Joy