Orange You Glad, Harvey?
Note: This post may contain affiliate links. That means we may earn a commission at no additional cost to you if you purchase via our links. Not all links are affiliate links. I only recommend products I use and trust. As an Amazon Associate, I earn from qualifying purchases.
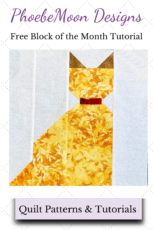
This Cat Quilt Block is part of the Orange You Glad blog hop. The rules were to create something inspired by the color orange. My orange block is inspired by my daughter’s cat, Harvey. How did he come by that name? I am glad you asked!
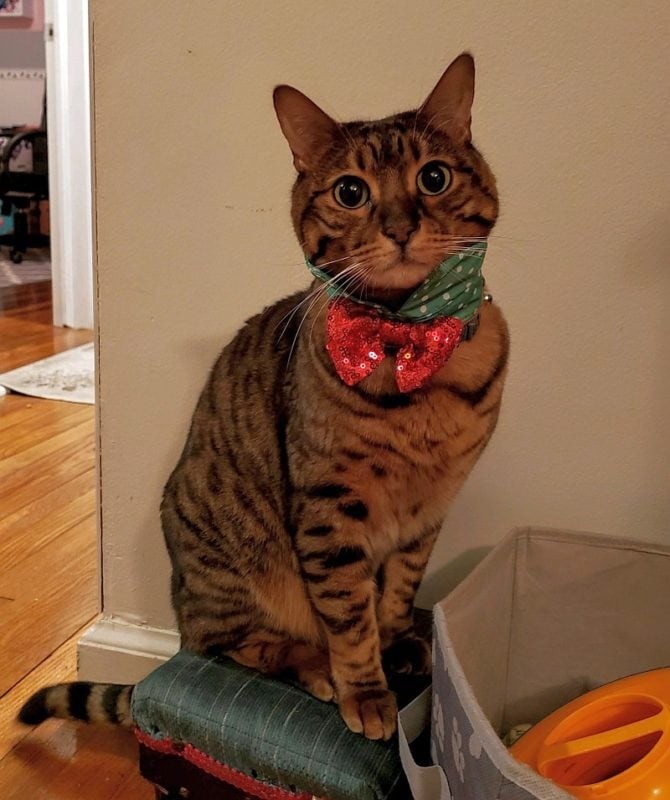
If you have been following this blog, you have heard about Harvey before. He is a kitten that was given to my daughter, who lives in Albany NY, by a classmate of hers who had moved to Abilene TX. He is a Bengal cat, which means he has a major PERSONALITY. We were traveling home from a trip out west at the time, so we detoured to pick him up. He was given to us on the day of the eclipse, but we couldn’t really think of a good eclipse name for him. We traveled from Austin to Pensacola on our way home where we faced Hurricane Harvey. It seemed like an appropriate name for him!
So he became Harvey, a terror to our older dog, Rocky. This kitten loved nothing better than to climb the Rocky Mountain to explore his new world. Bless that dog and his patience.
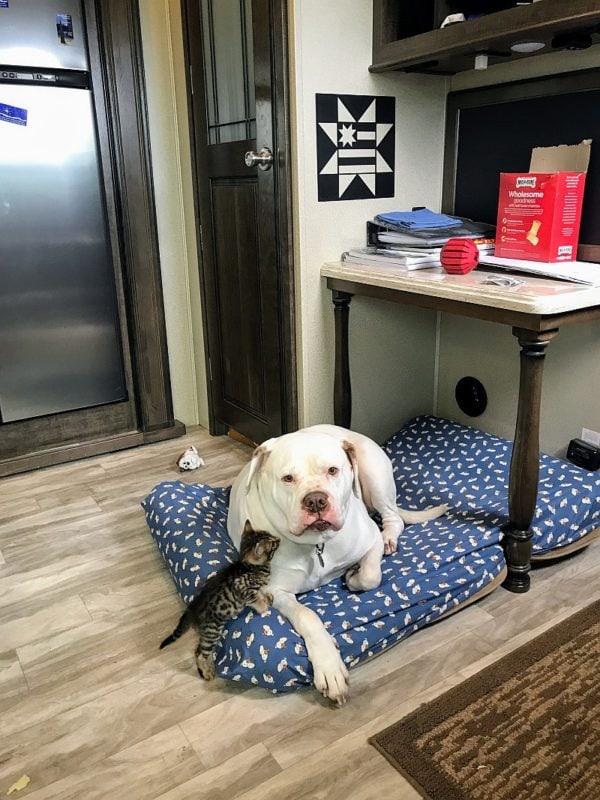
Harvey’s new parents came to pick him up when we were only a few hundred miles from home. I guess we had told them so many stories about their baby, they were afraid we would keep him. No matter, we see him often and he seems to remember us. This block is my tribute to Harvey.
Fabric Requirements
Before starting this project, I recommend that you press your fabric with spray sizing. It will make it easier to cut small pieces. Take the time to clean your machine, put in a new needle, and fill a few bobbins. Normally the seam in any quilt pattern is 1/4″ wide.
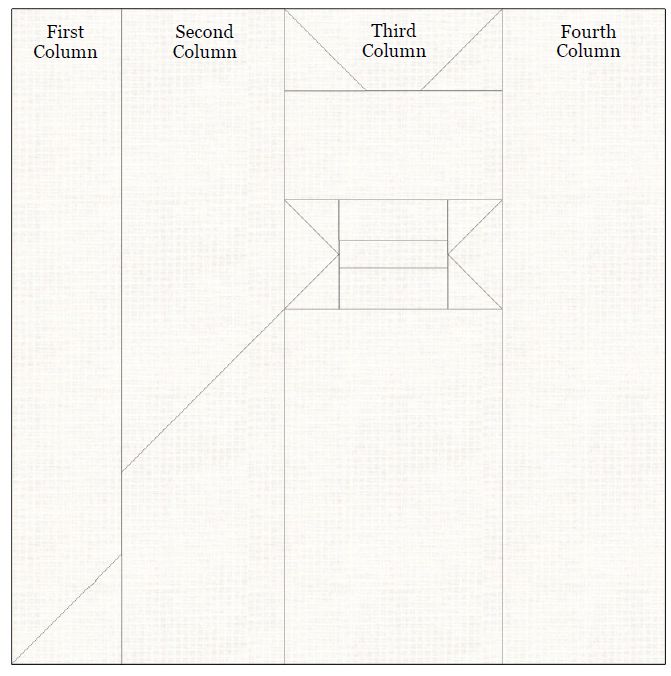
Read over this pattern before you start to sew. Make sure you understand all the directions before you begin cutting. This block is pieced in columns, from left to right. I suggest sorting your pieces into columns to prevent mistakes. There is a piecing diagram at the bottom of this post.
Press as you go. Pressing means just holding the iron over a spot for a moment or two. Don’t drag the iron back and forth as you normally do when ironing. That might distort your seams.
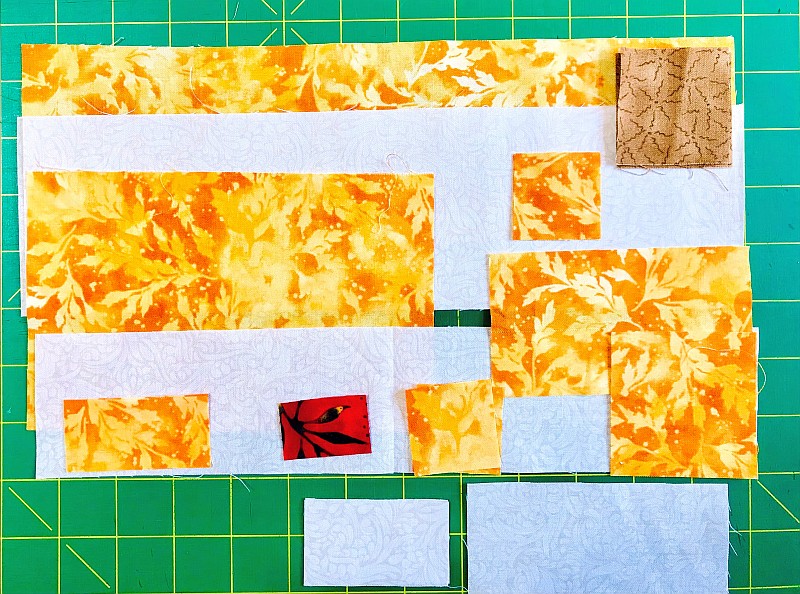
Cutting Instructions for the Block
Bengal Fabric
(1) 2-1/2″ square FIRST COLUMN TAIL
(2) 2-1/2″ × 1-1/4″ rectangles THIRD COLUMN COLLAR
(1) 3-1/2″ × 12-1/2″ rectangle SECOND COLUMN
(1) 4-1/2″ × 2-1/2″ rectangle THIRD COLUMN FACE
(1) 4-1/2″ × 7″ rectangle THIRD COLUMN BODY
(4) 1-1/2″ squares THIRD COLUMN NECK
Background Fabric
(1) 2″ × 4-1/2″ rectangle THIRD COLUMN EARS
(1) 2-1/2″ × 12-1/2″ rectangle FIRST COLUMN
(2) 2-1/2″ × 1-1/2″ rectangles THIRD COLUMN NECK
(2) 3-1/2″ × 12-1/2″ rectangles SECOND & FOURTH COLUMNS
Red
(1) 1″ × 2-1/2″ rectangle THIRD COLUMN COLLAR
Light Brown
(2) 2″ squares THIRD COLUMN EARS
Piecing the Block—First Column
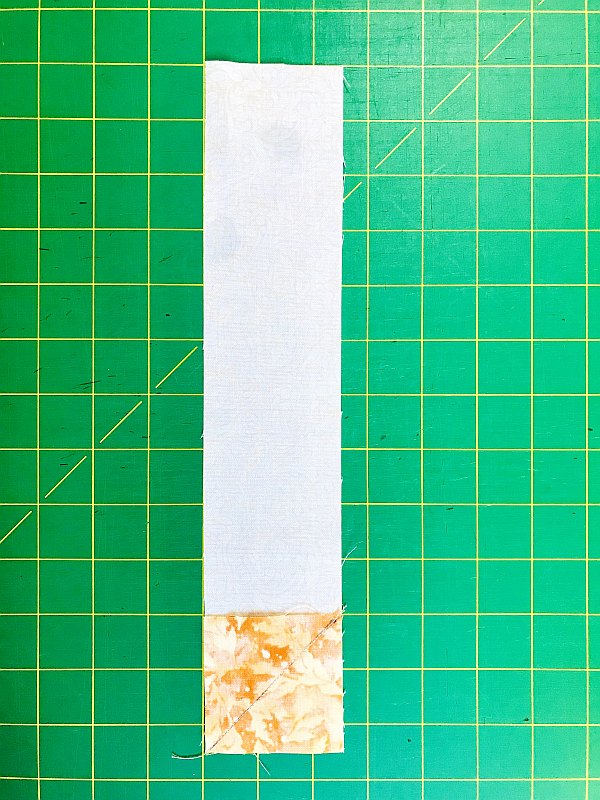
The first column is the tail. Draw a line on the diagonal of the back of the 2-1/2″ Bengal square. Place it right sides together on the 2-1/2″ × 12-1/2″ rectangle so the line touches the lower left-hand corner. Sew on this line. Flip the fabric over the seam and press. It should match the corner. If it does, you can trim the underside to 1/4″ seam allowance. The whole unit should measure 2-1/2″ × 12-1/2″.
Piecing the Block—Second Column
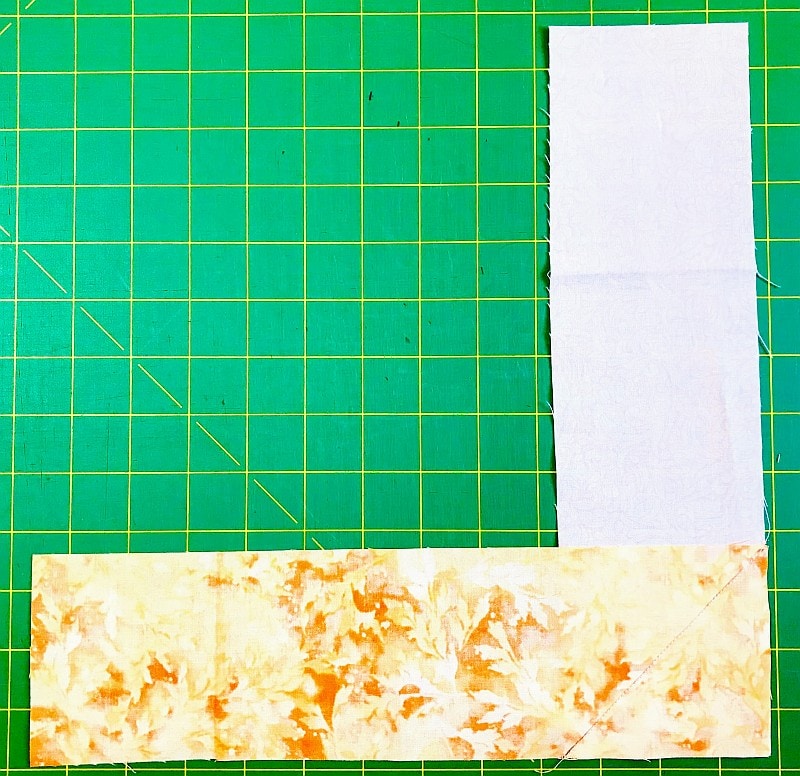
Sew the 3-1/2″ × 12-1/2″ Bengal rectangle to the 3-1/2″ × 12-1/2″ Background rectangle, right sides together. Miter the seam as shown. Watch that angle! Don’t trim that seam until you are sure it is right.
Don’t cut it just yet. You will want to adjust it to match the curve of the neck.
Piecing the Block—Third Column
To make the ears, draw a diagonal line on the back of the (2) 2″ tan squares. Place these right sides together on either side of the 2″ × 4-1/2″ Background rectangle as shown. Just as you did for the tail, sew on the line. Flip the piece over and press. If it matches, you can trim the underside.
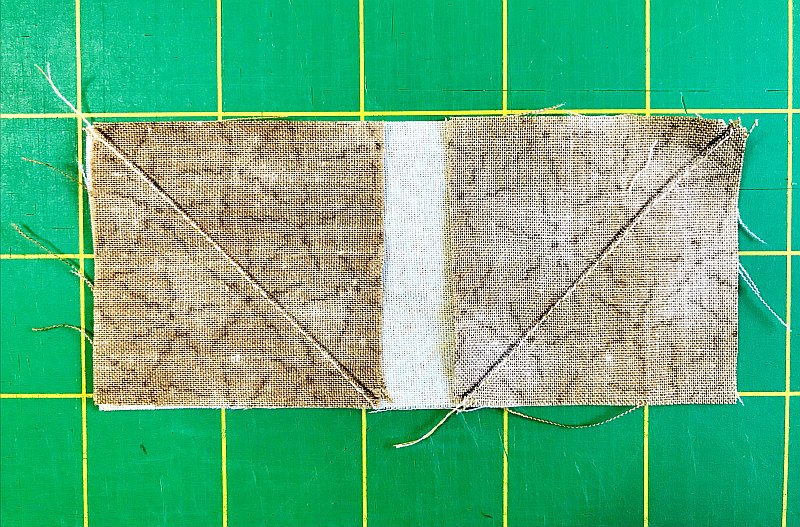
Sew the 2-1/2″ × 4-1/2″ Bengal rectangle to the bottom of this unit to make the face. See the piecing diagram at the bottom of this post.
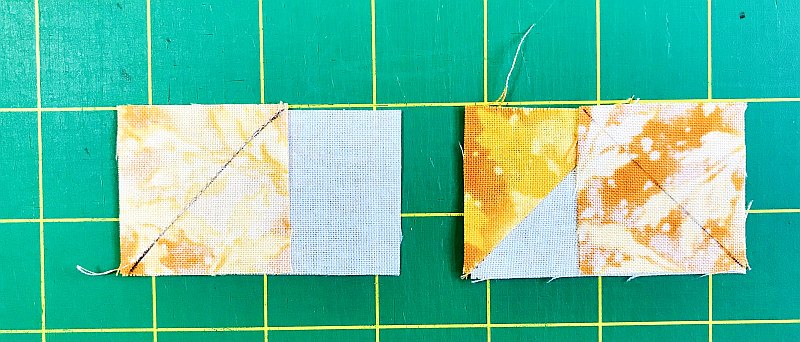
The neck is pieced almost the same way as the tail and the ears, with the exception that you have to finish each side separately before attaching the second side. That’s because one square will overlap the other slightly. It’s basically a Flying Goose block.
Draw a diagonal line on the back of the 1-1/2″ Bengal squares. Place them right sides together on the left side of the 2-1/2″ × 1-1/2″ Background rectangles as shown. Press, trim seam allowances, and add the second square.
To make the collar, sew the 1″ × 2-1/2″ red rectangle between (2) 1-1/4″ × 2-1/2″ rectangles. Press to the center.
Sew the two Flying Geese units you just made to the sides of the collar.
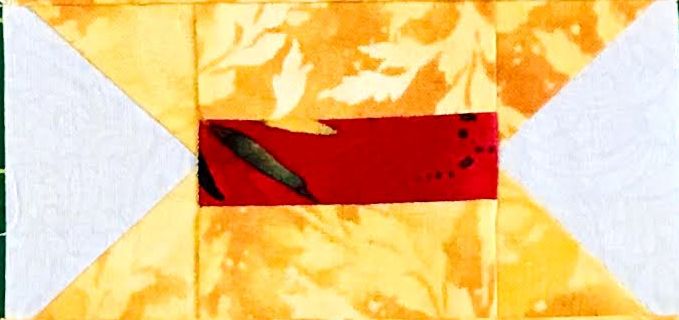
Sew the 4-1/2″ × 7″ Bengal rectangle to the bottom of this unit and the face/ears unit to the top. Give this column one final pressing.
Now you can sew the second column to this one. Adjust the angle of the body so it meets with the neck before sewing. Or not. This is YOUR cat, if you want to make the body of the cat larger or smaller, feel free to do so! Once you have made a decision and sewn that seam, press to the second column and cut off the excess on the bottom and top.
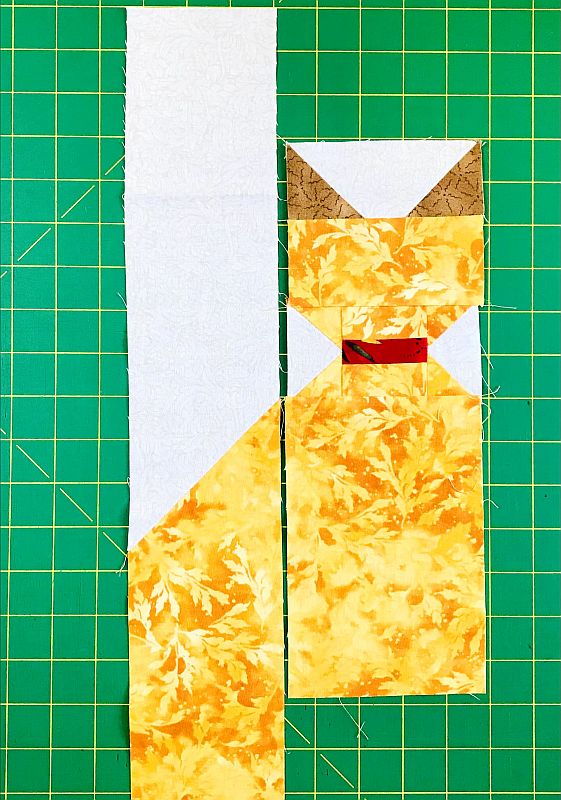
Piecing the Block—Fourth Column
Sew the 3-1/2″ × 12-1/2″ Background rectangle to the right side of the third column. Press to the third column.
Sew the first column to the second column and press to the first column. Square this block up to 12-1/2″ × 12-1/2″ if necessary.
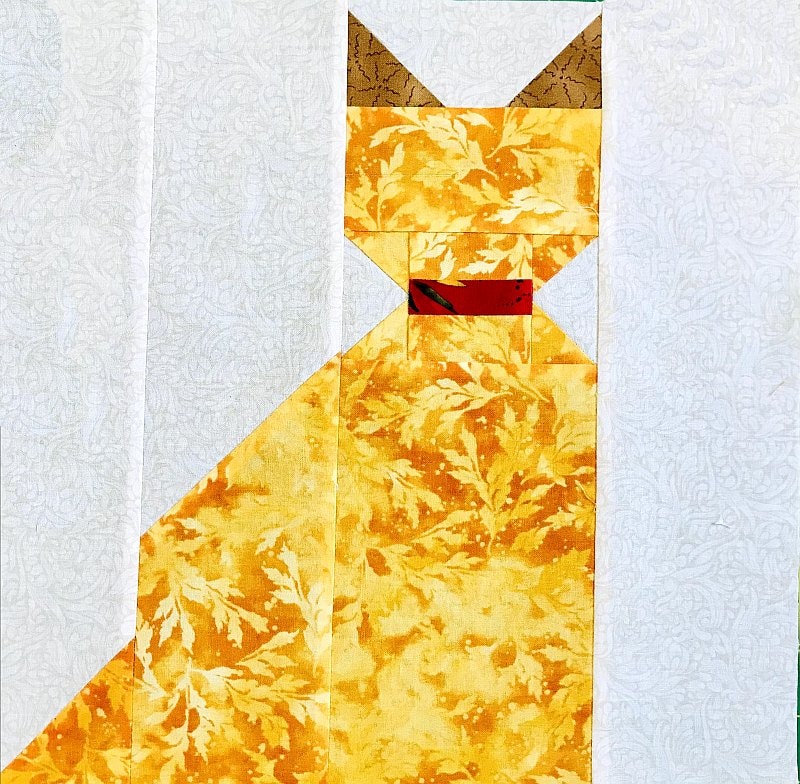
You are done! Use this Cat Quilt Block in a sampler, pillow, or make it a mug rug. Now you can ask yourself, “Orange you glad?”
Please add moc.hsadparcs@sirk to your contacts list to make sure you get the confirmation message. Drag the confirmation message from the Promotion tab to the Primary tab if you use Gmail.
If you are already a subscriber, it’s okay to fill out this form. You won’t be put on the mailing list twice.
Don’t forget to sign up for the newsletter! Once a week, I send updates on quilt-related information I have found while wandering the web. This might be an inspiring article, a tip or tutorial I have discovered (or written), and occasionally exclusive offers & discounts as well as immediate access to the secret page of free patterns, guides, and printables. You can follow my page on Facebook, or join the Make Believe Quilters group, too.
Here are other Halloween ideas:
- Boo!-ti-ful Halloween Wall Hanging or Lap Quilt
- Halloween Hoppin’ – Using Purple in a Halloween Quilt
- Halloween Freebie – Spiders in My Attic
- Ghastly Ghouls and Zombies
- A Batty Pumpkin Quilt Block
- Free Braided Table Topper Pattern for Halloween
- Orange You Glad Harvey?
- Boo! A Fussy Cut Monster Mash Quilt Block
- A Quilted Halloween Story


I love your marmalade cat. Thank you for sharing the pattern.
Harvey is a gorgeous cat, and so is your cat block. Thank you for the free pattern, too.
I love that your project is inspired by your pet; I’ve been thinking the same thing for a later hop!
Great story about Harvey and how he got is name…he’s beautiful! I love seeing how you put the block together and the final version is so cute. Thank you!
Really nice cat block! Thanks for the tutorial also.
I love your orange kitty! What sweet pictures of Harvey–cats do have their own personalities! Thanks for the pattern and for sharing!
If I had liked cats i’d make one. But anyway, thank for the tuto.
Love how Harvey got his name. Thanks for sharing the block and for jumping in on the Orange You Glad Blog Hop. Harvey is the perfect addition and I really enjoyed reading the story.
What a wonderful story and a great quilt block! I have an orange long hair tiger cat and he is all cuddle bugs/cries for food when he already has some haha. His name is Gambit after the X Men character with orange hair. Thanks for sharing!
Great tutorial and fun way to capture the love of kitties in fabric. I love Harvey! He just makes me smile.
Sweet cat block and Harvey looks like a fun cat.
Great block! Harvey is adorable. Thanks so much for the tutorial and inspiration!
Harvey sounds like a great hurricane cat name haha! Cute block
i love your quilt block. the orange fabric is wonderful. Oh but Harvey is so small in these pictures. LOL he looks like quite the handful. we rescued and adopted two feral kittens a year ago. one is all lovey dovey and follows us everywhere, a true sweetheart. the other has finally decided that we are ok and we can now touch her and she seeks out attention, but she is a truly inquisitive kitten. when we hear a loud noise or crash we know that Nickel is around exploring. i love our pets.
Adorable block and a great tribute to Harvey!
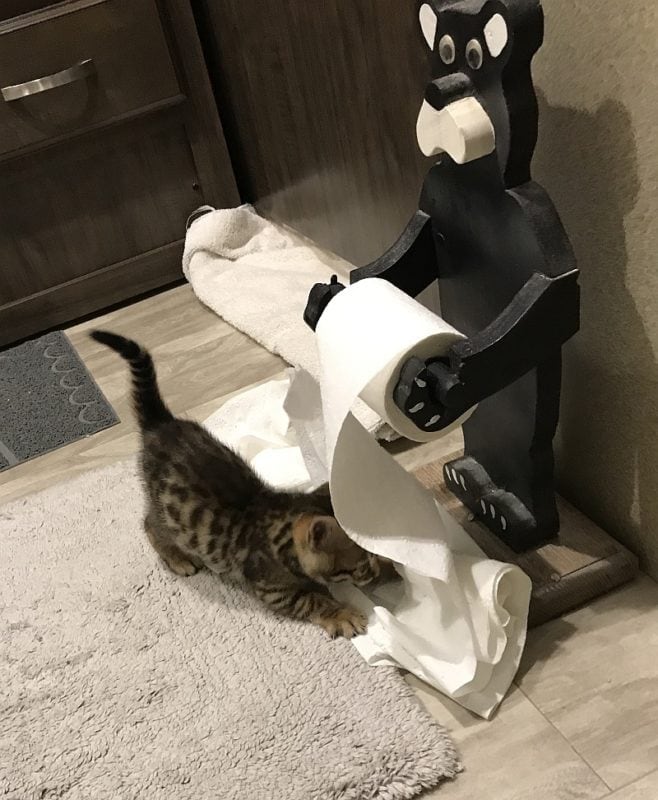
Harvey is adorable and so is your block. Thank you for the pattern, and the chuckle as Harvey destroys the toilet paper roll. 🙂
What an honor for Harvey. He is gorgeous. Love the back story and the pictures especially with the TP. You did a wonderful job on this pattern.
Harvey is a very handsome fellow. Great block!
You did a great job making a block to highlight “Harvey”. Harvey should be ‘Orange you Glad’ to have found you and a new home.
Very cute cat block!
Harvey is a pretty cat and you made a wonderful rendition of him!
Harvey is very handsome and you did an awesome job creating a block. Mug rug or pillow definite possibilities.
Great block inspired by a wonderful kitty. He is so handsome!
Harvey (the cat) is very handsome! Your quilt block is just right for showing off that special orange fabric. Thanks for sharing.
What a great story behind how Harvey got his name. Your Rocky is a patient fellow. Thanks for the story, the cute block and great tutorial.
Oooh great block! And cute furry friends 🙂 Thanks for sharing the tutorial, I need to give it a go! xx