Pretty in Paisley
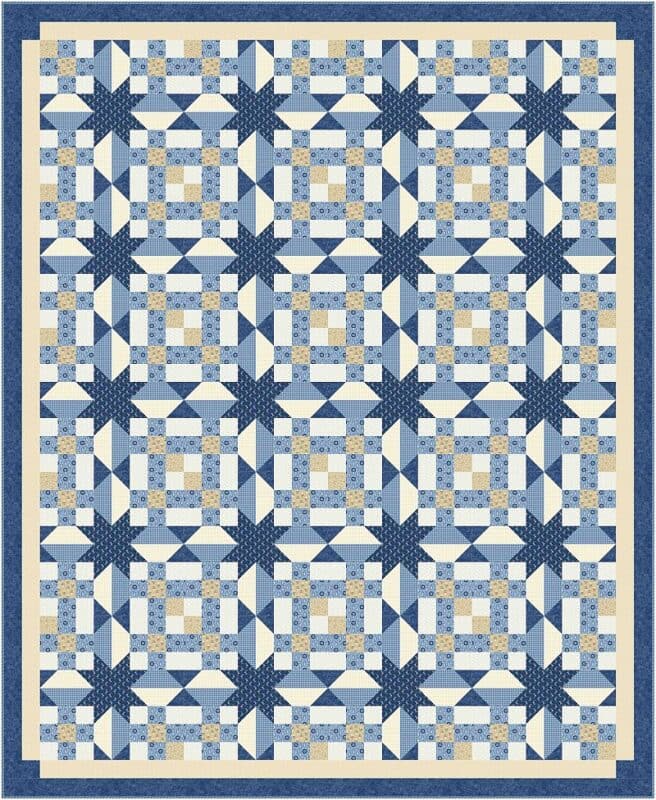
This is a 72″ x 88″ quilt with two narrow borders. If you would like to make it smaller, just make fewer blocks. If you would like to make it larger, just add borders. Easy peasy.
Don’t forget to send me pictures! Anyone who sends me a picture of any stage during or just after the mystery will get a copy of the final pattern. My email address is moc.liamg@sngisednoomebeohp.
Pretty in Paisley Borders
Assemble
- The 2-1/2″ Taupe Dots strip strip
- The 2-1/2″ Deep Blue strip, cut into (2) strips 84-1/2″ long and (2) strips 72-1/2″ long
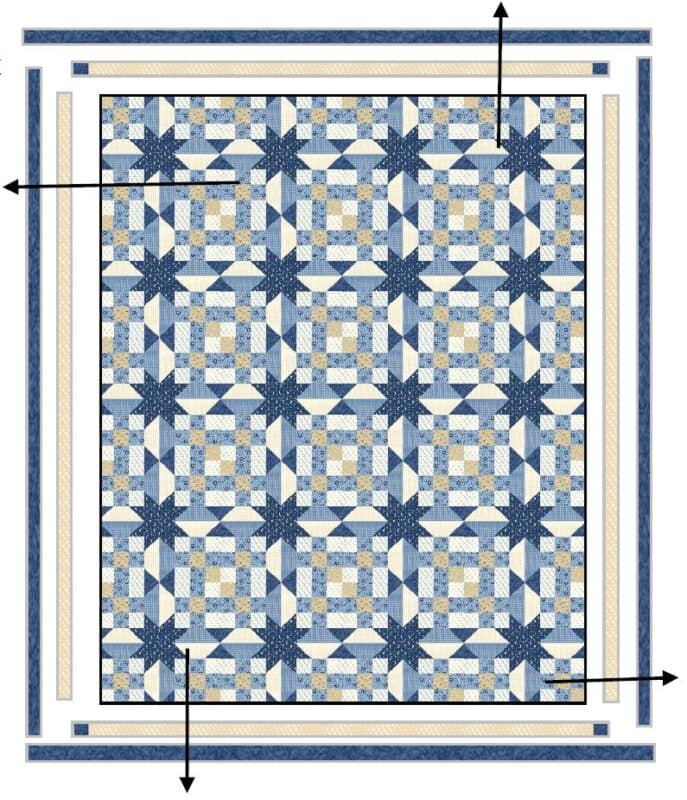
You will need to prepare the first border by cutting the long 2-1/2″ wide Taupe Dots strips into (2) borders that are 80-1/2″ long and (2) that are 64-1/2″ long. Sew a 2-1/2″ Deep Blue square at both ends of the 64-1/2″ long borders. Press to the border.
Make (2.) These are your top and bottom first borders. They should be 68-1/2″ long.

The First Border
You are in the home stretch now! Using a walking foot if you have one or lots of pins if you don’t, sew the (2) 80-1/2″ Taupe Dots strips to either side of the quilt top, taking care to match the center of the strip with the center of the quilt top. “Ease to fit” if necessary. Press to the border.
“Ease to Fit” means that if one side of the quilt is just the tiniest bit larger than the border, place the quilt top down on the bed of your sewing machine when sewing the border strip on. The feed dogs will help take up the slack. Reverse the process if it is your border strip that is bigger. Use pins liberally.
Again using a walking foot and matching centers, sew the (2) three-piece 68-1/2″ Taupe Dots strips to the top and bottom of the quilt top. Ease to fit if necessary. Take care that the seams of the corner square don’t overlap the border seams. Press to the border.

The Second Border
Using a walking foot, sew the (2) 84-1/2″ Outer Border strips to either side of the quilt top, taking care to match the center of the strip with the center of the quilt top. Ease to fit if necessary. Press to the border.
Again using a walking foot and matching centers, sew the (2) 72-1/2″ long strips to the top and bottom of the quilt top. Ease to fit if necessary. Press to the border. You are done! Give your top one final pressing and pin it to the wall for a few days so your family can admire it and praise you.
Now send it out to be quilted and don’t forget to add a label giving your name, city, and inspiration for the quilt.
Preserve your place in history—sign and date your quilt!

Binding Basics
Binding Basics. There are two basic types of binding, straight grain binding (which includes cross-grain binding) and bias binding. Straight grain binding is binding that is cut in strips along the grain of a piece of fabric parallel to the selvage. Cross-grain binding is also cut in strips along the grain but is cut from selvage to selvage. Bias binding is binding that is cut at a 45-degree angle from the selvage. (See Rotary Cutting Tips for more details.)

How to Attach Binding
To prepare your binding for sewing it on the quilt, fold it in half wrong sides together but do not press. You will need to be able to roll the fold a tiny bit. Some quilters prefer to sew their binding on the top through the batting and backing first and then cut the edge even. Some prefer to square up the quilt first and sew the binding on the cut edge. Use the method that is most comfortable for you.
Use a walking foot if you have one to keep all the layers together as you sew. Sew the binding on the edge of the quilt top with a 1/4″ seam allowance. Leave a 10″ tail of binding before you start sewing so you can join the binding strip ends when you are done.
Place your quilt label in the lower right hand corner of the quilt before sewing on the binding. The same stitch that secures your binding will secure the label. Consider doing the same thing with your hanging sleeve. You will still need to do a bit of hand-stitching to secure the other side.
Making the Corner
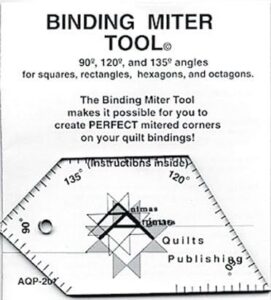
To make a mitered corner, sew to 1/4″ away from the corner, stop and take a couple of backstitches. Take the quilt out of the sewing machine and fold the binding up at a 45-degree angle, then back down again so you can start sewing along the next side. Continue all the way around the quilt, stopping 12″ from your starting point. This will give you enough room to join the two ends with a mitered seam. Once you have joined the two binding ends, continue attaching the binding. You might find the Binding Miter Tool to be very helpful.
If you have not yet cut off the backing and batting even with the quilt top and binding, do so now leaving a 1/4″ seam allowance. Press the seam between the binding and the quilt top from the front. This will help you obtain a more even binding when you fold it over.
Secure the folded binding to the back using binding hem clips, patchwork pins, or water-soluble glue. Be careful not to distort the binding with the fastening method you chose. Sew the binding to the back of the quilt by hand or with a blind hem stitch. Take an extra stitch or two in the corners to secure the miter.
A more detailed tutorial with illustrations is available at https://phoebemoon.com/binding-basics/
Clues:
- Fabric Requirements (and tips for cutting)
- Cutting Instructions (and tips for piecing)
- Clue One – Cutting Strip Sets January 1, 2025, 9AM
- Clue Two – Making the Patch blocks January 1, 2025, 10AM
- Clue Three – Sashing January 1, 2025, 11AM
- Clue Four – Piecing Ahead (and time for lunch) January 1, 2025, 12PM
- Clue Five – Making Stars
- Clue Six – Piecing the Rows
- Clue Seven – Adding the Borders (and tips on binding)
- Picture Page


It is absolutely gorgeous!